32
″
LCD TV VA320E
7
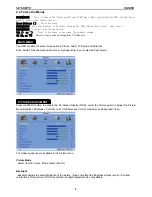
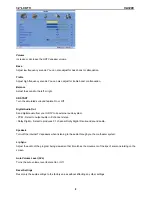
Brightness
Brightness adjusts the black levels in the picture. If the brightness is too low you will not be able to see the detail in
darker parts of the picture and if the brightness is too high the picture will look washed out.
Contrast
Contrast adjusts the white levels in the picture. If the contrast is too low the picture will look washed out and if the
contrast is too high you will not be able to see any detail in the bright parts of a picture.
Color
The Color setting adjusts the amount of color in the picture.
Tint
The Tint adjusts the hue of the picture. The easiest way to set tint is to look at flesh tones and adjust for a realistic
appearance. In most cases, the default middle position is correct.
Sharpness
The Sharpness setting adjusts the sharpness of the picture.
Color Temperature
Adjust your HDTV color temperature. Adjust Red, Green, and Blue.
.
Advanced Video
•
DNR
- DNR (Dynamic Noise Reduction) diminishes picture artifacts caused by the digitizing of
moving images.
•
Black Level Extender
- Black Level Extender extends grey levels to black to improve
contrast.
•
White Peak Limiter
- White Peak Limiter limits excessive white in bright areas of the picture.
•
CTI
- Select CTI (Chrominance Transient Improvement) to reduce time transitioning from one
color to another. The effect will be seen as sharpening the border between colors.
•
Flesh Tone
- Adjust flesh tones of the picture. This may result in a more pleasing production
of sky and flesh colors.
•
DCR
(Dynamic Contrast Ratio) - DCR (Dynamic Contrast Ratio) automatically adjusts the
contrast between brighter and darker scenes. When activated, adjustment of the Backlight is
not available.
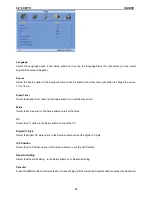
Audio adjustment
When viewing a DTV / TV or an HDMI, Component, AV, or PC source, the following audio adjustment
OSD screens are available when you press MENU on the remote control. The source you are viewing is
displayed in orange text in the bottom left-hand corner of the OSD.
Press □ / □ / ▲ / ▼ to select and adjust options, then press LAST when finished making adjustments.
Press LAST to return to the previous screen or repeatedly to exit the OSD.


