


AOC International (Europe) B.V.
PrinsBernhardplein 200 / 6
th
floor, Amsterdam, The Netherlands
Tel: +31 (0)20 504 6962 • Fax: +31 (0)20 5046933
AOC PIXEL POLICY
ISO 9241-307 CLASS 1
July 25
th
, 2013
AOC strives to deliver the highest quality products. We use some of the industry’s most advanced manufacturing
processes and practice stringent quality control. However, pixel or sub pixel defects on the TFT monitor panels
used in flat panel monitors are sometimes unavoidable. No manufacturer can guarantee that all panels will be free
from pixel defects, but AOC guarantees that any monitor with an unacceptable number of defects will be repaired or
replaced under warranty. This Pixel Policy explains the different types of pixel defects and defines acceptable
defect levels for each type. In order to qualify for repair or replacement under warranty, the number of pixel defects
on a TFT monitor panel must exceed these acceptable levels.
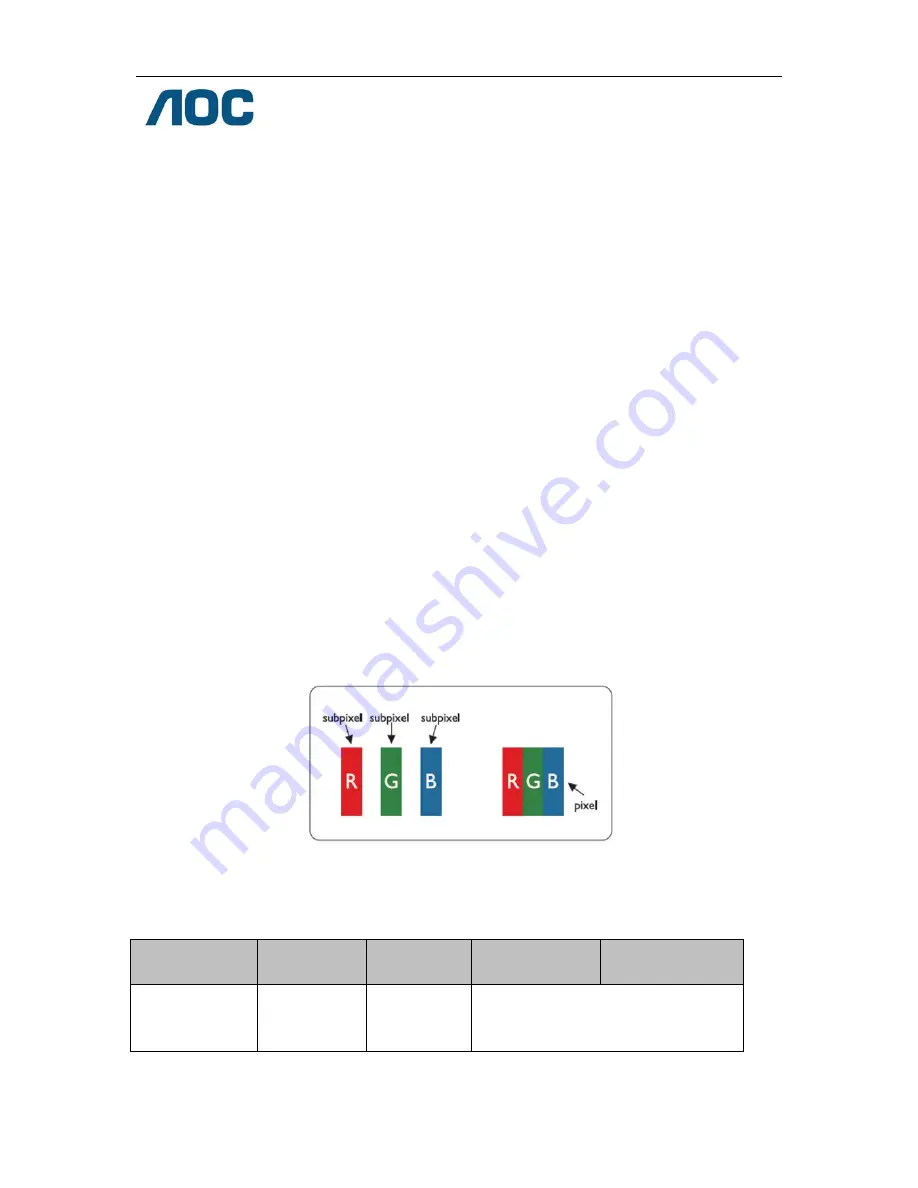
Pixels and Sub Pixel Definition
A pixel, or picture element, is composed of three sub pixels in the primary colors of red, green and blue. When all
sub pixels of pixel are lit, the three colored sub pixel together appear as a single white pixel. When all are dark, the
three colored sub pixels together appear as a single black pixel.
Types of Pixel Defects
Bright Dot Defects: the monitor displays a dark pattern, sub pixels or pixels are always lit or “on”
Black Dot Defects: the monitor displays a light pattern, sub pixels or pixels are always dark or “off”.
ISO 9241-307
Pixel Defect Class
Defect Type
1
Bright Pixel
Defect Type 2
Black Pixel
Defect Type 3
Bright Sub pixel
Defect Type 4
Black Sub pixel
Classe 1
1
1
2
1
0
+
+
+
1
3
5
AOC International (Europe) B.V.
62
Summary of Contents for G2260VWQ6
Page 1: ...LCD Monitor User Manual G2260VWQ6 LED Backlight...
Page 10: ...Setup Stand Base Please setup or remove the base following the steps as below Setup Remove 10...
Page 15: ...4 Click DISPLAY 5 Set the resolution SLIDE BAR to Optimal preset resolution 15...
Page 16: ...Windows 7 For Windows 7 1 Click START 2 Click CONTROL PANEL 3 Click Appearance 16...
Page 17: ...4 Click DISPLAY 5 Set the resolution SLIDE BAR to Optimal preset resolution 17...
Page 19: ...5 Click Display Settings 6 Set the resolution SLIDE BAR to Optimal preset resolution 19...


