


8
4. Quick Start
Connect the DC power source on the rear
panel.
1. Connect the USB 3.0 cable to the USB
3.0 port on your computer.
2. Download the Orion Studio HD launcher
from http://www.antelopeaudio.com/
products/orion-studio-hd/
3. Start the application, the launcher will
automatically download the Software
Control Panel.
4. Open your Control Panel by double
clicking and follow the device activation
procedure.
5. Connect your inputs and outputs of
choice to Orion Studio HD.
6. Open your preferred DAW and ensure
the device is selected as an input and
output.
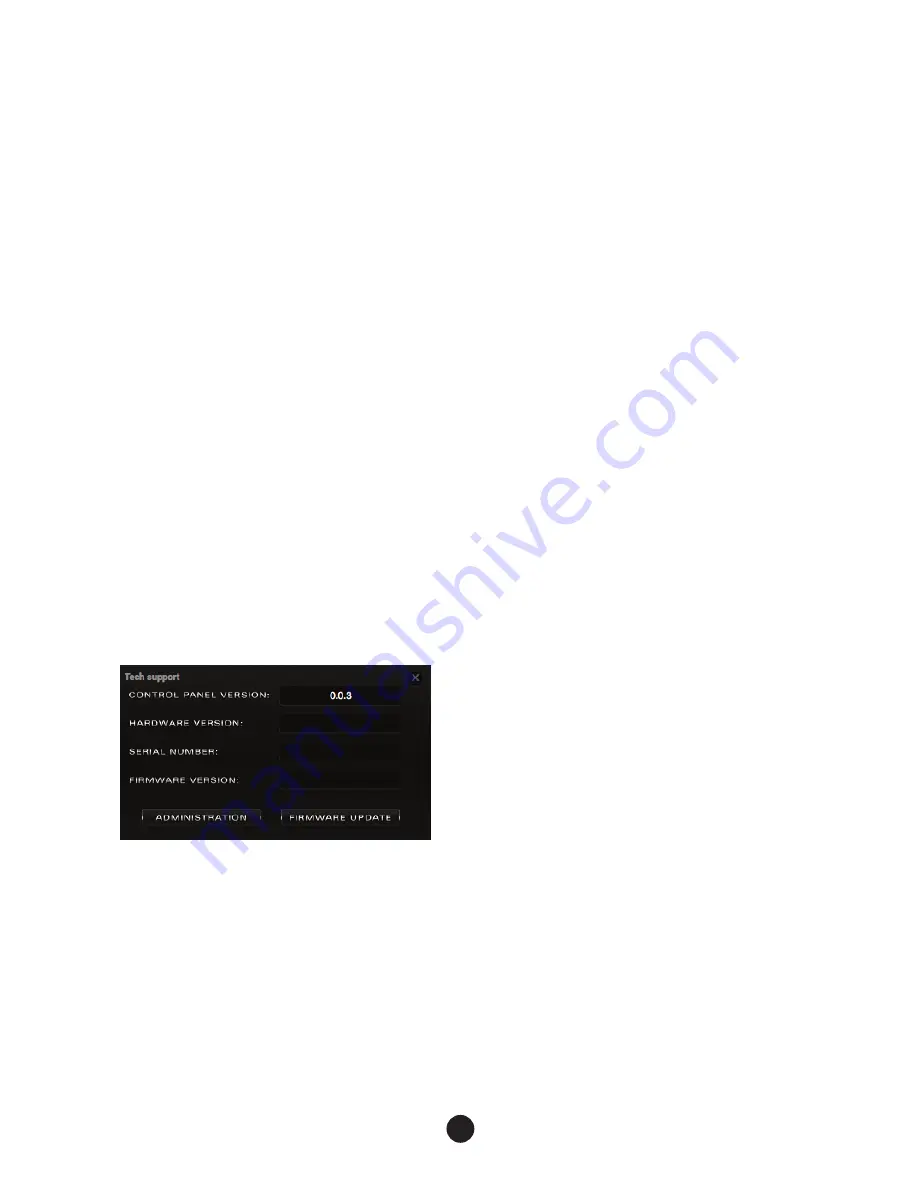
Note
: Make sure your Orion Studio HD has
the most recent firmware installed. Check this
by selecting the Info panel and clicking on the
Firmware Update button.
Orion Studio HD System Requirements:
Computer:
USB 3.0 equipped Mac or PC
Processor:
Core 2 Duo minimum,
Core i3/i5/i7/E5 recommended
Memory:
4 GB RAM minimum,
8 GB RAM recommended
OS X:
10.9.3 or greater
5. Activation Guide
It is essential to activate Orion Studio HD
before using it. Once the DC power source is
plugged and the device is connected to your
computer via USB 3.0 and follow the steps
below:
7.
Navigate to http://en.antelopeaudio.com/
support/download/.
8. Download the Orion Studio HD Launcher.
9. Start the application (If you are on a PC
install the launcher). The launcher will
automatically download the Software
Control Panel.
10. You will be greeted by an Activation
Screen. If you already have an Antelope
Audio account click on “Use existing
Antelope ID”. Enter your information and
click Continue.
If you don’t have an Antelope Audio account
please enter a user ID, e-mail and password,
then click Done.
Check your email for the activation link mail
and click on it. If the email does not appear in
your Inbox, please check your Spam folder.
11. Go back to the launcher and enter the
required information. Click Done.
12. You’re good to go!
Summary of Contents for Orion Studio HD
Page 1: ......
Page 2: ......
Page 3: ...1 Owner s Manual...
Page 4: ...2...
Page 6: ......
Page 21: ...19 7 6 Trim Tab The Trim Tab allows you to adjust Monitor Trim levels and apply Line Out trims...
Page 28: ...26 NOTES...
Page 29: ...NOTES...
Page 30: ...NOTES...
Page 31: ...29...
Page 32: ...Version 1 0 JUNE 2017...


