background image

English

English

12

13

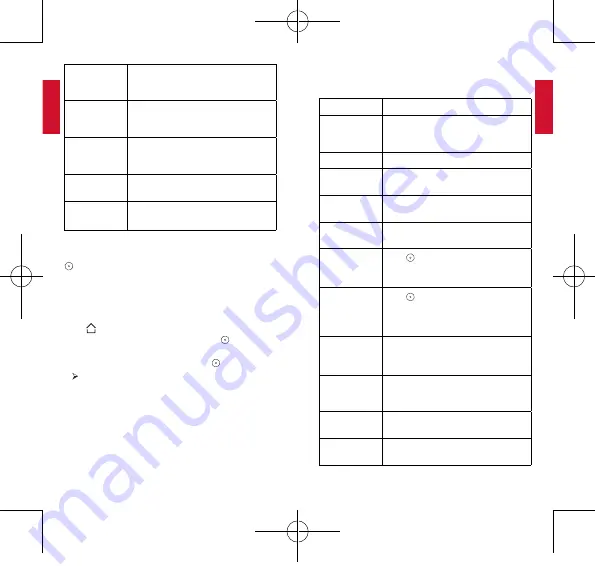
[Vertical 

keystone 

correction]

Manual vertical keystone correction. 

The default value is 0.

[Horizontal 

keystone 

correction]

Manual horizontal keystone correction. 

The default value is 0.

[Quadrilateral 

keystone 

correction]

Manual quadrilateral keystone 

correction. The default value is 0.

[Optical engine 

update]

Press Enter to upgrade the firmware 

version. 

[Update 

available]

Reset all the settings. Press Enter to 

restore to default settings. 

3. App Manager

 On the home menu, select 

[Settings]

 > 

[Apps]

, and press 

.

 Select an app and check the current version, open or 

force stop, check the storage used, clear data or cache, or 

enable or disable notifications and permissions.

4. TV 

Press   on the remote control to access the home menu, 
select

 [Settings] 

[TV Settings]

, and press  .

To modify TV settings:

 Select an on-screen option and press  .

  The sub-menu will display.

 Select the sub-menu items you’d like to modify.

5. Others 

On the home menu, select 

[Settings] 

[Device 

Preferences] 

to find more setting options.

[Date & time]

Manually set the date and time. 

[HDMI]

Select to search for HDMI signal. Once 

an HDMI device is connected, it will 

automatically start HDMI playback. 

[Language]

Select the on-screen language. 

[Keyboard]

Select the keyboard language type  you 

want to use. 

[Sound]

Select the audio output source and 

sound format. 

[Storage]

Check the device storage and 

removable storage. 

[Home screen]

Press  to customize channels or 

apps, enable or disable video or audio 

previews. 

[Google]

Press  to view app permissions, 

searchable apps, enable or disable 

SafeSearch filter, or block offensive 

words. 

[Usage & 

diagnostics]

If this option is set to On, the diagnostic 

information will be automatically sent to 

Google. 

[Accessibility]

Check captions, text-to-speech options, 

and enable or disable accessibility 

shortcuts. 

[Security & 

restrictions]

Display warning message and restrict 

installation of harmful apps.

[Reset]

All data from your device’s internal 

storage will be erased. 

D2241_EN_Manual_60X110mm_20181121_V01.indd   12-13

2018\12\21 星期五   16:37:37

Summary of Contents for Nebula Prizm II Pro

Page 1: ...other countries Model D2241 For FAQs and more information please visit www SeeNebula com support SeeNebula com 1 800 988 7973 US Mon Fri 9 00 17 00 PT 44 0 1604 936200 UK Mon Fri 6 00 11 00 GMT 49 0 6...

Page 2: ...5 What s Included 05 Overview 07 Remote Control 08 Getting Started 14 Using Nebula Prizm II Pro 17 Upgrading the Firmware 18 Specifications 19 Troubleshooting 20 Notice 23 Trademarks 24 Warranty D2241...

Page 3: ...mponents Do not allow children to handle the device without supervision Under the following conditions a layer of moisture can appear inside the device which can lead to malfunctions a if the device i...

Page 4: ...fer all servicing to qualified service personnel Class II equipment symbol This symbol indicates that the unit has a double insulation system Laser Safety CLASS 1 LASER PRODUCT IEC 60825 1 2014 Compli...

Page 5: ...ottom View 1 2 Flip stand slot Mounting slot Remote Control 8 9 Power on off Microphone Press to switch between ATV and HDMI interfaces Press to confirm a selection or entry Pause resume play Press to...

Page 6: ...wing ways behind the projection surface hanging from the ceiling in front of the projection surface or hanging from the ceiling behind the projection surface Make sure you select the correct Projector...

Page 7: ...he network Sign in with your Google account Your Nebula Prizm II Pro will be powered by Android TV after finishing the setup process 6 Settings Go through the setup process when you turn on Nebula Pri...

Page 8: ...dify 5 Others On the home menu select Settings Device Preferences to find more setting options Date time Manually set the date and time HDMI Select to search for HDMI signal Once an HDMI device is con...

Page 9: ...e of the USB drive will appear on screen Select the USB drive and press Nebula Prizm II Pro will display the video music or photos in the Available folder Select the video you d like to play Press to...

Page 10: ...tant to do certain tasks Navigate through the home screen and click the microphone icon on the screen Press the mic button on your remote and talk to the Google Assistant or click to type and begin se...

Page 11: ...eshooting Could not turn on Nebula Prizm II Pro with the remote control Make sure Nebula Prizm II Pro is connected to a power supply The remote control doesn t work Make sure the battery is already in...

Page 12: ...h a temperature that ranges from 5 C 25 C Please ensure to use only the charger offered by the manufacturer Using unauthorized charger may cause danger and violate the authorization of the projector a...

Page 13: ...uctions may cause harmful interference to radio communications However there is no guarantee that interference will not occur in a particular installation If this equipment does cause harmful interfer...

Page 14: ...ed to be free from material and workmanship defects for 12 months from the date of purchase Within this period Nebula will provide a replacement and cover any return shipping costs for products that f...

Reviews: