background image

TPDOC Touch Panel Documenter and Librarian Program 

TPDOC Menus 


• 

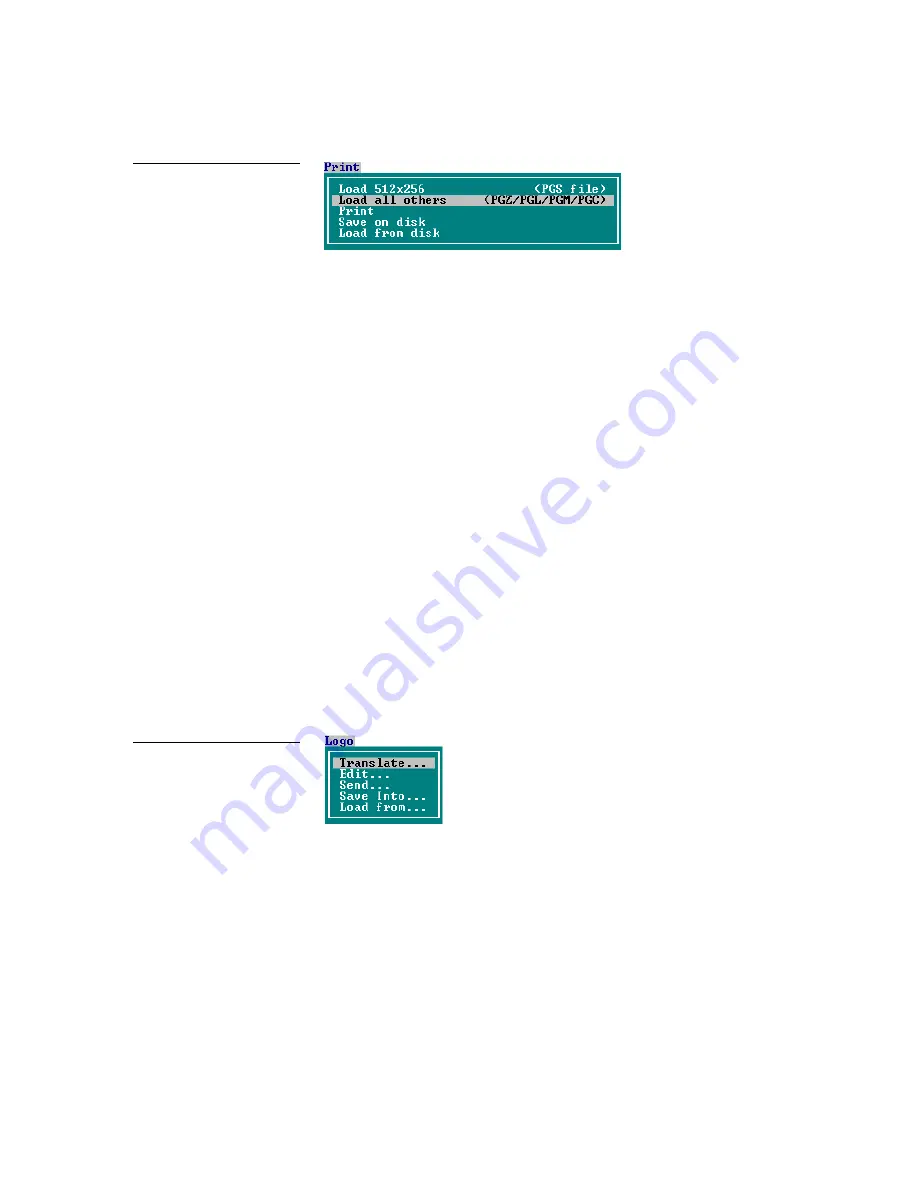
Load 512x256 (PGS file)

—Loads a 512x256 page image from an AXP–EL 

touch panel for storage on a disk. The new file will have a .PGS file 
extension. 

• 

Load all others (PGZ/PGL/PGM/PGC)

—Loads an image of touch panel 

pages from a monochrome LCD (.PGZ file extension), electroluminescent 
(.PGL file extension), monochrome Mini-touch panel (.PGM file extension), 
or a color active/passive-matrix LCD (.PGC file extension) touch panel for 
storage. 

• 

Print

—Sends a loaded page image or print file you select to a printer or file 

according to the settings in the CONFIGURE menu. 

• 

Save on disk

—Saves loaded print files on the specified disk volume with a 

.SCR file extension. 

• 

Load from disk

—Loads a previously saved print file (.SCR extension) from 

storage to memory for printing purposes. 

F3–Logo 

Use the F3-Logo menu to translate various ACAD Postscript, Epson/Okidata, IBM 
Proprinter, and .PCX file types into a touch panel format, and also to edit logos 
using your mouse. You can send logos to a touch panel, attach logos to touch panel 
files, and also save logos in touch panel format. Figure 8 shows the F3-Logo menu. 


Translate 

Use the Translate menu to convert drawings into a logo image. Refer to the 

F-5 

Communications

 information in this subsection to set the logo input format. 

Highlight the Translate option and press Enter to open the Translate screen (Figure 
9). Enter the logo source file name you want to convert in the Translate screen and 
press Enter . Before you enter a file name, you may have to set the directory path to 
the location that contains the drawing files using the Change Directory option in 
the F1-Pages menu. 

Figure 7 

F2-Print menu 

Figure 8 

F3-Logo menu 

Summary of Contents for TPDOC

Page 1: ...instruction manual Software TPDOC Documenter and Librarian Program Version 4 23 or higher...

Page 2: ...ur exclusive remedy shall be at AMX Corporation s option either a return of the price paid or b repair or replacement of the SOFTWARE that does not meet AMX Cor poration s Limited Warranty and which i...

Page 3: ...Disc 1 TPDOC Menus 3 Overview 3 F1 Pages 4 Send 4 Load 5 Change Directory 6 Version 6 Exit Ctrl X 6 F2 Print 6 F3 Logo 7 Translate 7 Edit 8 Send 9 Save Into 10 Load From 10 F4 Convert 11 F5 Communica...

Page 4: ...DOC Touch Panel Documenter and Librarian Program Edit 27 Send 29 Save Into 29 Load from 29 F4 Convert 30 512x256 PGS to 640x400 PGZ 30 640x400 PGZ to 640x480 PGL 30 640x480 PGL to 640x400 PGZ 31 640x4...

Page 5: ...requires a minimum 640KB of memory RAM or higher TPDOC Program Files The two executable TPDOC program files are TPDOC EXE and TPDOCX EXE The TPDOC EXE program uses conventional standard 640KB memory T...

Page 6: ...ram If you follow the instructions for a typical installation TPDOC will be installed along with the other AMX DOS tools included on the Panja Control Disc Alternatively you can select to install only...

Page 7: ...selected The selections provide menu options to control your touch panel features Menu Selections The bar at the top of the screen contains the TPDOC menu selections When you select the menu the opti...

Page 8: ...ht the Send option and press Enter to open the Send to menu Figure 3 Send to 640x480 PGL file Sends a stored 640x480 page file to a monochrome LCD touch panel The new file will have a PGL file extensi...

Page 9: ...electroluminescent touch panel for storage The new file will have a PGZ file extension Load from 512x256 PGS file Loads a 512x256 page file from an AXP EL touch panel for storage on a disk The new fil...

Page 10: ...re 6 Exit Ctrl X Use this menu option to close the TPDOC program and return to MS DOS The shortcut key to exit the TPDOC program is Ctrl X F2 Print Use the F2 Print menu to load page images into your...

Page 11: ...file SCR extension from storage to memory for printing purposes F3 Logo Use the F3 Logo menu to translate various ACAD Postscript Epson Okidata IBM Proprinter and PCX file types into a touch panel fo...

Page 12: ...o edit The files are stored as drawings with a LGO file extension If the current directory contains the logo file you can highlight the file name and press Enter to activate the logo edit screen If th...

Page 13: ...ogo file to the touch panel If the current directory does not contain the logo file reset the directory path to the proper location using the Change Directory option in the F1 Pages menu Send logo to...

Page 14: ...atrix LCD touch panel file with a PGC extension Save into 320x240 Mini PGM file Saves a logo image to a 320x240 page in a monochrome Mini touch panel file with a PGM extension Load From Use the Load f...

Page 15: ...can highlight the file name and press Enter to convert the file If the current directory does not contain the AXP EL file reset the directory path to the proper location using the Change Directory op...

Page 16: ...oper location using the Change Directory option in the F1 Pages menu 640x480 PGL to COLOR PGC Opens the Open 640x480 PGL file menu Figure 20 so you can highlight and select the monochrome LCD touch pa...

Page 17: ...nsfer send or receive files between computers using this option Terminal Emulator ctrl t Opens the Terminal screen Figure 22 so you can send and receive ASCII strings directly to from the Master Card...

Page 18: ...open the CONFIGURE menu in Terminal Emulator mode by pressing the F9 key If the settings needed to communicate with your RS 232 devices are not all the same use this screen to make the necessary chang...

Page 19: ...rint file that is formatted according to the printer and or translation option settings Logo Translate Input Format Select one of four input formats to translate the touch panel logo format Files will...

Page 20: ...16 TPDOC Menus TPDOC Touch Panel Documenter and Librarian Program...

Page 21: ...Have the TPDOC program running on your computer 2 Press the F5 key to select the Communications menu Use the down arrow to highlight the Configure option and press enter A menu similar to the one in...

Page 22: ...1 Pages key Select the Load option and press the enter key to open the Load from menu Figure 25 Use the arrow keys to highlight the file option for your touch panel Refer to the file extensions in par...

Page 23: ...t or received default a Will Overwrite message appears If you press Enter the previously saved file is replaced with the current file Send a file These steps describe how to send a file from your comp...

Page 24: ...o shows the number of bytes transferred during the send operation The touch panel screen shows the new file when the send operation is complete F2 Print You can use the F2 Print options to load receiv...

Page 25: ...ure 34 and go to step 5 If your computer is connected directly to the touch panel go to the next step 3 Put your touch panel in Editor mode Select SYSTEM and then the PRINT menu option A decision butt...

Page 26: ...escribe how to print touch panel pages 1 Load the touch panel pages you want to print using the steps described in the Load from touch panel instructions in this subsection 2 Press the F2 Print key to...

Page 27: ...he Save on disk option to save a copy of your touch panel print file for use at a later time You must load the print files in the Currently Loaded Pages screen before starting the Save on disk operati...

Page 28: ...int file The file name and description are saved to your computer or disk according to the current directory settings The first eight characters are used as the file name along with a SCR file extensi...

Page 29: ...specific page files on your disk and also copy logos by loading them into the TPDOC program from your touch panel Translate These steps describe how to translate a drawing from one format to another...

Page 30: ...50 opens set the size of the logo relative to the size of your touch panel screen For example the 640 x 400 screen size is 640 pixels picture elements or dots in the horizontal X direction and 400 in...

Page 31: ...or received default a Will Overwrite message appears If you press Enter the previously saved file is replaced with the current file Edit These steps describe how to send logo files to your touch panel...

Page 32: ...area and a logo example 5 Use your mouse to move the square cursor to the area of the logo you want to edit 6 Press the E key to activate edit mode and display the edit area and the pixels fat bits 7...

Page 33: ...Send Figure 57 to send a black and white or color logo to your touch panel The files are stored in the current directory Black and white logo files have a LGO file extension and color logos have a LG...

Page 34: ...le menu Figure 61 3 Select an AXP EL touch panel file and press Enter Figure 63 shows the Converting File screen that appears The bar in the screen fills during the conversion operation The TPDOC prog...

Page 35: ...o the main screen when the conversion operation is complete 640x480 PGL to 640x400 PGZ 1 Run TPDOC program and press the F4 Convert key to open the Convert menu Use the arrow keys to highlight the 640...

Page 36: ...o open the Convert menu Use the arrow keys to highlight the 640x480 PGL to COLOR PGC option Figure 60 to convert a monochrome LCD file to a color active passive matrix LCD touch panel file 2 Press Ent...

Page 37: ...TPDOC Touch Panel Documenter and Librarian Program Application and Use 33...

Page 38: ...s 3000 research drive richardson TX 75082 USA 469 624 8000 800 222 0193 fax 469 624 7153 technical support 800 932 6993 033 004 1074 7 01 2001 AMX Corporation All rights reserved AMX the AMX logo the...

Reviews: