HD SkyLink
Manual AMIMON HD SkyLink
page
|
17
www.globe-flight.de
Installation
Transmitter
1. Turn on the signal source.
2. Connect the HD SkyLink Kite transmitter to the HD video source.
(HDMI or HD-SDI input port #10, see the product description section)
3. Connect the HD SkyLink Kite transmitter to a power source (7-17V)
via the LEMO connector #9
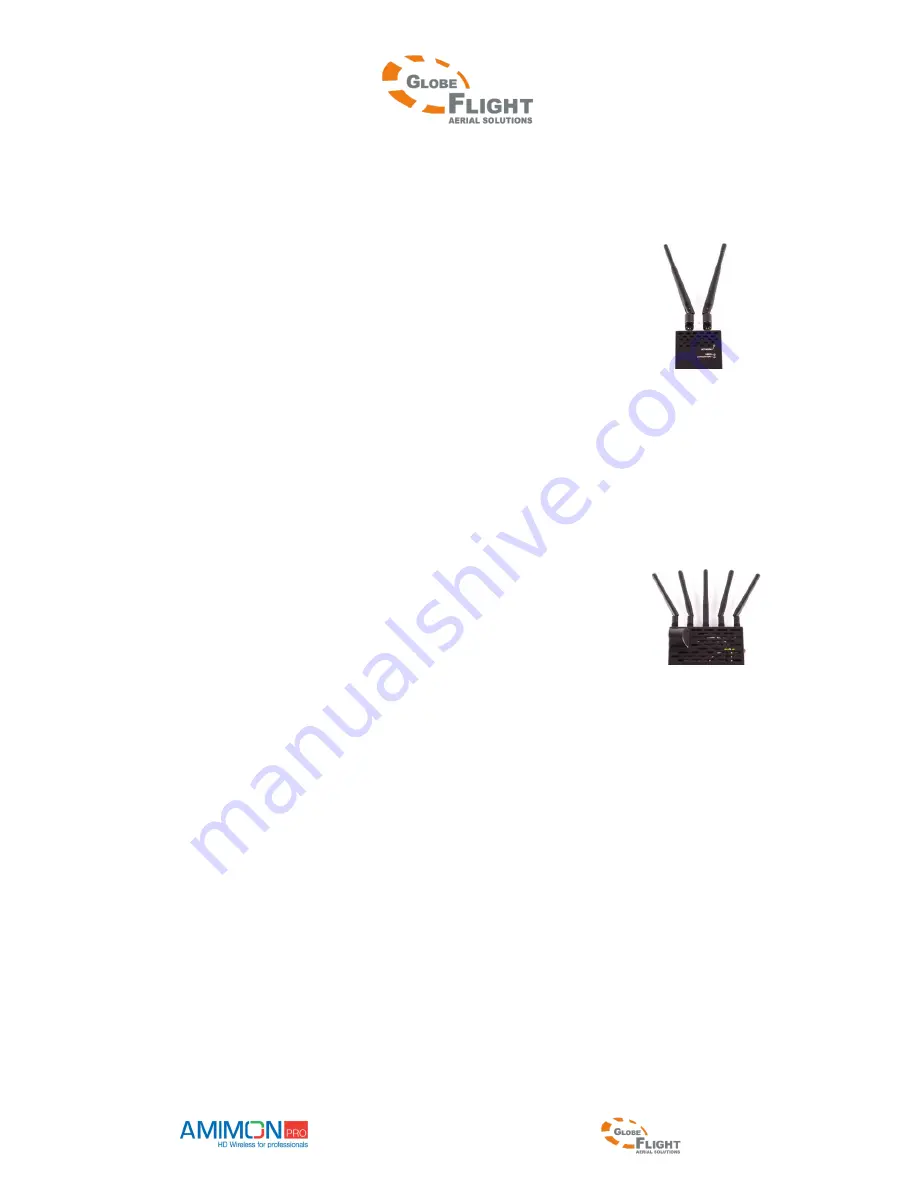
4. Arrangement of the antennas: It is recommended to disperse the antennas in the shape of a "V" and
orthogonal to the line of sight between the transmitter and the receiver.
Receiver
5. Turn on the video output device, e.g. a monitor.
6. Connect the HD SkyLink Falcon receiver to the monitor using a HD-SDI cable.
(HD-SDI output port #23 / #24 or both, see the product description section)
7. Make sure that all the DIP switches are in the upper position.
(DIP switch #17, see the product description section)
8. Connect the HD SkyLink Falcon receiver to a power source (7-17V).
a. Connect the power plug to the matching input voltage connector.
(Power connector #11/#19/#26, see the product description section)
b. Slide the On/Off switch in position “1” to turn the receiver on.
9. Arrangement of the antennas: It is recommended to disperse the antennas in the shape of an open hand
and orthogonal to the line of sight between the transmitter and the receiver.
Hints to get the maximum range
Make sure that there is a line of sight between the transmitter and the receiver.
Avoid placing any unnecessary obstacles besides the transmitter or the receiver.
Mount both transmitter and receiver with the antennas pointing upwards for maximum
performance.
Mount the transmitter and the receiver with proper air ventilation.
If you use multiple receivers, keep a minimum distance of 2 meters between them.


