


Adjusting the Pitch Slider's Range (19)
:
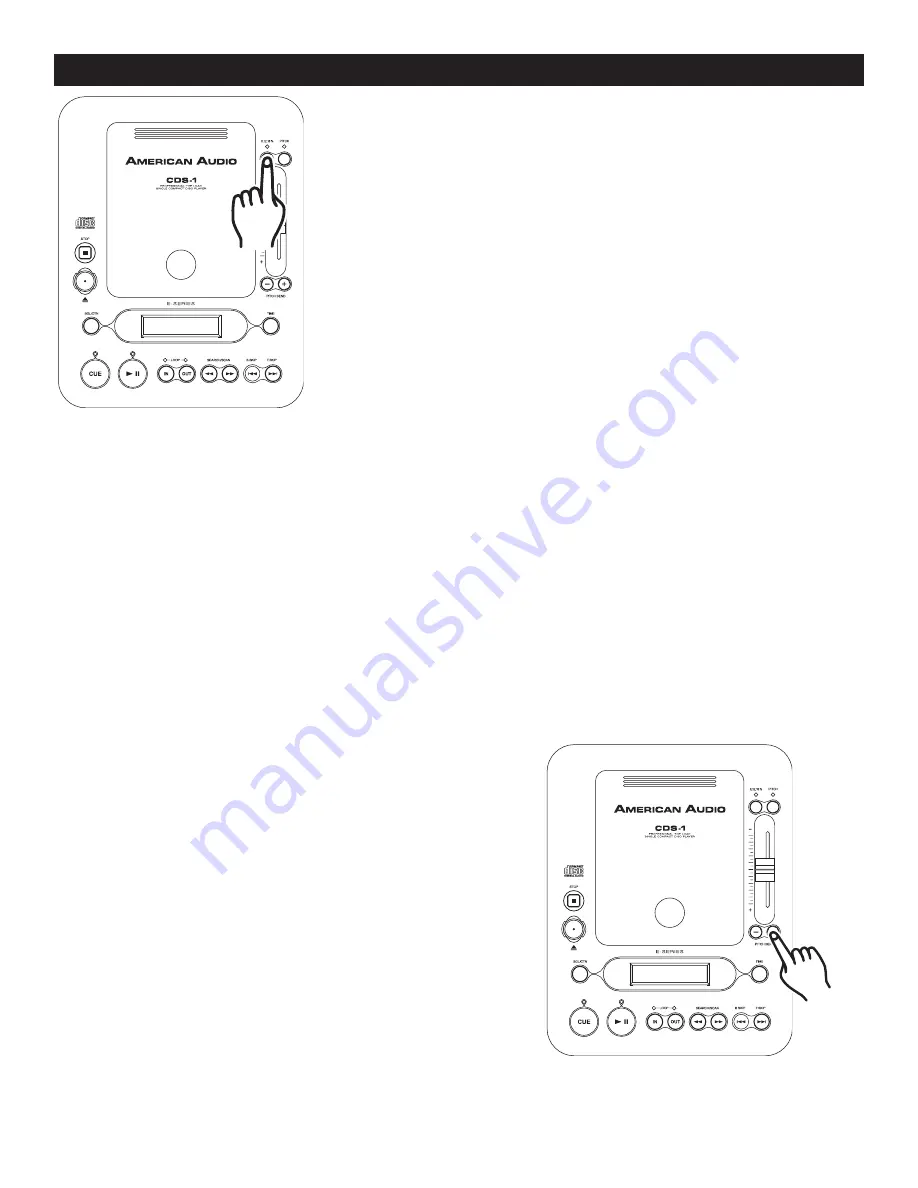
You may change the
PITCH
SLIDER'S (19)
operating range. To change the operating range be sure
the pitch function is turned on, see figure 12 on the previous page. The
pitch percentage can be changed b/-8%, +/-12%, and +/-16%.
+/-8% will allow the least amount of pitch manipulation and +/-16% will
allow the most amount of pitch manipulation. To adjust to the different
values tap the
P.S. BUTTON (23)
. The
Pitch Select LED (23)
will indicated
the current pitch level. Flashing red for +/-8%, off +/-12%, or glowing
solid red for +/-16%. Note, the pitch function must be activated for a
LED reading.
Figure 14
©
American Audio
®
- www.AmericanAudio.us - CDS-1™ Instruction Manual Page 16
BASIC OPERATIONS (CONT.)
11.
PITCH BEND:
This function will momentarily increase or decrease a tracks playback speed. Use the
(-) & (+) PITCH BUT-
TONS (18)
for this function.
The maximum pitch bend percentage allowed is +/- 16%. The pitch bend function
will work in conjunction with the
PITCH SLIDER (19)
pitch setting. For example, if the
PITCH SLIDER (19)
is set
to a 2% pitch gain the pitch bending process will begin at 2% and wi
ll continue to the maximum of -
/+16%
and then return to the original 2% pitch when the button is released.
PITCH BEND BUTTONS (18):
The
(+) PITCH BEND BUTTON (18)
will provide a speed bump and the
(-) PITCH BEND BUTTON (18)
will pro-
vide a slow down. The extent to which the speed changes is proportionate to the amount of time either button
is held down. For example, if the
(+) PITCH BEND BUTTON (18)
is held down continuously, the disc speed will
increases and will continue to increase until reaches a maximum of 16% speed gain. When you release the
(+)
PITCH BEND BUTTON (18)
the disc speed will automati
c
ally return to
it’s previous speed.
Holding down or tapping on the
(+) PITCH BEND
BUTTON (18)
will provide a speed bump in the
playback pitch.
Figure 15


