User Guide USB Stick CopyStation
21
Ultra – 1.3
17
User Guide USB Stick CopyStation
21
Ultra – 1.3
16
➜
"Compare . . . single stick"
opens the "Verify Options" dialog where you have
to select an image file and a stick slot. After confirming the selection with "OK",
data comparison between the image file and the selected stick is started.
➜
"Compare . . . all stick"
opens the "Verify Options" dialog where you have to
select an image file. After confirming the selection with "OK", data comparison
between the image file and all sticks is started.
5.3 "Settings" menu
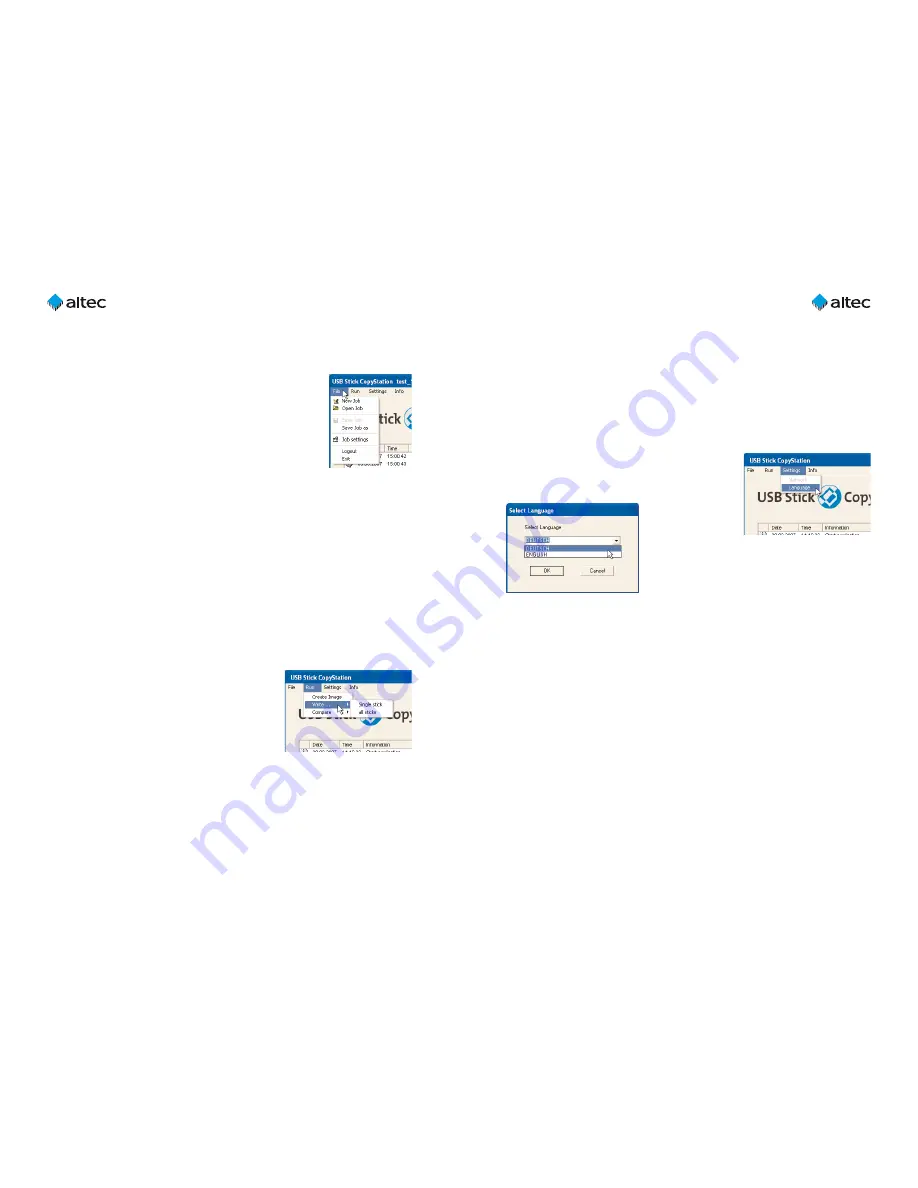
This menu lets you select the user interface language.
➜
"Language"
opens the "Select Language" win-
dow where you can select German (
deutsch
) or
English as the user
interface language.
Note that standard
Windows dialogs shown by the CopyStation soft-
ware are always in the language of the Microsoft
operating system you are using.
5. User software menus and functions
5.1 "File" menu
This menu lets you create, save, open or modify jobs or exit the
program.
➜
"New Job"
creates a new job. Choose an image file in the
Job Wizard (see page 12). Choose the number of copies you
want to produce (see page 12). Click the "Extended
Options" tab if you want to carry out verification after writ-
ing (see. page 13).
➜
"Open Job"
opens an existing copy job.
➜
"Save Job"
saves an open copy job.
➜
"Save Job as"
saves a job under a new name.
➜
"Job settings"
opens the Job Wizard where you can modify and save an open
job. If no job has been opened, the command has the same effect as the "New
Job" command (see above).
➜
"Logout"
logs the current user out.
➜
"Exit"
terminates the program.
5.2 "Run" menu
This menu lets you create image files and select direct
copy or verify commands for single or all memory
cards.
➜
"Create Image"
reads the data image of a
memory stick and saves it at any user selected
directory (see page 8 ff).
➜
"Write . . . single stick"
opens the "Write Options" dialog where you have to
select an image file and a stick slot. After confirming the selection with "OK",
copying to the selected stick is started.
➜
"Write . . . all stick"
opens the "Write Options" dialog where you have to select
an image file. After confirming the selection with "OK", copying to all sticks is
started.


