Alienware ALX Desktop Manual
42
CD-RW, DVD/CD-RW, or DVD±R/W Drives
1. Disconnect the drive’s Molex power cable.
2. Disconnect the drive’s ATA data cable.
3. Gently pull outward on the drive release clip located on the side of the optical
drive cage and pull the drive forward and out of the drive bay.
4. Slide the new drive into the drive bay until it clicks into place; the release
tab will snap into place when the drive had been fully inserted.
5. Connect the drive’s Molex power cable. This connector is keyed to facilitate
ease of installation; check the orientation of the Molex connector.
6. Connect the drive’s ATA data cable. The ATA connector is keyed to facilitate
ease of installation. Do not force this connector into the drive; check the
orientation of the ATA connector. Note that one edge of the data cable
is marked with a red stripe. This stripe indicates Pin 1 and corresponds to
Pin 1 on the drive. Align the cable’s Pin 1 with Pin 1 on the drive when
connecting the cable.
7. Reconnect the power cord, monitor, keyboard and mouse.
8. Turn on the computer and ensure the drive is installed and working properly
before connecting any other devices.
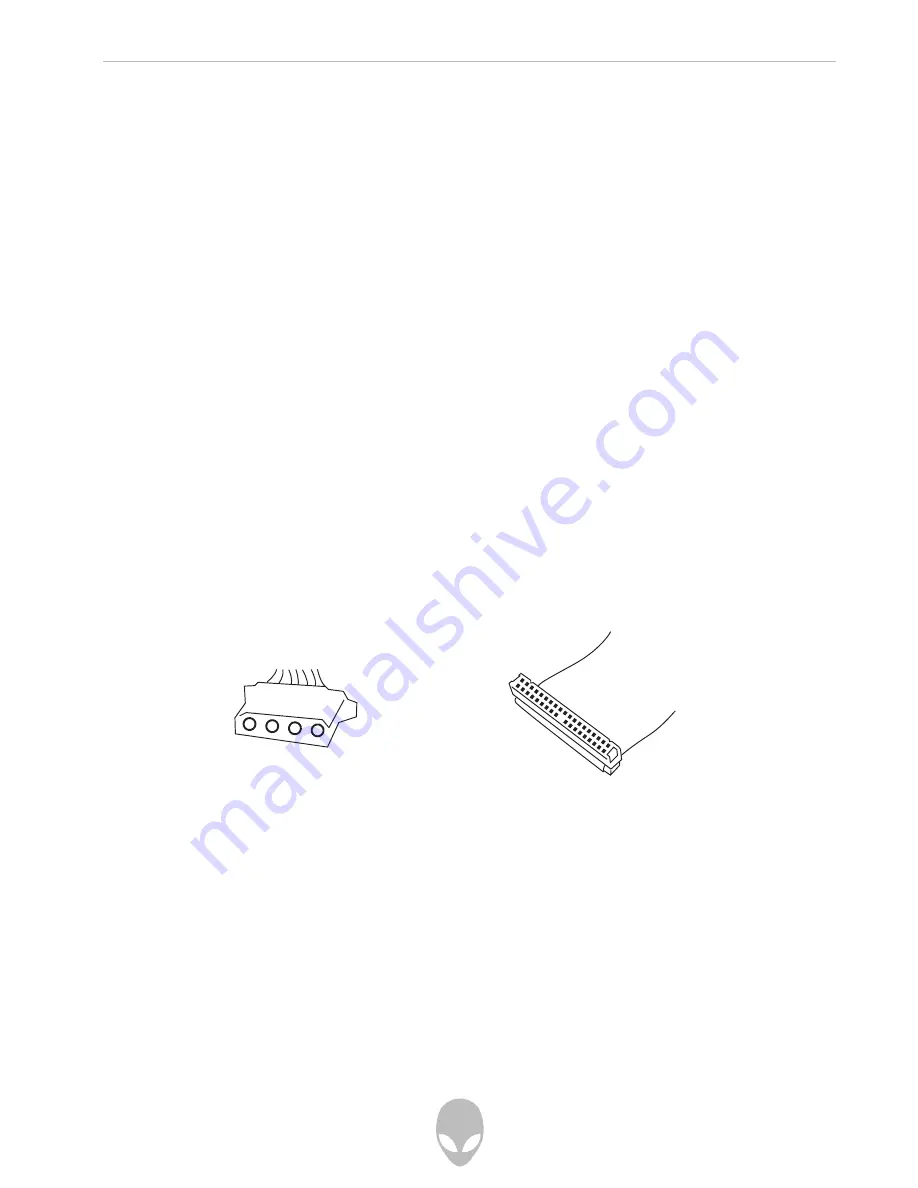
ATA Data Cable:
Molex Power Cable:
Installing Additional or Replacement Memory
Locate the memory banks on the motherboard.
Refer to the technical reference provided on your system’s Windows Desktop for more
information about your system’s memory compatibility and recommended memory
configurations. Your system’s technical reference is also available for download from
your My Hive® Personal Support Area on the Alienware website.
Visit: http://support.alienware.com/
Summary of Contents for ALX
Page 6: ......
Page 7: ...Alienware ALX Desktop Manual CHAPTER 1 SYSTEM PREPARATION AND SETUP...
Page 26: ......
Page 27: ...Alienware ALX Desktop Manual 27 CHAPTER 2 USING YOUR SYSTEM...
Page 34: ......
Page 35: ...Alienware ALX Desktop Manual 35 CHAPTER 3 INSTALLING ADDITIONAL OR REPLACEMENT COMPONENTS...
Page 44: ......
Page 45: ...Alienware ALX Desktop Manual 45 CHAPTER 4 SYSTEM RECOVERY...
Page 49: ...Alienware ALX Desktop Manual 49 CHAPTER 5 TROUBLESHOOTING...
Page 60: ...Alienware ALX Desktop Manual 60...
Page 62: ......
Page 66: ......


