Alienware ALX Desktop Manual
41
Hard Disk Drives
1. Disconnect the drive’s SATA power cable.
2. Disconnect the drive’s SATA data cable.
3. Remove the drive by pulling its release tabs together and sliding it out of the
drive cage.
4. Remove the drive rails from the drive.
5. Check the new drive’s documentation to be sure jumper positioning is correct.
6. Attach the drive rails removed from the previous drive to the new drive.
7. Slide the new drive into the drive cage; the release tabs will snap into place
when the drive has been fully inserted.
8. Connect the drive’s SATA power cable.
9. Connect the drive’s SATA data cable.
10. Reconnect the power cord, monitor, keyboard and mouse.
11. Turn on the computer and ensure the drive is installed and working properly
before connecting any other devices.
Installing Additional or Replacement Drives
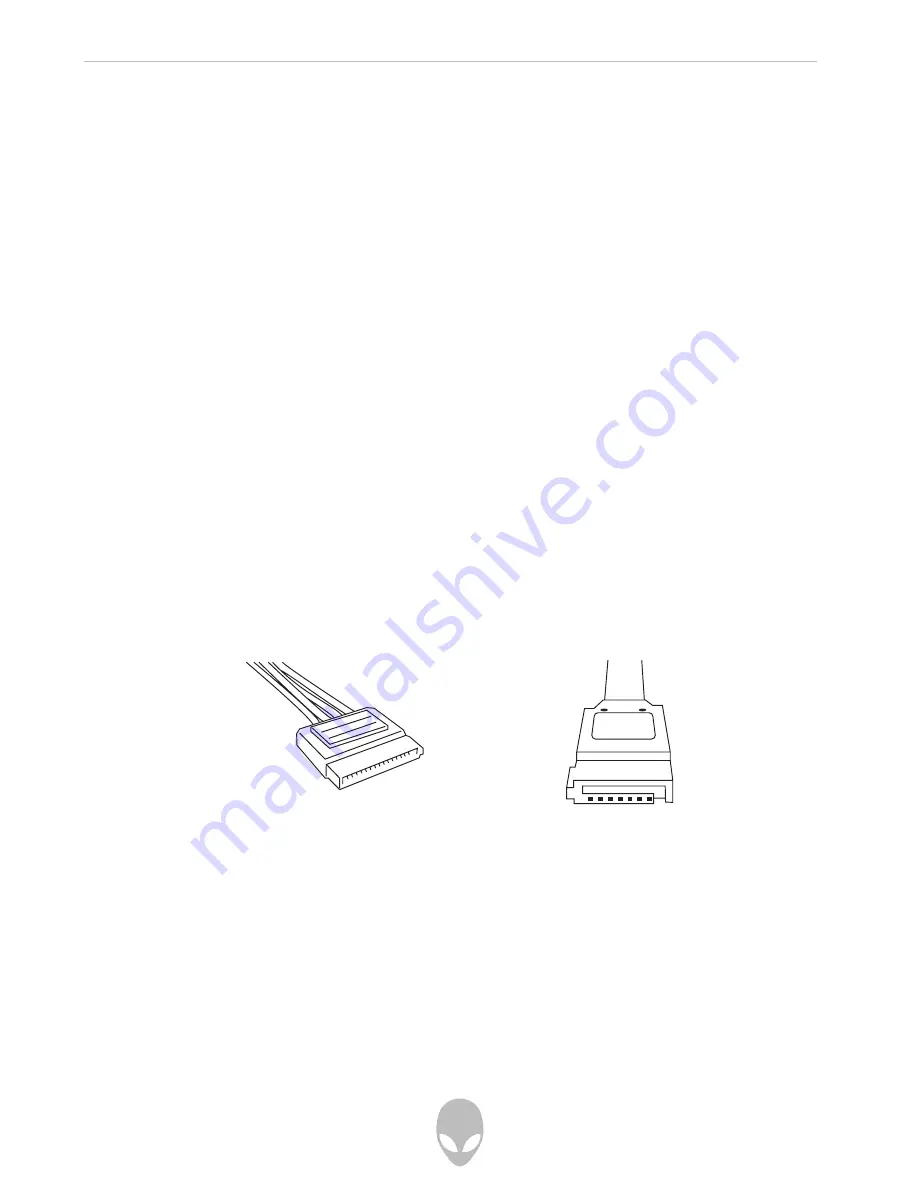
SATA Data Cable:
SATA Power Cable:
Summary of Contents for ALX
Page 6: ......
Page 7: ...Alienware ALX Desktop Manual CHAPTER 1 SYSTEM PREPARATION AND SETUP...
Page 26: ......
Page 27: ...Alienware ALX Desktop Manual 27 CHAPTER 2 USING YOUR SYSTEM...
Page 34: ......
Page 35: ...Alienware ALX Desktop Manual 35 CHAPTER 3 INSTALLING ADDITIONAL OR REPLACEMENT COMPONENTS...
Page 44: ......
Page 45: ...Alienware ALX Desktop Manual 45 CHAPTER 4 SYSTEM RECOVERY...
Page 49: ...Alienware ALX Desktop Manual 49 CHAPTER 5 TROUBLESHOOTING...
Page 60: ...Alienware ALX Desktop Manual 60...
Page 62: ......
Page 66: ......


