February 11
th
, 2019
6
4. Install the air power drive and socket onto the drill shaft to operate in a clockwise direction.
5. Hold the power drive with one hand so that it will be pulling away from you under load. If
the cutter jams the power drive will be pulled from your grasp and will stop automatically as
your fingers are released from the trigger. If operated towards you it may swing around and
hit you in the chest before you can release the trigger
(Photo 8).
6. Operate the trigger and start the drill.
7. The power drive simply powers the drill shaft around. To feed the drill, slowly turn the feed
cap down with the other hand until the holesaw/shell cutter starts to cut, extra care is
required when using the shell cutter on steel pipe to generate chips not ribbon swarf.
(We
recommend that the drive and feed are both operated by one man, so that he can feel the
correct amount of feed pressure to apply.)
8. Continue to turn the feed cap down slowly without putting too much load on the
holesaw/shell cutter. This would be noticed by a reduction in speed and change in pitch of
the air motor.
9. Use less feed cap pressure on small holes since overload conditions are more likely to
occur.
10. A sudden increase in speed, reduction of load, higher pitch note of the air motor and the
drill shaft drops a little indicates that the holesaw/shell cutter is through the pipe.
Remove
the power drive from the drill shaft and isolate it from the air supply. Inject a few drops of
pneumatic oil directly into the tool air inlet, re-attach the power drive to the air supply and
depress the trigger for one second. This procedure will prevent moisture from forming rust
under the vanes of the air motor and seizing the tool.
11. Remove the nylon “C” split collar.
Tapping the Cut Hole
1. We highly recommend tapping by hand and not under power.
2. Turn the feed cap down as far as possible. Then back off ¼ turn.
3. Place the ratchet wrench on the drive shaft hex and operate by hand in a clockwise
direction. The tap will now pull itself into the hole. Maintain separation between the shaft
pin and the feed cap during this process by turning down the feed cap as you go
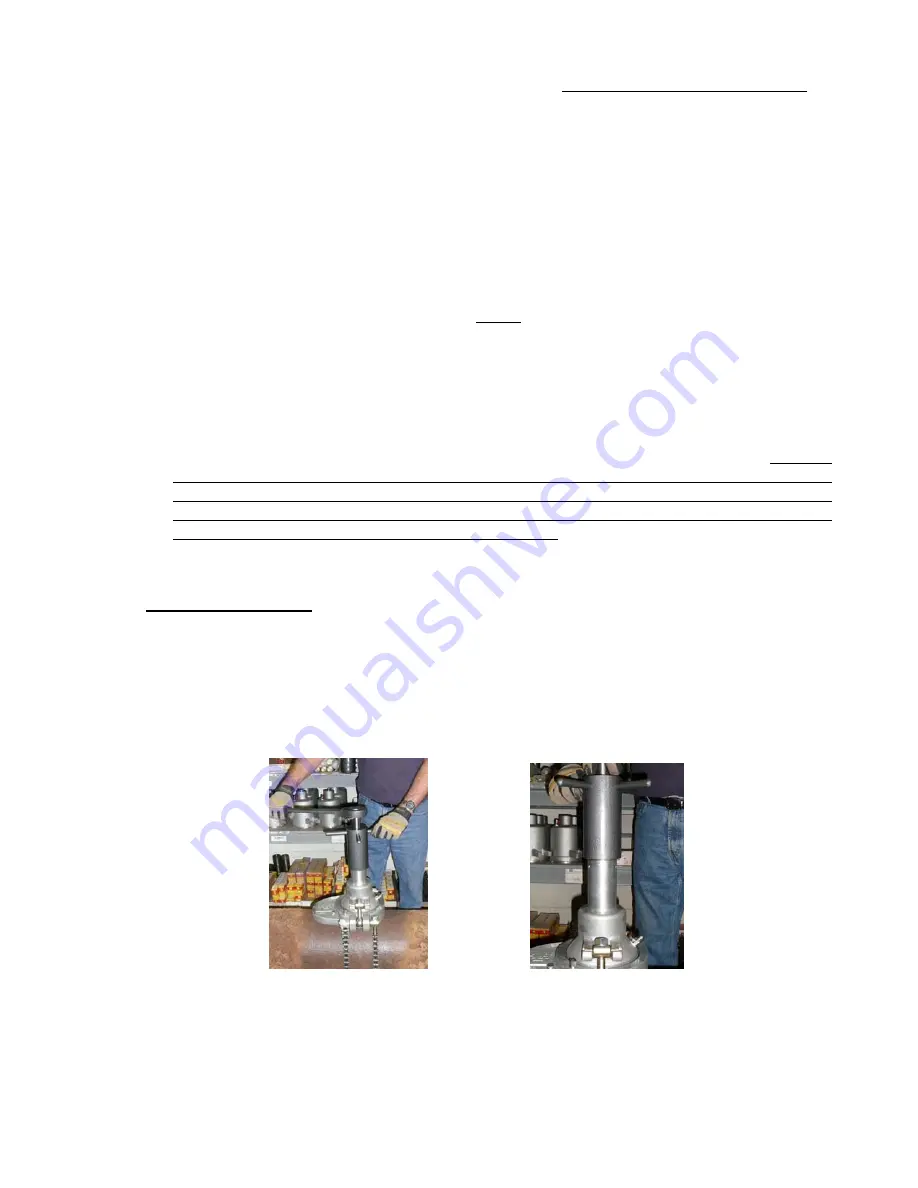
(Photo 9).
(Photo 9) (Photo 10)
4. Reverse the ratchet for half a turn from time to time if the tap starts to bind. This will release
the swarf from the tap’s teeth and make cutting easier.


