www.aleratec.com
20
Creating an Image with Nero
- continued
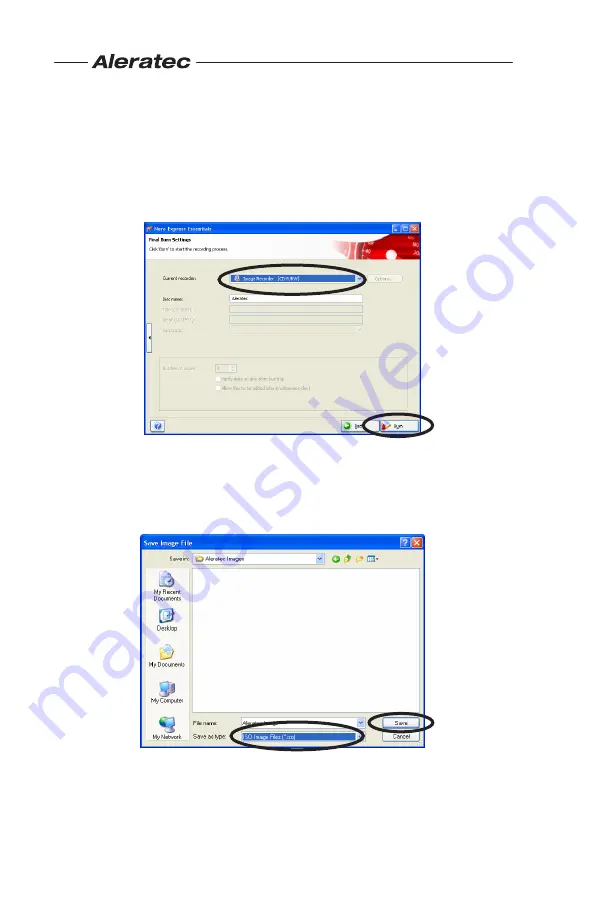
5. In the final display before creating an image, make sure that “Image
Recorder” in the dropdown menu to the right of “Current Recorder” is
selected. Fill out the disc name if you would like, and when you are
ready, press the “Burn” button at the lower right.
6. After the burn button is pressed the “Save Image File” screen will
appear. In the lowest dropdown menu called “Save as type:” select
“ISO Image Files (.iso)”. Type in the name you would like the image
file to be and then click the “Save” button.


