


English
- 34 -
Colour System
Press or button to select
Colour System
.
Use / button to change the colour system
to
PAL, SECAM, PAL 60, NTSC 4,43, NTSC 3,58
or
AUTO.
VCR
Press or button to select
VCR
. Use /
button to set the
VCR
as On or Off.
Store Program
Press or button to select
Store Program
.
Press
or
OK
button to store the settings.
“
Program Stored
” will be displayed on the
screen.
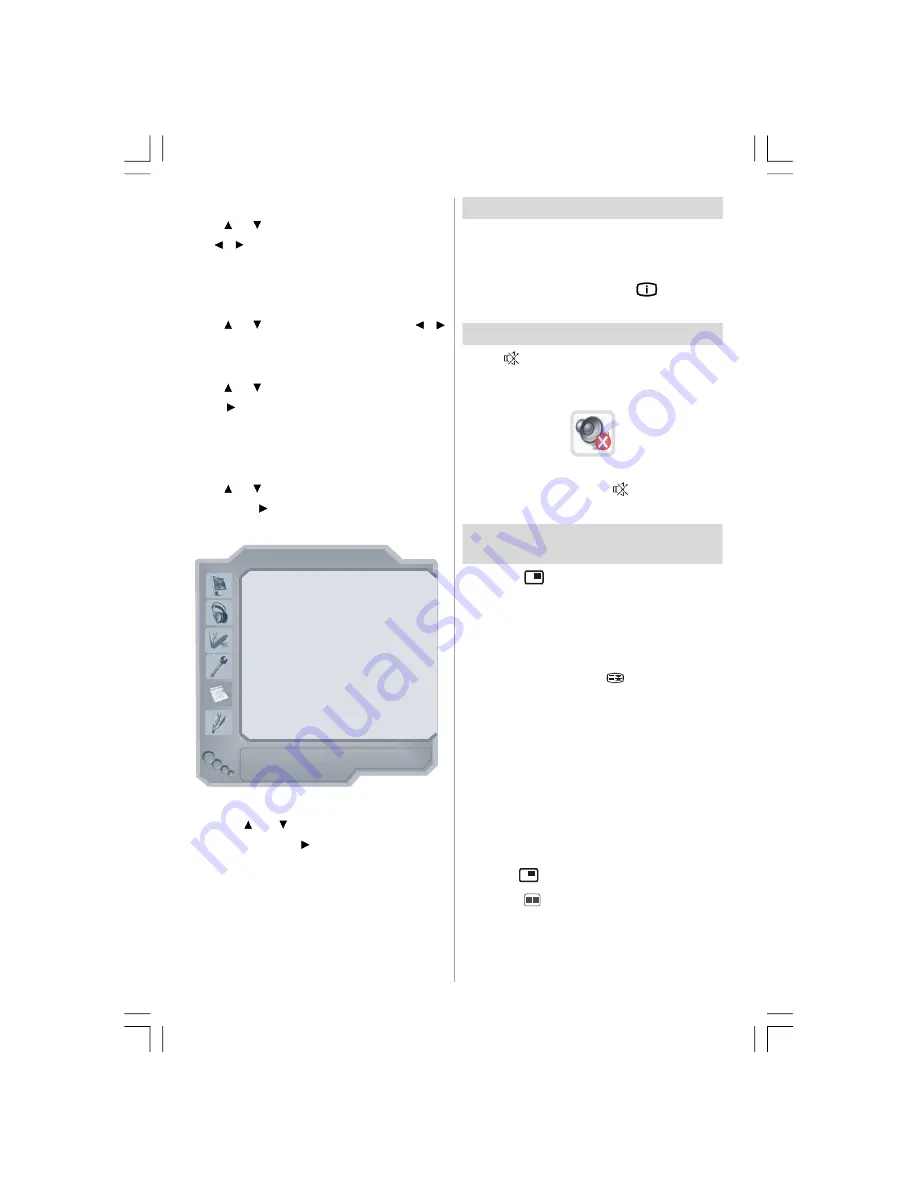
Source Menu
Press or button and select the sixth icon.
Then press
or
OK
button. Source menu
appears on the screen:
SOURCE : TV
TV
EXT - 1
EXT - 2
EXT - 3
EXT - 4
EXT - 5
TUNER
SCART
SCART
YPbPr
FAV
HDMI
EXT - 6
HDMI
DTV
In source menu, highlight a source by
pressing
or
button and switch to that
mode by pressing
or
OK
button. Source
options are;
TV
,
EXT-1
,
EXT-2
,
EXT-3
,
EXT-4
,
EXT-5
,
EXT-6
or
DTV
.
Note: Once you have connected optional
equipment systems to your TV, you
should select the required input to view
pictures from that source.
Displaying TV Information
Programme Number
,
Programme Name,
Sound Indicator
and
Zoom Mode
information
is displayed on the screen when a new
programme is entered or
button is
pressed.
Mute Function
Press
button to disable sound. Mute
indicator
will be displayed on
the upper side
of the screen.
To cancel mute, there are two alternatives; the
first one is pressing the
button and the
second one is increasing the volume level.
PIP (Picture-in-Picture) and PAP
(Picture-and-Picture) Modes
Press the
button to switch to PIP mode.
At PIP Mode, a small picture (PIP picture) is
displayed on the main picture. There are 1
size and 4 positions (upper left, upper right,
bottom left and bottom right) available for the
PIP window. You can use
button to change
the PIP position. Aspect Ratio of the PIP
window is fixed and 4:3.
When PIP Mode is entered, the default active
window is
the
PIP window and the active
window is indicated by a white frame around
it. The active window can be changed by
pressing
/
button. The status info OSD
belongs to active window. The place of the
status OSDs are same for both windows.
Press the
button again to exit the PIP mode.
Press the
button to switch to PAP mode.
At PAP Mode, two pictures with equal sizes
are displayed on the screen. Aspect Ratios of
the windows are fixed.
ENG-42761-1055UK-42 INCH 17MB26 UK IDTV-(WO SVHS-ECO PIP)-50116260.p65
16.10.2007, 09:20
34
Summary of Contents for AV42751-FHDID
Page 44: ......