background image

- 3 -

Surely connect

the ground wire.

Be sure to ground the connection properly.

Connect the ground terminal of TV with the ground terminal provided at
the power outlet using the enclosed power cord. If theprovided plug does
not fit your outlet, consult an electrician for replacement of the obsolete
outlet.

5. Ventilation

The slots and openings on the back cover are
intended for ventilation and to ensure reliable
operation. To prevent overheating, these open-
ings must not be blocked or covered in any-
way.

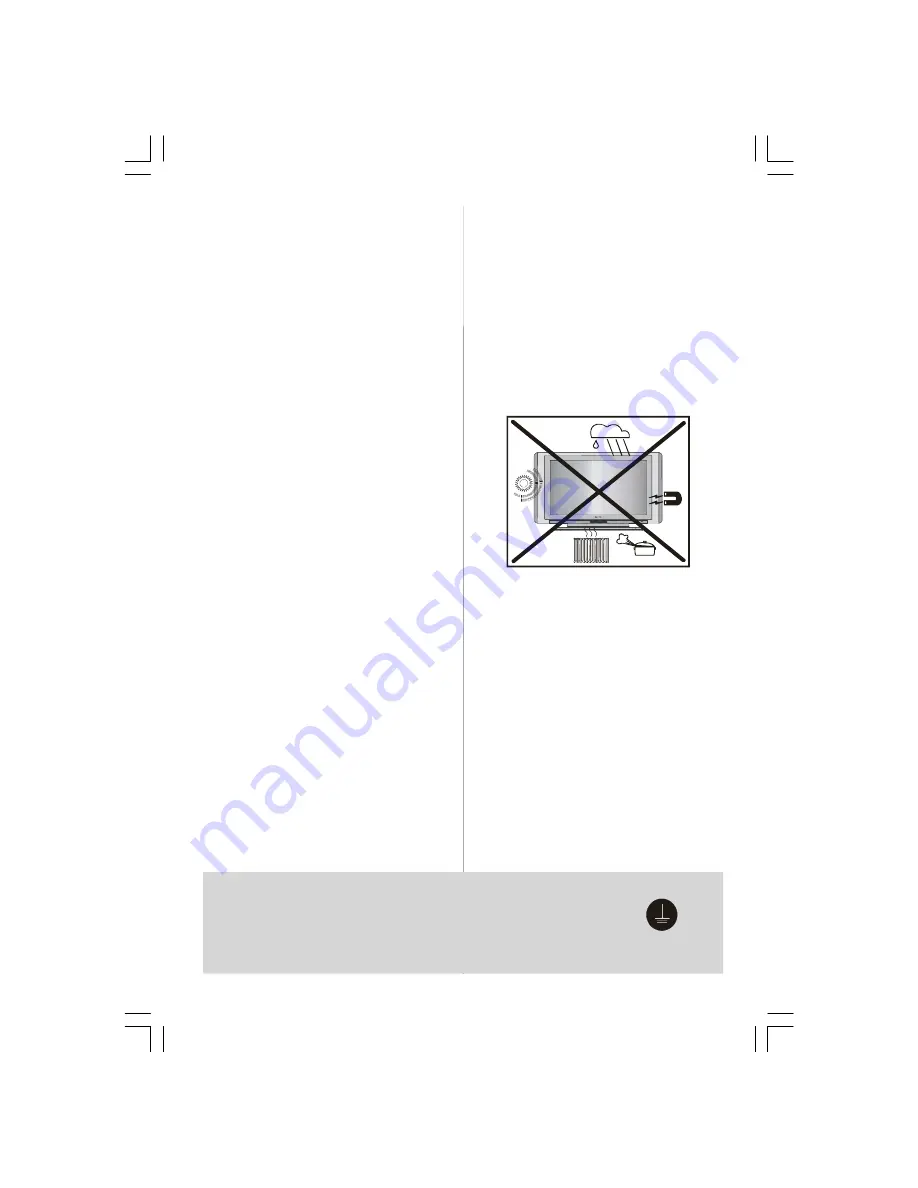
6.Heat and Flames

In the case of a Thunderstorm, or when leav-
ing the Tv for long periods, disconnect the
Aerial lead (if outdoor) and the mains supply
to prevent power surges damaging the Tv.

7. Lightning

In the event of a Thunderstorm or when go-
ing on holiday. Disconnect the mains supply
and aerial (if external).

8. Replacement Part

When replacement parts are required, be sure
the service technician has used replacement
parts which are specified by the manufacturer or
have the same specifications as the original one.
Unauthorised substitutions may result in fire,
electrical shock, or other hazards.

9 . Servicing

Please refer all servicing to qualified person-
nel. Do not remove the cover yourself as this
may result in an electric shock.

WARNING:

When the device is not in use for

a long time, disconnect from power.

Instructions for waste disposal:

• Packaging and packaging aids are recy-

clable and should principally be recycled.
Packaging materials, such as foil bag, must
be kept away from children.

• Remote control batteries should be disposed

of in a safe manner. Do not break open or
throw on a fire. Contact your local environ-
ment office for advice.

• Cold cathode fluoresant lamp in LCD PANEL

contains a small amount of mercury, please fol-
low local ordinates or regulations for disposal.

• The mains plug is used to disconnect the TV

from the mains and therefore it shall remain
readily operable.

Warning:

To prevent injury, this device must

be securely attached to the floor/wall in ac-
cordance with the installation instrutions.

"The LCD panel is veryhigh technologyprod-
uct with about a million thin film transistors,
giving you fine picture details. Occasionally,

a few non-active pixels may appear on the
screen as a fixed point of blue, green or red.
Please note that this does not affect the per-
formance of your product."

“DO NOT LEAVE THE TV IN STANDBY OR

OPERATINGWHEN LEAVING THE HOUSE”

ENG-26720W-1549UK-26 INCH 17MB15 OEM-(WO VGA-WO PIP)(HD READY)(S)(OZEL)-50100182.p65

16.01.2007, 18:05

3

Summary of Contents for AV26720-HD2

Page 1: ...AV26720 HD2 OPERATING INSTRUCTIONS 26 LCD TV COLOUR TELEVISION...

Page 2: ...m Modes 14 Teletext 15 To Operate Teletext 15 To Select A Page Of Teletext 16 To Select Index Page 16 To Select Teletext With A TV Programme 16 To Select Double Height Text 16 To Reveal Concealed Info...

Page 3: ...following recommended safety precautions carefully for your safety 1 Power Source The receiver must only be operated on a 220 240V AC 50 Hz supply 2 Power Cord Do not place the set a piece of furnitu...

Page 4: ...to qualified person nel Do not remove the cover yourself as this may result in an electric shock WARNING When the device is not in use for a long time disconnect from power Instructions for waste dis...

Page 5: ...4 LCD TV FRONTVIEW REARVIEW MENU P CH TV AV ENG 26720W 1549UK 26 INCH 17MB15 OEM WO VGA WO PIP HD READY S OZEL 50100182 p65 16 01 2007 18 05 4...

Page 6: ...switch Component Video YPbPr Inputs Component Audio Inputs s HDMI Input EXT 5 Scart 1 EXT 1 Scart 2 EXT 2 Aerial PC Audio Input EXT 4 EXT 3 L R S VHS 220V 240V AC 50 Hz POWER G H I J K L M F ENG 2672...

Page 7: ...4S and EXT 5 Yellow FEATURE Call Function Menu Blue INSTALL Call Programming Menu Stop Videotext Update Videotext No Function GUIDE Indexpage Videotext Show PC No Function Enlarge Videotext WIDE Pictu...

Page 8: ...rol handset when it is not to be used for a long period Otherwise it can be damaged due to any leakage of batteries SwitchingTheTVON OFF To switch the TV on Your TV will switch on in two steps 1 Conne...

Page 9: ...in Menu System section Volume Setting Press the V button to increase volume Press the V button to decrease volume A volume level scale slider will be displayed at the bottom of the screen Programme S...

Page 10: ...se one of these options Natural Cinemaand Dynamic Contrast By pressing button select Contrast Press button to increase contrast Press button to decrease contrast Contrast level can be adjusted between...

Page 11: ...ss button to increase volume level Press button to decrease volume level Volume level can be adjusted between 0 and 63 Equalizer By pressing button select Equalizer Press or OK button to enter equaliz...

Page 12: ...nguage using mode option AVL Automatic Volume Limiting AVL function ad justs the sound to obtain fixed output level between programs having different sound levels Pressing button will turn this featur...

Page 13: ...eo outputs Default Zoom By pressing button select Default Zoom You can set Default Zoom to Pan oramic 4 3 or 14 9 Zoom by pressing button If there is no WSS or aspect ratio picture size information an...

Page 14: ...t this item Off Store Program By pressing button select Store Pro gram Press or OK button to store the adjustments Program Stored will be dis played on the screen Program menu By pressing button selec...

Page 15: ...th icon Source menu appears on the screen TV EXT 1 EXT 2 EXT 3 EXT 4S EXT 4 EXT 5 SOURCE TV In source menu highlight a source by press ing button and switch to that mode by pressing or OK button Other...

Page 16: ...ll screen 16 9 Subtitle This zooms up the wide picture 16 9 aspect ratio with subtitles to the full screen Default Zoom Modes 4 3 Use to view a normal picture 4 3 aspect ratio as this is its original...

Page 17: ...period of time Press the button to stop the automatic page change Press the button again to allow the next page to be displayed To Select A Subcode Page Subcode pages are subsections of long Tele tex...

Page 18: ...using a DVI to HDMI cable use PC Audio In input for sound connection Via The Scart LCD TV has 2 Scart sockets If you want to connect peripherals e g video decoder etc which have Scart sockets to theTV...

Page 19: ...your camera or camcorder toAV EXT 4 input at the right side of the TV Connect your equipment to the TV viaVIDEO yellow AUDIO R red andAUDIO L white inputs You must connect the jacks to the input usin...

Page 20: ...rial RF Lead VCR to Satellite from RF Lead from VCR to TV Satellite LNB lead Aerial Scart Lead to on TV EXT 1 LCD TV camcorder connection headphone connection either connect the aerial straight to you...

Page 21: ...be incorrectly set Mute mode may be selected Check sound settings volume level press Mute button Remove headphones from socket Sound only from one speaker Balance incorrectly set Enter sound menu and...

Page 22: ...how that this appliance must not be placed with ordinary household waste at the end of its useful life To prevent possible harm to the environ ment or human health from uncontrolled waste disposal ple...

Page 23: ...NGVOLTAGE 220 240V AC 50 Hz AUDIO German Nicam Stereo AUDIO OUTPUT POWER WRMS 10 THD 2 x 8 POWER CONSUMPTION W 160 W 2 7 W Stand by PANEL 16 9 display 26 Screen Size DIMENSIONS mm 211 100 810 810 480...

Page 24: ...ellow must be connected to the terminal which is marked with the letter E or by the earth symbol or coloured green or green and yellow The wire which is coloured blue or black must be connected to the...

Reviews: