background image

TV FUNCTIONS (MENUS)

17

2

2..  P

PIIC

CT

TU

UR

RE

E  S

SE

ET

TT

TIIN

NG

GS

S  M

ME

EN

NU

U  

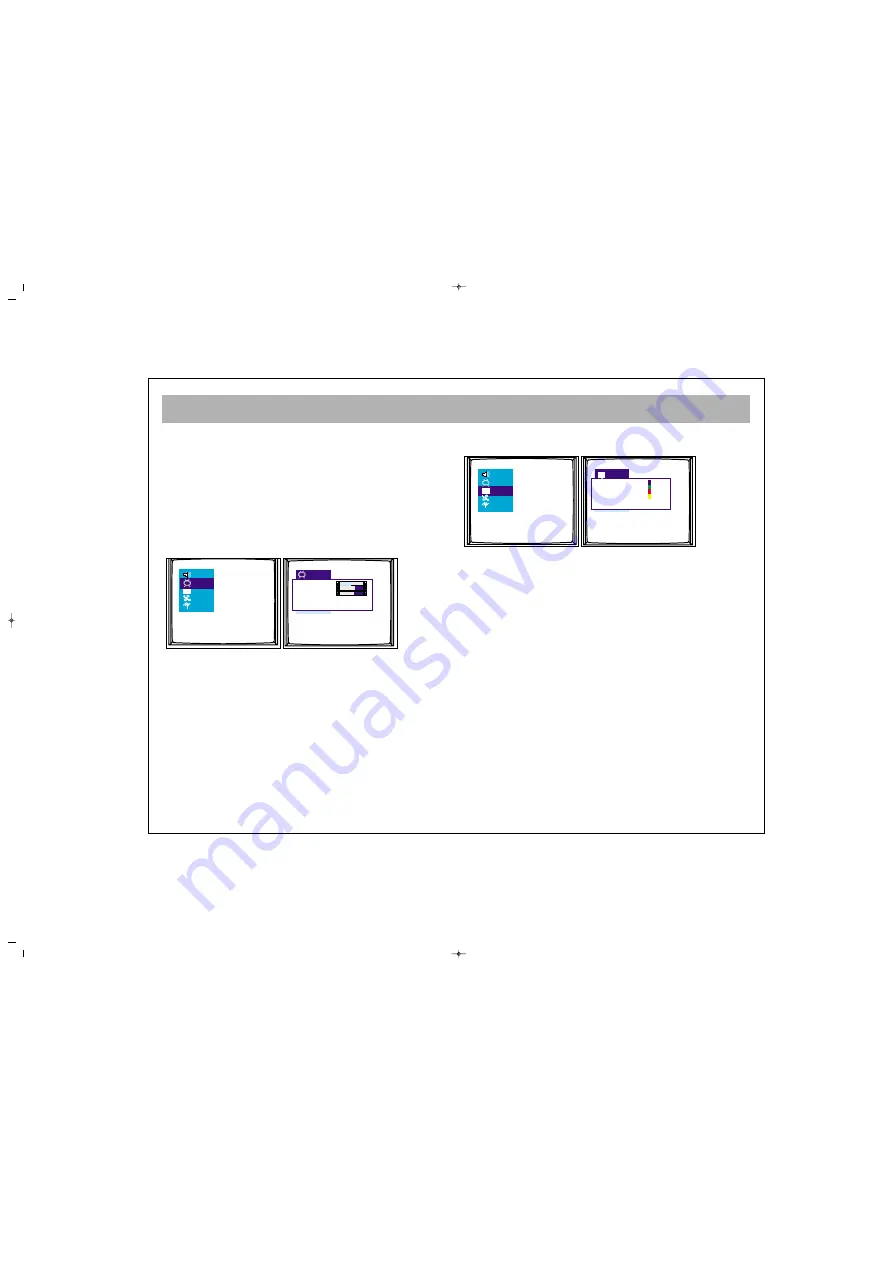
Using  the  MENU  button,  you  can  access  to  picture
settings    menu.  In  the  picture  settings  menu,  you  can
alter  many    parameters  related  to  display.    Brightness,
Contrast, Colour, Sharpness, Dyn. Skin tone, White tone
and  User    settings  can  be  made  according  to  your
requirements.  Using the P± buttons on the RC, highlight
the option you want to set and change the setting value
or  the  option  pressing  the  V±  buttons.

The changes are automatically memorized. 

If you press MENU button, you can access to former menu,
while you can leave  all menus if you press TV button. 

3

3..   P

PR

RO

OG

GR

RA

AM

M   T

TA

AB

BL

LE

E   ::   Using  menu  buttons,  you  can

access to program table. 

The  channel  number  and  name  in  the  program  table
appear  in  different  colors.  You  can  access  to  other
channels using P± and V± buttons in the program table. 

3

3..1

1..  Naming.  Select the programme you wish to name.

Use the BLUE button to select. Use the P+/- buttons to
select  the  letter  you  wish  to  change.  Use  the  V+/-
buttons to select the character. When the name is Ok,
press the Blue button to store.

3

3..2

2..   Move.    When  the  “Auto  Search”  process  takes

place,  some  of  the  programmes  may  not  be  in  the
correct place eg : BBC1 may not be in the location “1”.
You can move each programme to its correct location.
Select  the  programme  you  wish  to  move  “BBC1”  by
using  the P+/- buttons, Press the “Green” button, now
with  the  P+/P-  buttons,  move  the  programme  to  the
required  location  “1”  ,  press  the  Green  button  again
and  the  programme  will  move  to  the  new  location.

1
2
3
4
5
6

7
8
9
10
11
12

Name
Move
Delete
Skip

Brightness
Contrast
Colour
Sharpness              Normal
Dyn. skin tone          Off
White tone              Normal

065001055310 15" LCD TV LOC1   22/5/06  9:59  Page 17

All manuals and user guides at all-guides.com

Summary of Contents for APLCD15-S

Page 1: ...065 001 055 310 APLCD15 S INSTRUCTION MANUAL 065001055310 15 LCD TV LOC1 22 5 06 9 59 Page 1 All manuals and user guides at all guides com a l l g u i d e s c o m...

Page 2: ...NNECTIONS 11 TV FUNCTIONS 12 SETUP 14 TV FUNCTIONS MENUS 16 VOLUME ADJUSTMENT MENU EQUALIZER HEADPHONE 16 PICTURE SETTINGS MENU PROGRAM TABLE 17 SETTINGS MENU 18 PROGRAM SETTINGS 19 EXTERNAL DEVICE MO...

Page 3: ...is unit may not match the coloured markings of the mains plug terminals You can identify the correct terminals as follows The wire that is coloured BROWN is connected to the terminal that is marked wi...

Page 4: ...y V VE EN NT TI IL LA AT TI IO ON N The slots and openings on the TV are for ventilation Please ensure that there is enough space to allow for adequate ventilation around the TV at least 10cm Do not b...

Page 5: ...iquids in it if it is damaged in any way or if it does not work normally Immediately unplug the unit and get expert advice This product is only designed for household or similar general use Any other...

Page 6: ...rial in 8 8 SCART In Using this socket you may connect to your TV such equipment as a Digital TV Decoder DVD Player or VCR 9 9 Component Audio in L R 1 10 0 Component YPbPr input 1 11 1 PC input 1 12...

Page 7: ...us button i 12 Volume setting button DUAL I DUAL II Stereo Mono DUAL I II ST MONO Memory Button in Mono Models 13 To reach Setup Menu 14 AV Button 15 Blue button incred stereo mono normal Audio select...

Page 8: ...remove the batteries N No ot te e Your Remote Control controls your TV at up to 7 metres and 30 degrees of an angle B BA AT TT TE ER RY Y I IN NS SE ER RT TI IO ON N 1 1 5 5V V A AA AA A x x 2 2 p pi...

Page 9: ...to Fig A 1 into the aerial input of the set Alternatively you may connect the aerial via a video recorder by using the video recorder Rf Input and Rf Output connections as shown AERIAL Socket Fig A 1...

Page 10: ...F Output channel in Channel 0 on your LCD TV V VC CR R A AN ND D D DV VD D P PL LA AY YE ER R O OP PE ER RA AT TI IO ON N B BY Y U US SI IN NG G T TH HE E E EU UR RO O S SC CA AR RT T S SO OC CK KE ET...

Page 11: ...CD TV s YPbPr input using 3 Way chinch cable by refering connector colours This method will carry the image to your LCD TV For audio connection use a 2 Way AV connecting lead to connect left and right...

Page 12: ...your TV for a short time press the Stand By button on your remote control or on the top of the TV N No ot te e R RC C m me ea an ns s R Re em mo ot te e C Co on nt tr ro ol ll le er r 1 1 P PR RO OG G...

Page 13: ...FF F If the Tv receives no signal for 5 minutes it will automatically switch to Stand By This feature is not enabled in AV mode 9 9 M ME EN NU U B Bu ut tt to on n By pressing this button you may acc...

Page 14: ...P for Settings and enter the menu with V button 3 Choose Language option with P P button and adjust you rdesired menu language with V V button 4 Use P P button for Country option and choose the countr...

Page 15: ...anguage and the manual adjustments Use P P V V for changing order of the programme naming programmes deleting programmes and skipping programmes These options are noted on pages 17 18 065001055310 15...

Page 16: ...enus This is for automatic volume limitation i e it keeps the volume level at the optimum level when shifting from one channel to another Because of this the volume comes after the display in case a c...

Page 17: ...fferent colors You can access to other channels using P and V buttons in the program table 3 3 1 1 Naming Select the programme you wish to name Use the BLUE button to select Use the P buttons to selec...

Page 18: ...I IN NG GS S M ME EN NU U In this menu 4 4 1 1 S So ou ur rc ce e O OS SD D The source OSD option can be adjusted as Open Closed It provides continuous display of the current channel 4 4 2 2 L La an n...

Page 19: ...iod between 5 to 120 minutes with the V button At the end of the set period a warning message appears on the screen Pressing any button this message will disappear Reminder time may be increased or de...

Page 20: ...current channel appears Press V to enter the channel name You can change the character using P buttons You can access the following and previous characters using V When the naming is over you can leav...

Page 21: ...the possible small frequency errors in the channels L Lo oc ck k This provides locking of the current channel When the locked channel is accessed a password is requested If the password is entered cor...

Page 22: ...the sound of your computer from the TV speakers When it is off you cannot hear your computer s voice from your TVs speakers I In n t th he e P Pi ic ct tu ur re e M Me en nu u dyn skin tone option ha...

Page 23: ...corner of the screen In the Teletext mode this is used for a direct access to the subpages of the current page F Fo or r E Ex xa am mp pl le e You are in the teletext page No 500 If the message 1 2 a...

Page 24: ...pages such subpages are displayed from time to time In such a case this button is pressed to hold that page continuously on the screen When the page is held pressing HOLD the HOLD script appears on th...

Page 25: ...hed to monitor Batteries low High room incident light Poor Tv signal R Re em me ed dy y Check all connections Turn mains socket On Use P P buttons or a Numeric button to bring Tv out of standby Turn A...

Page 26: ...TI SYSTEM NTSC PLAYBACK Band VHF 1 Band 2 4 VHF III Band 5 12 UHF Band 21 69 S Band S1 S41 Aerial Input 75 ohm Standard Antenna Socket Program Capacity 100 AV Picture Tube TFT LCD Panel 1024 x 768 res...

Page 27: ...liance must not be placed with ordinary household waste When this appliance has reached the end of its useful life It must be disposed of in accordance with local by laws Consult your local waste disp...

Reviews: