5
5)
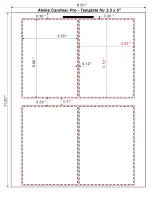
Download the Cardmac Pro Templates
under Cardmac Pro page. Use templates
(available in Microsoft Word and Microsoft Publisher) to design your business cards, or, make your own
template going by the cutting dimensions on the Instructions page.
6)
Set up of Paper Feeding Tray
a)
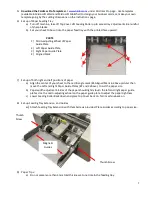
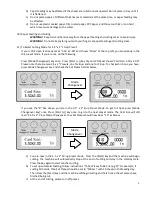
Turn off machine, take off Top Cover. Lift Feeding Roller up to access tray adjustments. Be mindful
of sharp blades.
b)
Set your sheet to be cut into the paper feed tray with the printed face upward.
7)
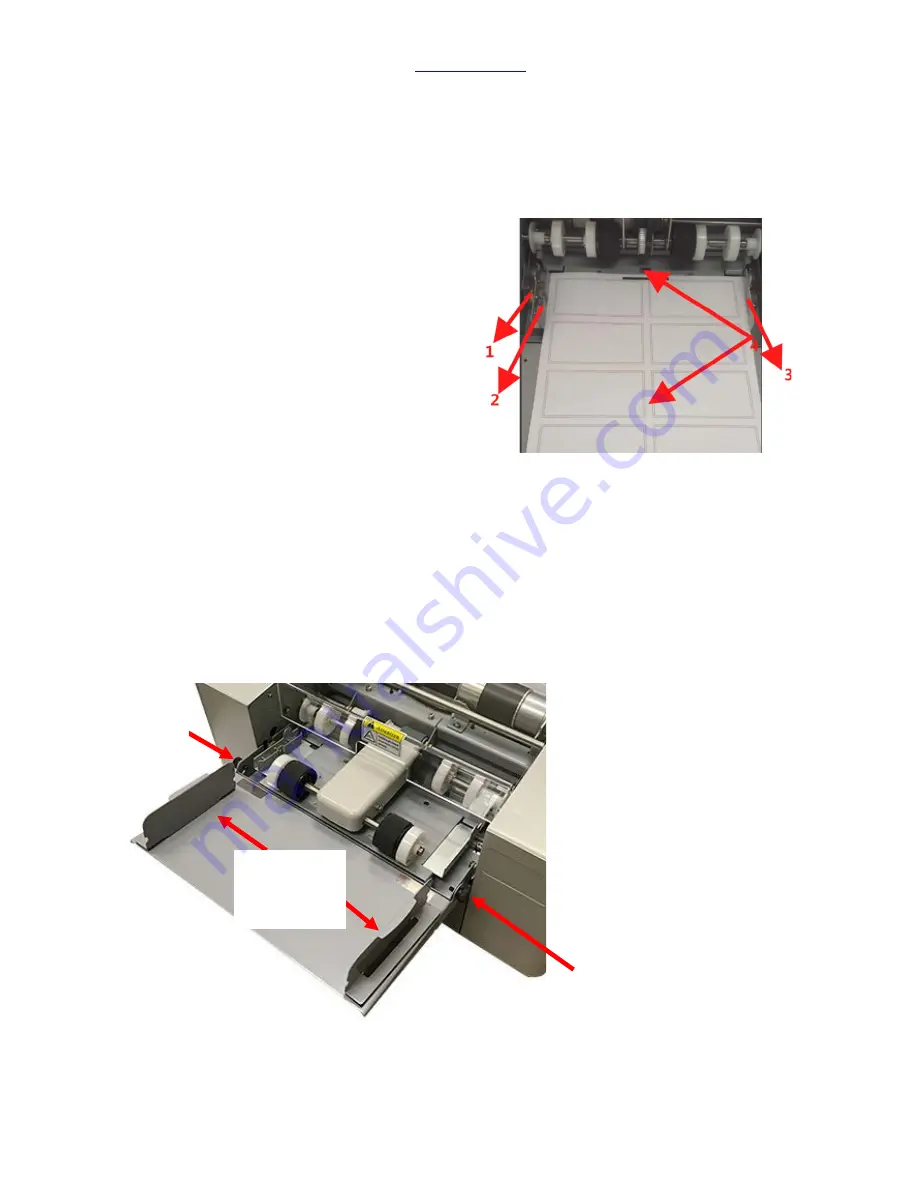
Set-up of both right and left positions of paper
a)
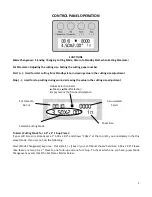
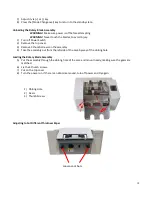
Align the center of your sheet to the red triangle mark (#4 Aligned Mark in above picture) then
move the Left and Right Paper Guide Plates (#2 and 3 above) to suit the paper size.
b)
Paper width adjustment: Sides of the paper should lightly touch the left and right paper guide
plates. Use the micro-adjusting wheel on the paper guide plate to adjust the paper tightness.
c)
Lower Feeding Roller Back down and place Top Cover back on. Turn machine back on.
8)
Set-up Feeding Tray Extension and Guides
a)
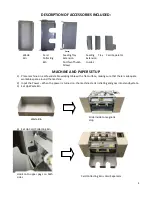
Attach Feeding Tray Extension with thumbscrews provided. Place Guides according to paper size
.
9)
Paper Tips:
a)
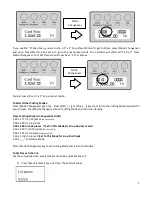
Do not place more than 3mm total thickness at one time in the feeding tray.
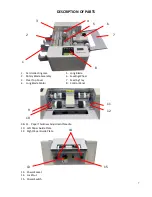
PARTS
1)
Micro-adjusting Wheel of Paper
Guide Plate
2)
Left Paper Guide Plate
3)
Right Paper Guide Plate
4)
Aligned Mark
Thumb Screw
Thumb
Screw
Magnetic
Guides
Summary of Contents for Cardmac Pro
Page 18: ...3 5 x2 ...
Page 19: ......
Page 20: ......
Page 21: ...T e mp l a t eD i me n s i o n sf o r C u s t o m L e n g t hC a r d s ...

