background image

E- 12

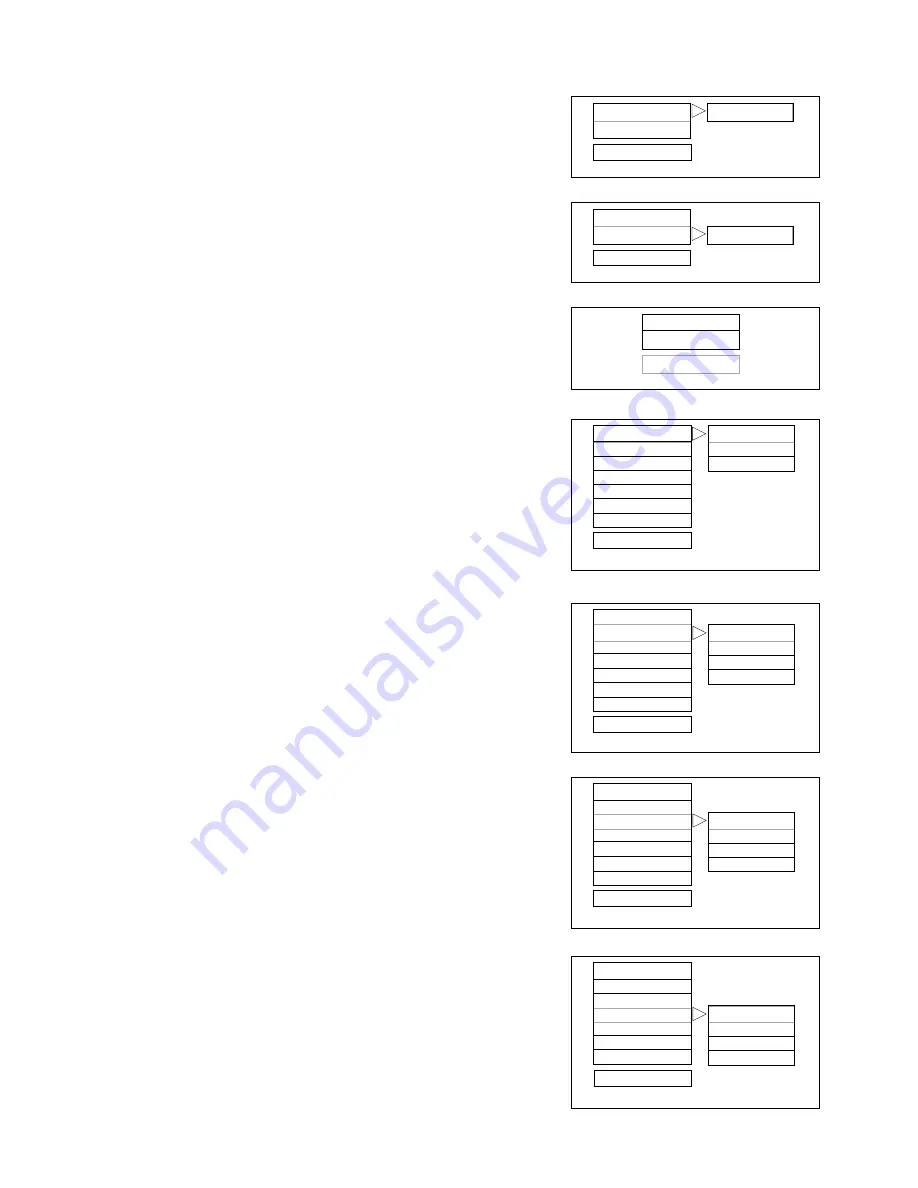
VIDEO   SETUP

BRIGHTNESS

User can set the level of brightness for the image displayed. It is ranged
from -20 to 20.

CONTRAST

User can set the level of contrast for the image displayed. It is ranged
from –16  to 16.

MAIN  PAGE

Go back to the main setup menu

.

PREFERENCE  SETUP

TV TYPE

NTSC
This is selected when the player is connected to an NTSC TV.

MULTI
The player will set the TV standard according to the disc in the
tray.

PAL
This is selected when the player is connected to a PAL TV.

AUDIO

If a language listed below is recorded on the disc, you can play the
sound in such language. If not, the language recorded will be used.

•     ENGLISH
•     FRENCH
•     SPANISH
•     GERMAN

SUBTITLE

If a language listed below is recorded on the disc, you set the subtitle to
be displayed in such language. If not, the language recorded will be
used.

•     ENGLISH
•     FRENCH
•     SPANISH
•     GERMAN

DISC MENU

If a language listed below is recorded on the disc, you can set the Menu
to be displayed in such language. If not, the language recorded will be
used.

•     ENGLISH
•     FRENCH
•     SPANISH
•     GERMAN

1234567890123456789012

1234567890123456789012

1234567890123456789012

1234567890123456789012

1234567890123456789

1234567890123456789

1234567890123456789

1234567890123456789

 --  VIDEO SETUP PAGE  --

BRIGHTNESS

0

CONTRAST

MAIN PAGE

BRIGHTNESS

1234567890123456789012

1234567890123456789012

1234567890123456789012

1234567890123456789012

1234567890123456789

1234567890123456789

1234567890123456789

1234567890123456789

 --  VIDEO SETUP PAGE  --

BRIGHTNESS
CONTRAST

0

MAIN PAGE

CONTRAST

123456789012345678901

123456789012345678901

123456789012345678901

123456789012345678901

123456789012345678901

 --  VIDEO SETUP PAGE  --

BRIGHTNESS
CONTRAST

MAIN PAGE

BACK TO MAIN PAGE

1234567890123456789012

1234567890123456789012

1234567890123456789012

1234567890123456789012

1234567890123456789

1234567890123456789

1234567890123456789

1234567890123456789

 --  PREFERENCE  PAGE  --

TV TYPE

PAL

AUDIO

MULTI

SUBTITLE

NTSC

DISC MENU
PARENTAL
PASSWORD
DEFAULT

MAIN PAGE

SET  TV  STANDARD

1234567890123456789012

1234567890123456789012

1234567890123456789012

1234567890123456789012

1234567890123456789

1234567890123456789

1234567890123456789

1234567890123456789

 --  PREFERENCE  PAGE  --

TV TYPE
AUDIO

ENGLISH

SUBTITLE

FRENCH

DISC MENU

SPANISH

PARENTAL

GERMAN

PASSWORD
DEFAULT

MAIN PAGE

PREFERRED  AUDIO  LANGUAGE

1234567890123456789012

1234567890123456789012

1234567890123456789012

1234567890123456789012

1234567890123456789

1234567890123456789

1234567890123456789

1234567890123456789

1234567890123456789

 --  PREFERENCE  PAGE  --

TV TYPE
AUDIO
SUBTITLE
DISC MENU

ENGLISH

PARENTAL

FRENCH

PASSWORD

SPANISH

DEFAULT

GERMAN

MAIN PAGE

PREFERRED  MENU  LANGUAGE

1234567890123456789012

1234567890123456789012

1234567890123456789012

1234567890123456789012

1234567890123456789

1234567890123456789

1234567890123456789

1234567890123456789

1234567890123456789

 --  PREFERENCE  PAGE  --

TV TYPE
AUDIO
SUBTITLE

ENGLISH

DISC MENU

FRENCH

PARENTAL

SPANISH

PASSWORD

GERMAN

DEFAULT

MAIN PAGE

PREFERRED  SUBTITLE  LANGUAGE

Summary of Contents for CT-S14MTD-E3

Page 1: ......

Page 2: ...mbol within the triangle is a warning sign alerting the user of dangerous voltage inside the unit To reduce the risk of electric shock do not remove the cover No user serviceable parts inside the unit Refer all servicing to qualified personnel CAUTION RISK OF ELECTRIC SHOCK DO NOT OPEN ATTENTION CONTENTS FEATURES 1 PRECAUTIONS 2 LOCATION OF CONTROLS 3 REMOTE CONTROL 4 ANTENNA CONNECTIONS 5 POWER S...

Page 3: ...it Do not put any foreign objects on the disc tray Keep away from water magnetic fields Keep the unit away from flower vases tubs sinks etc If liquids are spilled into the unit serious damage will occur Do not place magnetic objects such as speakers close to this unit Stacking Place the unit in a horizontal position Do not place anything heavy on top of it Do not place the unit on amplifiers or ot...

Page 4: ...DVD Loader 10 DVD Play Button 11 DVD Stop Button 12 Earphone 13 Front Video Input 14 Front Audio Input 15 75 ohm Antenna 16 Scart connector 17 Audio digital Out Socket For DVD only 18 Audio out R for DVD 19 Audio out L for DVD 20 Video out for DVD 21 S Video out for DVD Note The plastic caps supplied with the set are just for the foot decoration Plastic Caps ...

Page 5: ...ceal Buttons 21 Teletext Enlarge Button 22 Teletext Time Display Button 23 TV System Teletext Cancel Button 24 Mute Button 25 Stand by button 26 Repeat A B Button 27 DVD Menu Button 28 Display Button 29 Setup Button 30 DVD Zoom Button 31 Search Button 32 DVD Enter Button 33 Direction Right Button 34 Direction Down Button 35 Volume Buttons 36 Fast Forward Button Next 37 Play Button 38 DVD Skip Back...

Page 6: ... try to operate your TV DVD away from the normal viewing angle over 30 either side of the remote sensor NOTE When direct sunlight an incandescent lamp fluorescent lamp or any other strong light shines on the remote sensor the remote control operation may be unstable ANTENNA CONNECTION Connect an indoor or outdoor antenna to the antenna socket 15 at the rear panel For all antenna circuit problems p...

Page 7: ...n will stop when the station is tuned in 4 Press the CH to select the desired COLOUR system SOUND system PROGRAM position and press the VOL to select 5 If the station is not clear to select the FINE TUNE and press VOL to tune the station untill the picture is clear 6 Press the CH to select the STORE and press the VOL to store the data into memory PICTURE 1 Press the MENU button to see main MENU 2 ...

Page 8: ...HANNELSELECTANDVOLUMECONTROL 1 Press CH buttons to select TV station TV Mode Only Press CH the program no will appear on the top right corner and change from higher no to lower no Press CH the program no will change from lower no to higher no 2 Press VOL to ADJUST sound level TV AV DVD Mode Button on the main unit If video audio input socket are in use press AV TV Mode button AV will display on th...

Page 9: ...lect the picture effect PP MILD STANDARD DYNAMIC Stand By Button 25 Press the button to switch ON OFF the picture and sound To switch on the TV from stand by mode just press any desired program number 0 9 Mute Button 24 Press the mute button to switch OFF the sound press once again to switch ON the sound TV Mode Button 43 Press the TV Mode button to select the TV mode TV AV Mode Button 42 Press th...

Page 10: ...p half of the page at double height text Press again to display bottom half of the page Press again to get full page at normal height text Stop Button More information may follow the page of Teletext you have selected and it is automatically displayed after a short period of time Press button to hold the page Press again to resume automatic page changing Cancel Button x System To switch between Te...

Page 11: ...he screen shows the mark when playing DVD On Off OSD LANGUAGE This is used to select the OSD language ENGLISH SPANISH GERMAN FRENCH 1234567890123456789012345678901212345678901 1234567890123456789012345678901212345678901 1234567890123456789012345678901212345678901 1234567890123456789012345678901212345678901 SETUP MENU MAIN PAGE GOTO GENERAL SETUP PAGE GENERALSETUP SPEAKER SETUP DOLBY DIGITAL SETUP ...

Page 12: ...23456789012 1234567890123456789012 1234567890123456789 1234567890123456789 1234567890123456789 1234567890123456789 1234567890123456789 GENERAL SETUP PAGE TV DISPLAY ANGLE MARK OSD LANG CAPTIONS SCREENSAVER ON OFF MAINPAGE SCREEN SAVER 1234567890123456789012 1234567890123456789012 1234567890123456789012 1234567890123456789012 1234567890123456789012 1234567890123456789 1234567890123456789 1234567890...

Page 13: ...23456789 1234567890123456789 1234567890123456789 1234567890123456789 VIDEO SETUP PAGE BRIGHTNESS CONTRAST 0 MAINPAGE CONTRAST 123456789012345678901 123456789012345678901 123456789012345678901 123456789012345678901 123456789012345678901 VIDEO SETUP PAGE BRIGHTNESS CONTRAST MAINPAGE BACK TO MAIN PAGE 1234567890123456789012 1234567890123456789012 1234567890123456789012 1234567890123456789012 12345678...

Page 14: ... 1234567890123456789012 1234567890123456789012 1234567890123456789012 1234567890123456789012 1234567890123456789 1234567890123456789 1234567890123456789 1234567890123456789 PREFERENCE PAGE TV TYPE AUDIO SUBTITLE DISCMENU PARENTAL PASSWORD CHANGE DEFAULT MAINPAGE CHANGE PASSWORD 1234567890123456789012 1234567890123456789012 1234567890123456789012 1234567890123456789012 1234567890123456789012 PREFER...

Page 15: ...tion 4 Press ENTER to confirm 5 Press SETUP again to quit the Setup menu DVD Menu Play The DVD Menu Play function is only applicable for DVD movie User can access the Casting information Production History Movie Introduction etc directly through this function 1 Press the DVD MENU Button on the remote controller to enter the Root Menu 2 Use the Navigation Arrows or input the item index through the ...

Page 16: ...e end point The marked part will be repeated automatically Note Press the REPEAT AB Button during repetition will disable the Repeat mode Subtitle This function is only applicable for DVD disc It can change the subtitle language shown on the screen Note Number of subtitle available depends on the DVD disc Angle Some discs may have multiple viewing angles during production The ANGLE button is to se...

Page 17: ...ssign the playback sequence according to his her preference For CD audio user can assign the track sequence while for DVD disc user can assign both the Title and Chapter sequence CD 1 Press the PROGRAM Key The Program Sequence table will be shown on the screen 2 Enter the track numbers according to the user preference through the Number keys 0 9 3 After assigning the playback sequence move the hig...

Page 18: ...1 02 03 04 05 EXIT NEXT 12345 12345 12345 TT 02 CH TT CH TT CH TT CH TT CH PROGRAM TT 04 CH 06 07 08 09 10 TT CH TT CH TT CH TT CH TT CH 01 02 03 04 05 EXIT START NEXT 123456789012 123456789012 123456789012 TT 02 CH 03 TT CH TT CH TT CH TT CH 1234567890123 1234567890123 1234567890123 PROGRAM TT 04 CH 06 07 08 09 10 TT CH TT CH TT CH TT CH TT CH TT 02 CH 03 TT 01 CH 01 TT 04 CH 02 TT CH TT CH 01 02...

Page 19: ... also be used to navigate picture CDs Insert a picture CD into the tray and the disc will be loaded automatically If the disc type can be identified the player will start showing the pictures one by one Slide Show Mode Operations During Slide Show Mode Press the STOP Button will shift to the Digest Mode in which 12 pictures will be shown on the screen each time Press the PAUSE Button will freeze t...

Page 20: ...put Coaxial digital output pin jack S video Y output level 1Vp p 75 Ohm C output level 0 300Vp p 75 Ohm PAL 0 286Vp p 75 Ohm NTSC Headphone Stereo in DVD mode Mono in TV mode GENERALSECTION AC Power Input 230V 50 Hz AC Power Consumption 80W Speaker 3 8ohm x 2 Audio Output 2W 2W Dimensions 420x 409x 390 mm Net Weight 13 5 Kg Specifications subject to change without notice Importer AKAI Benelux Elma...

Reviews: