- 13 -
CONNECTIONS
Plugging in the Unit
• Ensure all the components and speakers are connected correctly.
• Be sure the AC power cord is disconnected and all functions are off before making connections.
• When you are not going to use the unit for a long period of time, disconnect the power cord.
Turning on the Unit and TV
1. Plug in the unit. The unit is on standby and the standby indicator lights up.
2. Press the
STANDBY/ON
button on the top panel or on the remote control to turn on the unit while the unit is in
STANDBY mode.
3. Turn on the TV by pressing its POWER button.
4. Select the channel on your TV corresponding to the VIDEO IN jack that the unit is
connected to. See TV User Guide for more information.
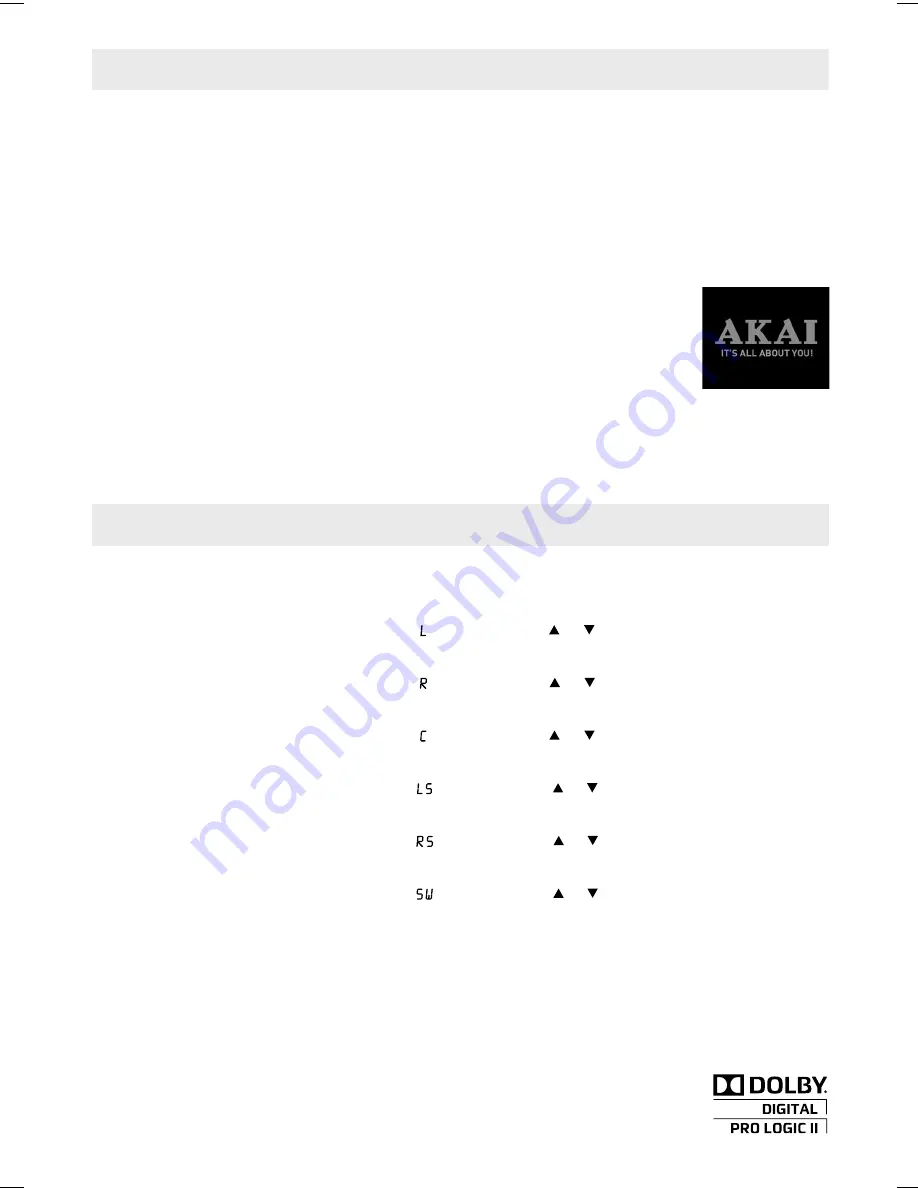
• If you have connected the unit successfully, the DVD logo (start-up picture) will appear
on your TV screen.
Notes:
• Press
the
STANDBY/ON
button to switch to STANDBY mode and the standby indicator will light up.
• Whenever there is no disc in the unit or the disc has stopped playing for 60 minutes, the system will switch to
STANDBY mode automatically.
Manufactured under license from Dolby Laboratories.
Dolby, Pro Logic, and the double-D symbol are trademarks of Dolby Laboratories.
Dolby Digital
Dolby Digital is a sound system developed by Dolby Laboratories Inc. that gives movie theatre ambience to audio
output when the unit is connected to a Dolby Digital 5.1 channel processor or amplifi er.
This unit automatically recognizes DVDs that have been recorded with Dolby Digital.
Not all Dolby Digital sources are recorded with 6 channels.
ADJUSTING THE SOUND
To Adjust the Surround Sound Balance While Dolby Digital Decoding is in Effect
Use the remote control to make the following changes to speaker balance:
FRONT SPEAKER (LEFT)
Press the
SOUND
button repeatedly to display " ", then press the
or
button on the remote to adjust the
sound level. It will show on the display of the unit.
FRONT SPEAKER (RIGHT)
Press the
SOUND
button repeatedly to display " ", then press the
or
button on the remote to adjust the
sound level. It will show on the display of the unit.
CENTER SPEAKER
Press the
SOUND
button repeatedly to display " ", then press the
or
button on the remote to adjust the
sound level. It will show on the display of the unit.
REAR SPEAKER (LEFT)
Press the
SOUND
button repeatedly to display "
", then press the
or
button on the remote to adjust the
sound level. It will show on the display of the unit.
REAR SPEAKER (RIGHT)
Press the
SOUND
button repeatedly to display "
", then press the
or
button on the remote to adjust the
sound level. It will show on the display of the unit.
SUBWOOFER
Press the
SOUND
button repeatedly to display "
", then press the
or
button on the remote to adjust the
sound level. It will show on the display of the unit.
Note:
If no button is pressed within a few seconds, the display will return to normal.
Summary of Contents for AHC1200
Page 1: ......


