Page 14
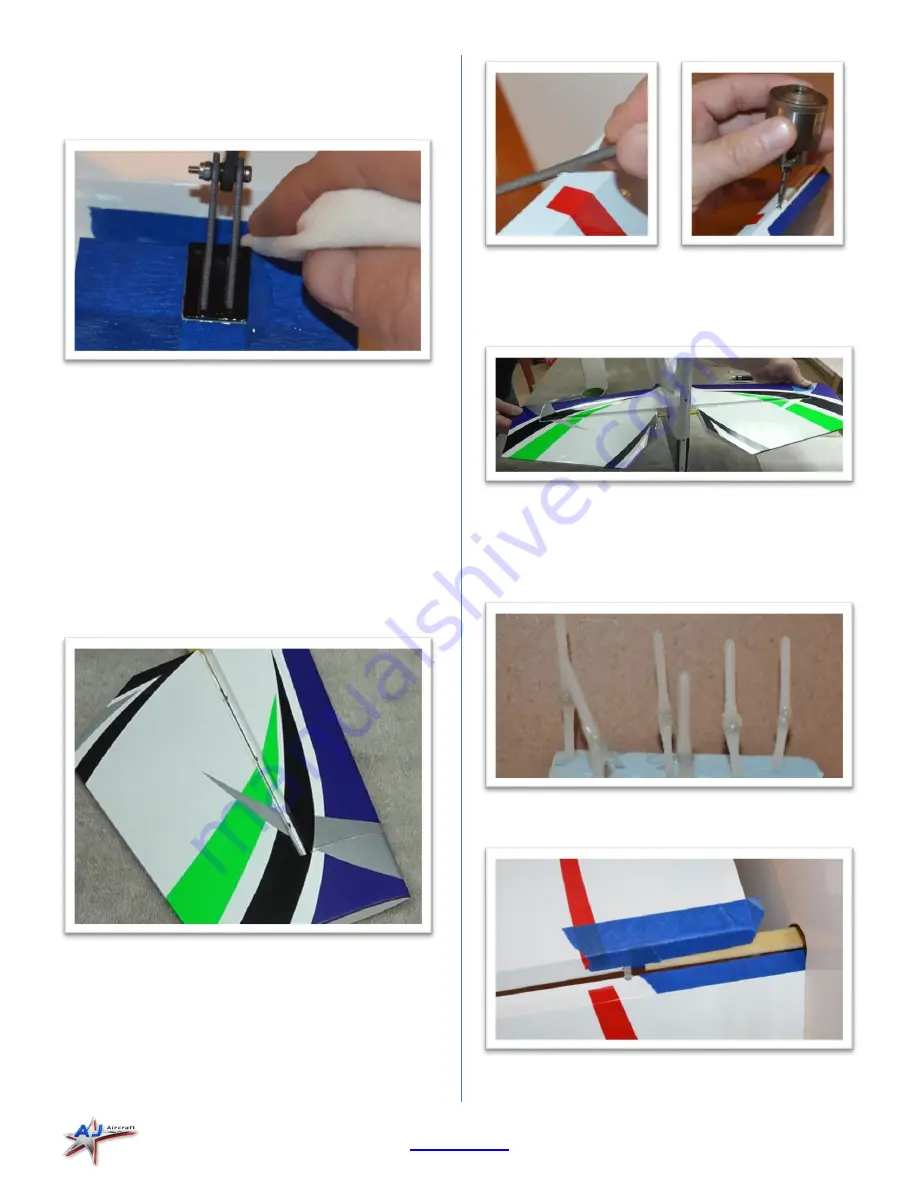
Wipe away excess epoxy using a paper towel soaked with
denatured alcohol. Use an upward rolling motion as you
wipe the excess epoxy to lift it from the surface. This
helps reduce smearing the epoxy.
Check the alignment along the hinge line as you did when
you test fit the control horn. Reposition as needed. Allow
the epoxy to partially cure. Peel away the masking tape
after the epoxy is securely holding the control horn in
place and still soft enough to easily remove the tape. Set
aside and let the epoxy fully cure.
Insert hinge pins into the elevator halves and the
horizontal stabilizer. Test fit pieces together and make
adjustments so you get a good fit between the elevator
and the stabilizer. Check the hinge gap and the gap at the
counter balance.
A small round file can be used to give the hinges some
clearance. Cleaning out the holes will also help you close
up any gap in the hinge line.
Turn a 1/8”
drill into the
holes by hand.
Hold half of the elevator aligned to the leading edge of
the stabilizer and ensure the opposite elevator half is also
aligned at the leading edge. Sand or shim the elevator
joiner plate until both halves are aligned.
Apply petroleum jelly (Vaseline) to the center hinge pin
portion of each hinge. This will help prevent glue from
getting into the hinge when gluing then into the elevator.
Avoid getting petroleum jelly on the barbed portion of
the pin. If you do clean it off with alcohol.
Use painter masking tape to prevent glue from getting
where you don’t want it.


