Page 17
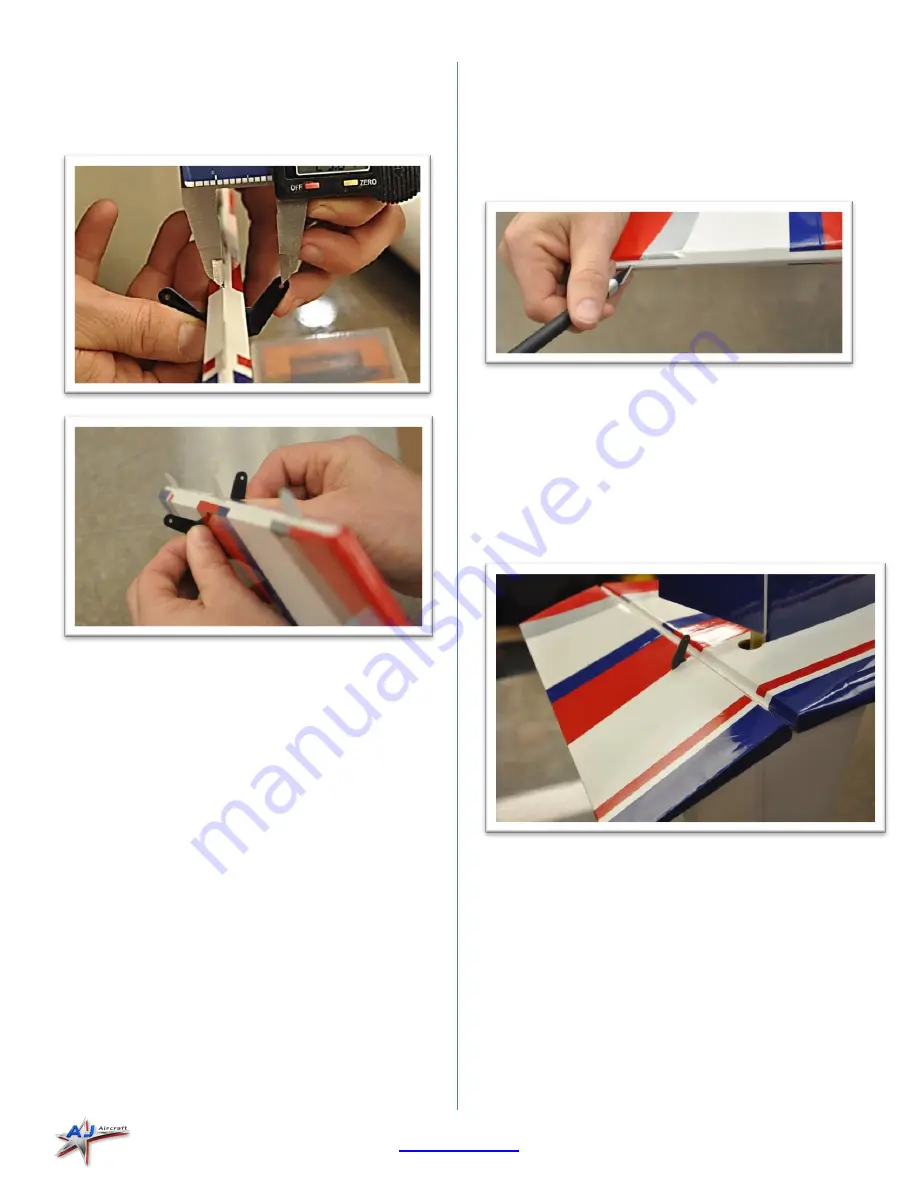
Tests fit the control horn to the slot. Use a file to modify
the slot as needed. Center it side to side and align the
holes with the hinge line. The control horn should be
symmetrical about the hinge line.
Apply masking tape around the control horn slot on both
sides of the rudder.
Use 30 minute epoxy to glue the control horns in place.
Check the alignment, peal the masking tape away, and
clean up with alcohol.
Check the alignment again and set aside for the epoxy to
cure. (When setting aside to dry position the rudder and
control horn so gravity does not reposition the control
horn for you.)
The hinges should already be glued into the rudder. Give
each of them a little pull to ensure they are securely
attached.
The vertical stabilizer is already slotted for the hinges.
Use a covering iron to secure the covering along the edge
of the rudder and stabilizer. Look at the vertical stabilizer
hinge slots closely. Make sure the covering will not
interfere when gluing the hinges. Cut away any covering
that covers the hinge slot.
Slip each rudder hinges into a slot. Align the end of the
rudder with the top of the vertical stabilizer.
Push the rudder tight against the stabilizer closing the
gap between the two of them. Move the rudder to its
maximum desired deflection. (About 15°) Notice how
the hinges may pull out slightly. Experiment with the
hinge position finding the best fit before gluing.
Apply a piece of tape next to each hinge. This will help
you locate the hinges when you begin gluing them.
Start with the top hinge. Flex the rudder slightly and
apply a few drops of thin CA glue to one side.
Flex the rudder to its maximum desired position. Then
glue the opposite side.


