background image

ENGLISH

33

MORE FEA

TURES

En

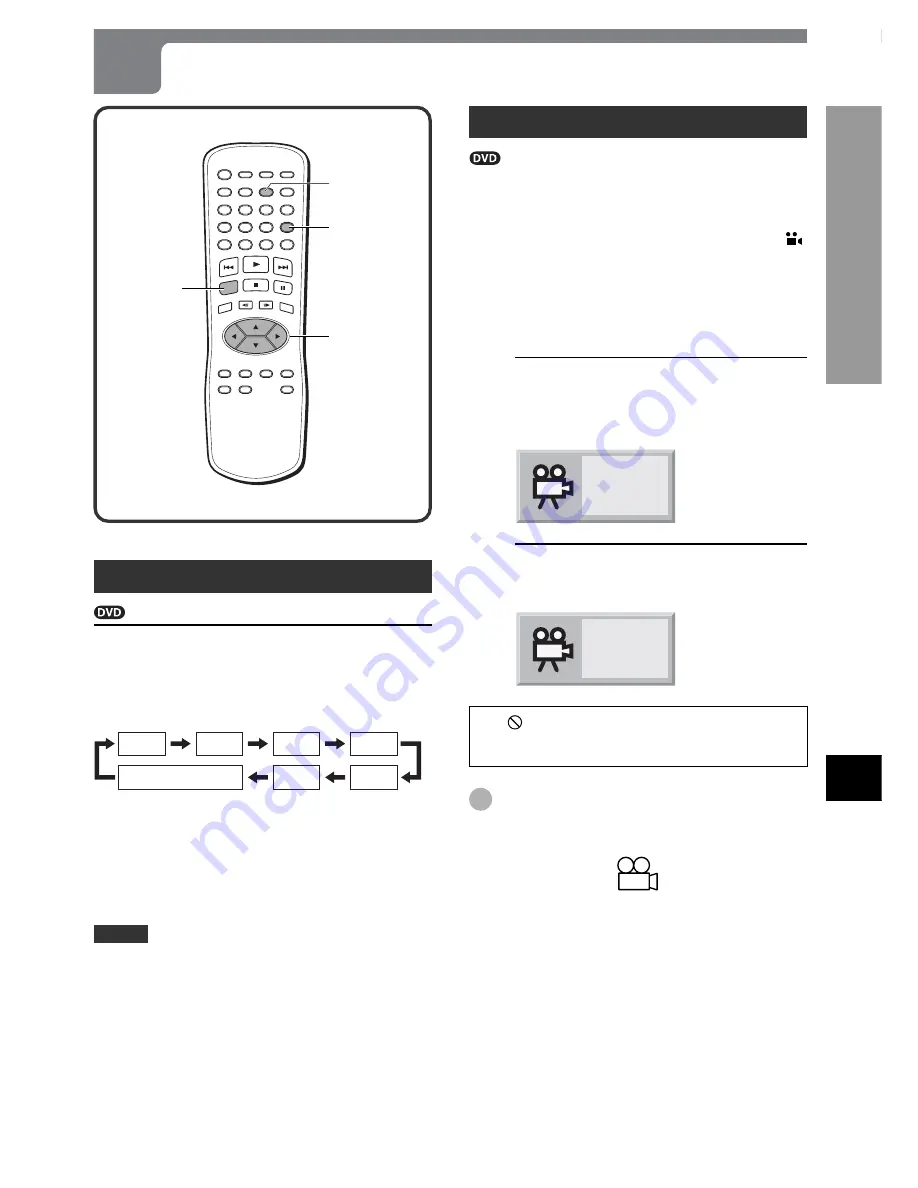
Changing the angle

When playing a DVD with multi-angle scenes
(photographed from several different angles), you can select
the angle you want to view.

When a multi-angle scene comes on during playback, "

"

will blink in the display window to let you know that you can
change the angle.

Although the following is the simpler procedure, you can
also change the angle by operating the OSD menu (see
page 28).

1

Press ANGLE during playback.

The unit displays the current angle number/total number of
angles.

1/3

2

Press ANGLE repeatedly until the
desired angle is selected.

2/3

The 

  symbol appears if you press ANGLE  during

playback of a disc with no multi-angle scenes recorded,
or at a scene where the angle cannot be changed.

Tip

The total number of angles recorded on a DVD usually
appears on its case within the following symbol.

3

Zooming and Changing the Angle

ZOOM

CLEAR

ANGLE

i

/

k

/

j

/

l

Zooming the picture

Press ZOOM during playback or still
playback (pause).

Each time you press the button, the magnification changes
as shown below.

×

4

×

2

×

6

×

9

×

16

×

12

NORMAL

To move the zoom area

Press 

i

/

k

/

j

/

l

.

To return to the normal display

Press CLEAR.

NOTES

• The zoom function may not work with some discs.
• The zoom function may not work at multi-angle scenes.

Summary of Contents for XD-SPM823

Page 1: ...nce and information call toll free 1 800 BUY AIWA United States and Puerto Rico Model No Serial No Lot No XD SPM823 Owner s record For your convenience record the model number and serial number you wi...

Page 2: ...in the literature accompanying the appliance WARNING TO REDUCE THE RISK OF FIRE OR ELECTRIC SHOCK DO NOT EXPOSE THIS PRODUCT TO RAIN OR MOISTURE CAUTION TO PREVENT ELECTRIC SHOCK MATCH WIDE BLADE OF...

Page 3: ...or the manufacturer s instructions have been adhered to 5 Heat The product should be situated away from heat sources such as radiators heat registers stoves or other products including amplifiers that...

Page 4: ...ge requiring service Unplug this product from the wall outlet and refer servicing to qualified service personnel under the following conditions a When the power supply cord or plug is damaged b If liq...

Page 5: ...d with a Dolby Digital AC 3 decoder 20 E Connecting to a TV and an AV receiver equipped with a DTS decoder 21 F Connecting to a TV and an AV receiver equipped with a Dolby Pro Logic decoder 22 Basic O...

Page 6: ...played on the unit Do not attach any seal or label to either side the labeled side or recorded side of a disc Do not use irregular shaped CDs e g heart shaped or octagonal It may result in malfunction...

Page 7: ...it The original shipping carton and packing materials come in handy For maximum protection repack the unit as it was originally packed at the factory When setting the unit The picture and sound of a n...

Page 8: ...l property rights owned by Macrovision Corporation and other rights owners Use of this copyright protection technology must be authorized by Macrovision Corporation and is intended for home and other...

Page 9: ...le pass By saving a field in memory it is possible to convert an interlaced video signal to a progressive scan which then allows the image to be refreshed every 1 60 second reducing flickers on a larg...

Page 10: ...everse a disc 2 1 3 4 5 6 9 0 8 7 0g t button Press to skip to the next chapter track Press and hold to fast forward a disc MENU button Press to display menu programs Press to move to the previous pag...

Page 11: ...button Press to display the mark search menu zOPEN CLOSE button Press to open and close the disc tray RANDOM button Press to play a disc in random order ANGLE button Press to change the picture angle...

Page 12: ...ode when the resume function is off STOP is displayed here Indicates the total number of tracks Indicates the current track number 7PROG indicator Lights up during program edit mode and programmed pla...

Page 13: ...fer to the instructions of the connected equipment For speaker connections refer to the instructions of the connected AV receiver Connecting to a TV Type of the TV to be connected to the unit Standard...

Page 14: ...n connecting the unit to an AV amplifier with a digital input jack The supplied video cord can also be used instead of a coaxial cord CAUTION DO NOTselect DOLBYDIGITAL PCM or Stream PCM for the Digita...

Page 15: ...nu according to the TV connected to the unit as follows See Changing Setup Values on page 46 for details TV Aspect When the TV has a conventional 4 3 screen 4 3 Letterbox or 4 3 Panscan When the TV ha...

Page 16: ...ctor Set the VIDEO OUTPUT switch before connecting Set the VIDEO OUTPUT switch to S VIDEO before connecting to a TV with an S video input connector Set the setup menu correctly after connecting Set th...

Page 17: ...TV has a wide 16 9 screen 16 9 Wide Progressive Scan When the TV is compatible with progressive scan signals On When the TV is not compatible with progressive scan signals Off TV or monitor to the vi...

Page 18: ...has a wide 16 9 screen 16 9 Wide Digital Audio Output PCM TV yellow to the video input jack yellow Video cord supplied Rear of the unit yellow to DIGITAL OUT OPTICAL jack to DIGITAL OUT COAXIAL jack t...

Page 19: ...enu according to the TV connected to the unit as follows See Changing Setup Values on page 46 for details TV Aspect When the TV has a conventional 4 3 screen 4 3 Letterbox or 4 3 Panscan When the TV h...

Page 20: ...creen 16 9 Wide Digital Audio Output DOLBY DIGITAL PCM CAUTION DO NOT select DOLBY DIGITAL PCM for the Digital Audio Output in the setup menu when connecting to an AV receiver not equipped with a Dolb...

Page 21: ...reen 16 9 Wide Digital Audio Output Stream PCM TV yellow to the video input jack yellow Video cord supplied yellow Rear of the unit to VIDEO OUT jack yellow to DIGITAL OUT OPTICAL jack to DIGITAL OUT...

Page 22: ...llows See Changing Setup Values on page 46 for details TV Aspect When the TV has a conventional 4 3 screen 4 3 Letterbox or 4 3 Panscan When the TV has a wide 16 9 screen 16 9 Wide TV yellow to the vi...

Page 23: ...nner slotted area correctly 4 To load another disc press DISC SKIP The disc trays rotate and the next tray comes to the center position Place a disc in the tray Repeat this step to load other discs up...

Page 24: ...Playback stops after playing the disc s s s All discs playback B Press c Alternatively press z OPEN CLOSE to close the disc compartment and then press c The disc compartment closes automatically playb...

Page 25: ...z OPEN CLOSE to close the disc compartment To skip to the next disc While the unit is in stop or playback mode press DISC SKIP The disc trays rotate and playback begins from the beginning of the next...

Page 26: ...urned on the unit remembers the point where you stopped the disc so that you can resume playback from that point Press c in stop mode The unit starts playback from the point where you stopped the disc...

Page 27: ...titles are not displayed during backward slow playback To return to normal playback Press c Skipping Press r f or g t during playback To skip to the next chapter track Press g t The disc position adva...

Page 28: ...sed for entering numbers for example title number To turn off the OSD menu Press DISPLAY NOTE If no button is pressed for 10 seconds the OSD menu disappears Number buttons Basic operation of the OSD O...

Page 29: ...al number of angles Surround on off Function Skip to the desired title page 30 Skip to the desired chapter page 31 Skip to the desired time point page 31 Change the setting page 39 Turn on off subtitl...

Page 30: ...disc by specifying the time Mark search You can start playback from a marked point Title Track search 1 Press DISPLAY during playback or in stop mode If the unit is in stop mode continue to step 3 2 P...

Page 31: ...arch 1 Press DISPLAY during playback 2 Press i k to select the time icon 3 Use the number buttons to enter the time of the desired position 1 17 30 Example To start playback at 1 hour 17 minutes 30 se...

Page 32: ...4 MARKER SEARCH 5 2 Within 10 seconds press j l to select a marked point you want to recall 3 Press SELECT ENTER Playback starts from the selected marked point In step 2 you can also use the number b...

Page 33: ...ress ANGLE repeatedly until the desired angle is selected 2 3 The symbol appears if you press ANGLE during playback of a disc with no multi angle scenes recorded or at a scene where the angle cannot b...

Page 34: ...k currently being played To return to normal playback Press RANDOM The RANDOM indicator disappears from the display window REPEAT r A B RANDOM t Repeat playback Press REPEAT during playback Each time...

Page 35: ...B repeat You can specify a section and play it repeatedly 1 During playback press A B at the starting point A of the section you want to repeat A 2 Press A B again at the ending point B of the sectio...

Page 36: ...l To turn off the menu screen press PROGRAM again Programmed Playback REPEAT c i k j l SELECT ENTER CLEAR PROGRAM 2 Press the number button 1 5 to select the disc tray number Step 1 Program Clear All...

Page 37: ...utton repeat mode changes see page 35 When you select ALL the tracks are played repeatedly in the programmed order To skip tracks Press r or t repeatedly Playback skips to the previous or succeeding t...

Page 38: ...nd connected audio equipment when using the unit s 3D surround effect Turn off the 3D surround effect when recording the audio source output from this unit 1 Press DISPLAY during playback 2 Press i k...

Page 39: ...nction When playing back karaoke DVDs this unit cannot turn on and off the sound of the vocal part Changing the Audio Track Channel Some discs have more than one audio track such as soundtracks with d...

Page 40: ...can turn on and off the subtitle display on the TV screen or change the language of the subtitles Although the following is the simpler procedure you can also change the subtitle language and turn on...

Page 41: ...characters The elapsed play time may not be displayed correctly for MP3 tracks Depending on the condition of the recording equipment or the CD R RW disc itself a false track which cannot be played on...

Page 42: ...tracks and complexity of the album tree 2 Press i k to select a track Press TOP MENU to move to the next page or MENU to move to the previous page of the track list 3 Press c or SELECT ENTER to start...

Page 43: ...and perform programmed playback Menu item Track list Program list Disc status indication Time indication Track indication Repeat mode indication Current status setting Tracks on the MP3 disc Programm...

Page 44: ...2 TRACK mp3 03 TRACK mp3 04 TRACK mp3 05 TRACK mp3 06 TRACK mp3 07 TRACK mp3 08 TRACK mp3 4 Repeat steps 2 and 3 to enter additional tracks on the program list 5 Press PROGRAM to exit the program edit...

Page 45: ...t 1 Press PROGRAM to enter program edit mode 2 Press the l right cursor button to move to the program list 3 Press i k to select the track you want to delete then press CLEAR The selected track is del...

Page 46: ...d language does not exist on the disc the original language for the disc is selected Rating page 49 When playing discs with preset restriction level encoding the unit cuts scenes of excessive violence...

Page 47: ...rogressive Scan 2 Press i k to select the desired language Original The original language set for the disc is selected English French German Spanish Italian Chinese Polish Hungarian Russian Other To s...

Page 48: ...f you enter a wrong number press CLEAR and re enter the correct number 3 Press SELECT ENTER Changing Setup Values continued Disc Menu The language used in the DVD menu can be changed If the selected l...

Page 49: ...en 4 When you have already entered a password Enter the password and press SELECT ENTER If you entered a wrong number Press CLEAR and re enter the correct password then press SELECT ENTER 3 Press i k...

Page 50: ...sc Menu Rating TV Aspect Menu Language Digital Audio Output Disc Audio Others Country Code Progressive Scan 4 Press i k to select the second character of the country code and press SELECT ENTER To cha...

Page 51: ...the wide screen TV to full size mode is also necessary 16 9 Wide Each screen above shows an example when playing a title recorded in the wide screen format This setting does not affect the video titl...

Page 52: ...jack or S VIDEO OUT jack on the unit for connection to a TV NOTES The Progressive Scan menu item is not displayed when the VIDEO OUTPUT switch is set to S VIDEO Composite video signals are not output...

Page 53: ...udio output i e the difference between the loudest and the quietest sounds so that you can listen to a movie or music at a low volume without losing the clarity of sound 1 Press i k to select Others i...

Page 54: ...E Germany DJ Djibouti DK Denmark DM Dominica DZ Algeria EC Ecuador EE Estonia EG Egypt EH Western Sahara ER Eritrea ES Spain ET Ethiopia FI Finland FJ Fiji FK Falkland Islands FM Micronesia FO Feroe I...

Page 55: ...deration RW Rwanda SA Saudi Arabia SB Solomon Islands SC Seychelles SD Sudan SE Sweden SG Singapore SH Saint Helena SI Slovenia SJ Svalbard and Jan Mayen Islands SK Slovak Republic SL Sierra Leone SM...

Page 56: ...iddish 7487 Javanese 7565 Georgian 7575 Kazakh 7576 Greenlandic 7577 Cambodian 7578 Kannada 7579 Korean 7583 Kashmiri 7585 Kurdish 7589 Kirghiz 7665 Latin 7678 Lingala 7679 Laothian 7684 Lithuanian 76...

Page 57: ...a selector switch with other video equipment Try turning off the power to the other video equipment The picture quality may be somewhat poor when paused when doing frame advance or during fast forward...

Page 58: ...D symbol are trademarks of Dolby Laboratories Confidential unpublished works 1992 1999 Dolby Laboratories All rights reserved DTS and DTS Digital Out are trademarks of Digital Theater Systems Inc Pow...

Page 59: ...For Assistance and Information Call Toll Free 1 800 BUY AIWA United States and Puerto Rico Printed in China...

Reviews: