22
Operation with tape
ShowView
Programming
ShowView greatly simplifies entering the date,
channel, start and end times of a Timer Recording
by simply entering a ShowView Code. ShowView
Codes are published in most TV guide magazines;
they can vary one to nine numbers in length.
S
HOW
V
IEW
is a registered trademark of Gemstar
Development Corporation.
The S
HOW
V
IEW
system is manufactured under
licence from Gemstar Development Corporation.
11
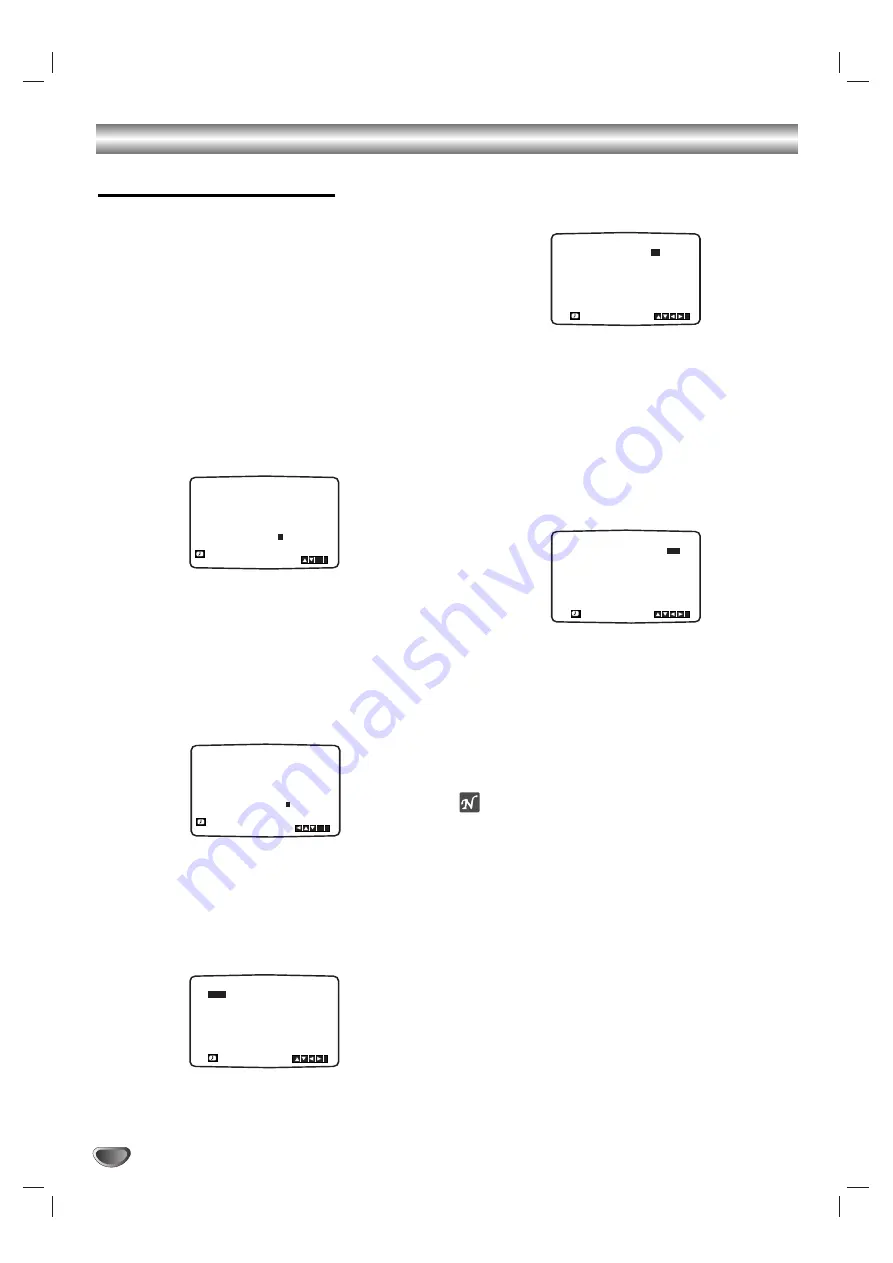
Make sure that TV channels have been tuned and
stored in correct SHOWVIEW order.
Insert a video cassette with protection tab into your
VCR.
2
2
Press
SHOWVIEW
.
3
3
Press
D
or
E
to select the recording type.
ONCE
: To record once.
WEEKLY
: To record at the same time every week.
DAILY
: To record every day (except Saturday and
Sunday) at the same time.
4
4
Press the
numbered buttons
to enter the
ShowView Code
of the TV programme that you
wish to record.
If you make a mistake press
F
then enter the
revised number.
5
5
Press
OK/ENTER
.
If
PLEASE CHECK
is displayed it means that you
have entered the wrong ShowView number, entered
the ShowView number incorrectly.
If “
- -
” is displayed, you have to enter the pro-
gramme number of the station, you want to record
from.
6
6
Press
F
or
G
to select the settings that you wish to
revise. (PR, DATE, TIME, VPS and SP).
Press
D
or
E
to enter the correct information.
77
Press
D
or
E
to switch VPS/PDC on or off.
Press
G
to select the recording speed.
Press
D
or
E
to select the desired tape speed (SP,
IP, or LP).
IP mode determines how much tape is left and
switches speed from SP to LP, if necessary, to
complete recording the program.
IP mode is not selected when VPS/PDC is ON.
Check that the timer event details are correct.
If you wish to record from AV 3 IN AUDIO and
VIDEO on the front or from either of the EURO
SCART sockets on the back of VCR, press AV to
select for correct display (AV1, AV2 or AV3).
8
8
If you want to make another ShowView recording
repeat stages
2 - 7
.
Press
i
/
SETUP
twice.
If
PLEASE CHECK
is displayed, you have entered
incorrect information and will need to re-enter the
data.
Press
POWER
to switch your VCR power off mode.
TIMER will appear in the video recorder’s display
while your VCR waits to make the recording.
Notes
Video Programme System (VPS)
The Video Programme System (VPS) ensures that the
TV programmes that you have programmed for timer
recording will be recorded exactly from their beginning
to end, even if the actual broadcasting time differs from
the scheduled time due to delayed start, or if the pro-
gramme is extended beyond its scheduled time. Also, if
a programme is interrupted, for example, if a news flash
is inserted, the recording will also be interrupted auto-
matically and resumed when the programme contin-
ues.
The VPS signal is broadcast by the TV station and this
controls the timer in the video recorder.
VPS should be set ON for all timer recordings from TV
stations broadcasting these signals. It should be set
OFF for all timer recordings from TV stations that are not
broadcasting these signals.
*** The similar system PDC, which is used in the time
being in the Netherlands, can also be used with your
new video recorder.
If you want to watch a DVD during timer recording,
press TV/VCR on the remote control to select VCR
mode.
ONCE
OK
i
0~9,
SHOWVIEW
- - - - - - - -
-
REC
PR
DATE
TIME
- -
- -
SP
- -
- -
SP
- -
- -
SP
- -
- -
SP
- -
- -
SP
- -
- -
SP
- - - - - - - -
~
:
:
- - - - - - - -
~
:
:
- - - - - - - -
~
:
:
- - - - - - - -
~
:
:
- - - - - - - -
~
:
:
- - - - - - - -
~
:
:
10
ARD
12
SP
11 11
55
~
:
:
i
PR
DATE
TIME
- -
- -
SP
- -
- -
SP
- -
- -
SP
- -
- -
SP
- -
- -
SP
- -
- -
SP
- - - - - - - -
~
:
:
- - - - - - - -
~
:
:
- - - - - - - -
~
:
:
- - - - - - - -
~
:
:
- - - - - - - -
~
:
:
- - - - - - - -
~
:
:
10
ARD
12
SP
11 11 55
~
:
:
i
ONCE
OK
i
0~9,
SHOWVIEW
24687654
3
REC
PR
DATE
TIME
- -
- -
SP
- -
- -
SP
- -
- -
SP
- -
- -
SP
- -
- -
SP
- -
- -
SP
- - - - - - - -
~
:
:
- - - - - - - -
~
:
:
- - - - - - - -
~
:
:
- - - - - - - -
~
:
:
- - - - - - - -
~
:
:
- - - - - - - -
~
:
:
10
ARD
12
SP
11 11 55
~
:
:
i
Summary of Contents for HV-DH1EH
Page 37: ......


