AirLive WL-2000CAM User’s Manual
12
Current date & time
:
This displays the current date and time of the device.
PC clock
:
This displays the date and time of the monitoring PC clock.
Date & time format
:
Click the pull
-
down box to select among different time display formats, including
yyyy-mm-dd hh:mm:ss (year-month-day hour:minute:second), mm-dd-yyyy hh:mm:ss (month-day-year
hour:minute:second), and dd-mm-yyyy hh:mm:ss (day-month-year hour:minute:second).
Adjust
:
Select one of four time adjusting modes.
Keep current setting
:
Select this mode to keep the current date and time of the device.
Synchronize with PC
:
Select this mode to make
the date and time of the device the same as the monitoring
PC.
Manual setting
:
Select this mode to manually adjust the date & time of the device.
Synchronize with NTP
:
Specify the
NTP server name
and the Refresh
Interval
to synchronize the date and
time of the device with those of the time server, known as the NTP (Network Time Protocol) server.
Note:
• The NTP server (Network Time Protocol) is the time server which is an Internet standard protocol (built
on top of TCP/IP) that assures accurate synchronization to the millisecond of computer clock times in a
network of computers.
NTP server name
:
Type the host name or IP address of the NTP server, up to 64 characters.
Time zone
:
Select the time zone and time difference from Greenwich Mean Time in the area where the device is
installed from the pull
-
down box.
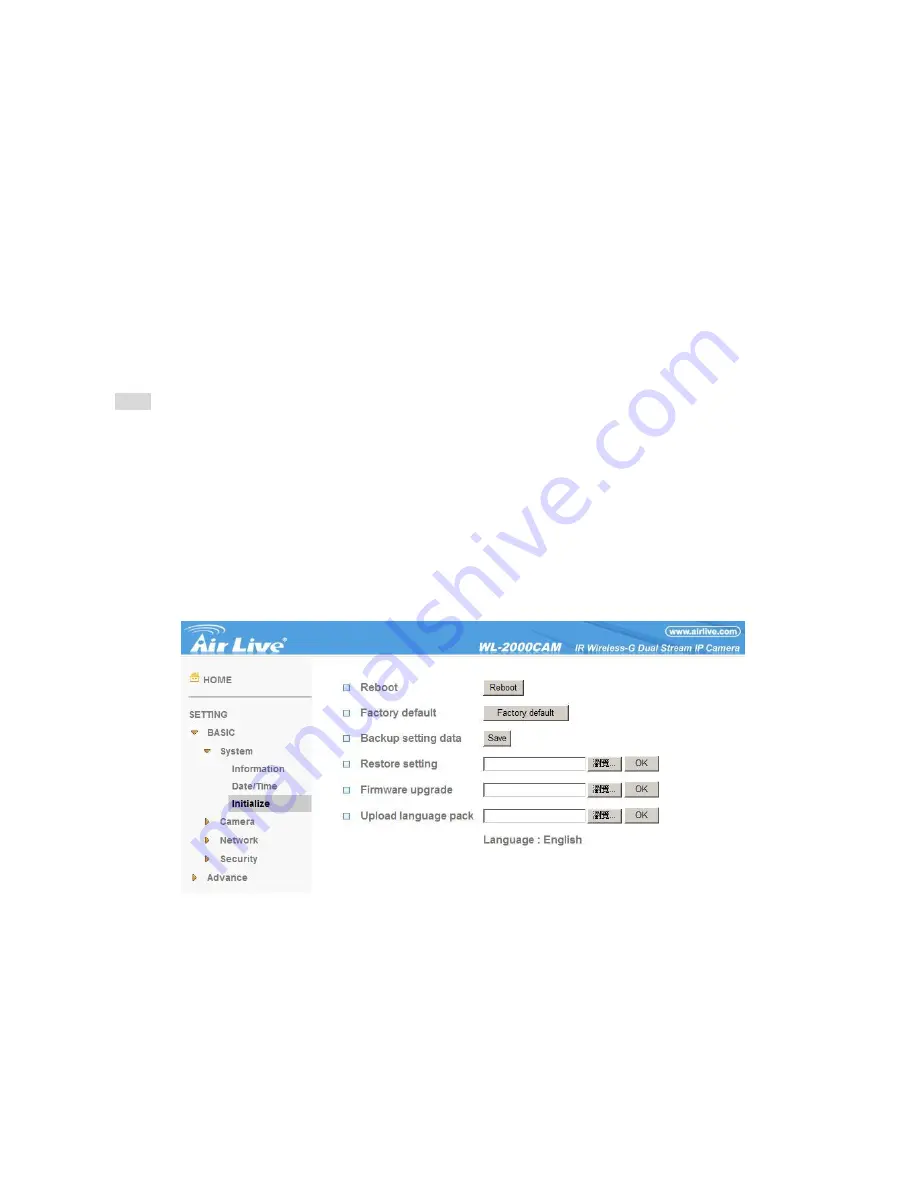
Initialize
Reboot
:
Click this button to reboot the device. A confirmation dialogue will appear. Click
OK
to proceed. It takes
about two minutes to reboot the device.
Factory default
:
Click this button to reset the device to the factory default settings. A confirmation dialogue will
appear. Click
OK
to proceed
;
the network indicator on the device will start to blink. After completing adjustments
to the default settings, the device will reboot automatically. Do not turn off the device until the device reboots.
Backup setting data
:
Save the setting data of the device to a file. Click
Save
, and follow the instructions on the


