


Section 2
Configuring Client IP Address
Note
: The default IP address of the Print Server is
192.168.1.254
with a subnet mask
of
255.255.255.0
The Print Server must be on the same subnet as your network in
order for you to print through the Print Server. Follow the steps below to access the
Print Server’s Web Configuration Utility. If your network ID is already using the
192.
168.1.x
segment, skip to
Section 3, Accessing the Web Configuration Utility
.
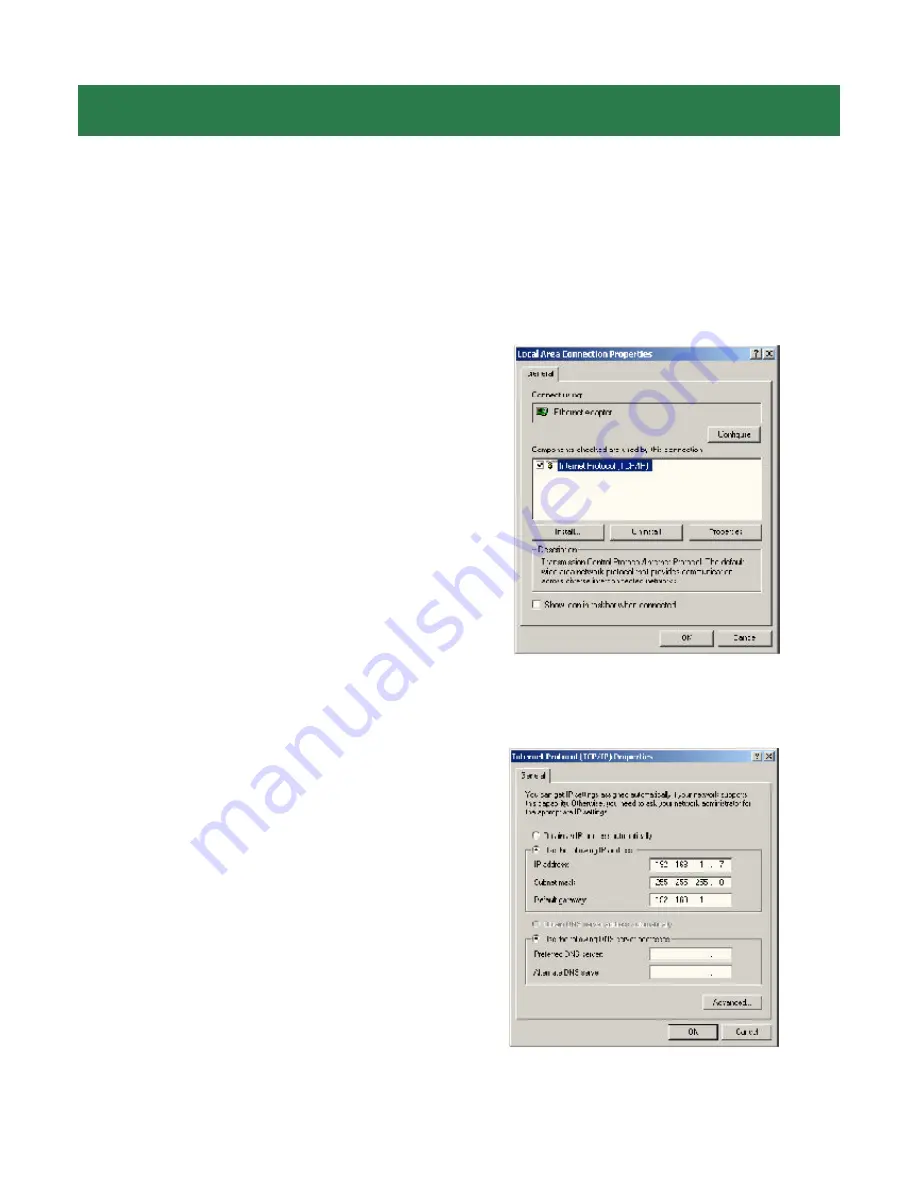
For Windows 2000/XP
Step 1
On one of the computers in your
network, right-click on
My Network Places
on your desktop and right-click on
Local
Area Connection
.
Step 2
Select
Internet Protocol (TCP/IP)
and click
Properties
.
See Fig. 2.1
Fig. 2.1
Step 4
Select
Use the following IP ad-
dress
and enter an IP address of
192.168.
1.x
(where
x
is a number between 2 ~ 253
and is not currently assigned to any device
on your network).
Step 5
Enter
255.255.255.0
for the
Subnet mask
.
Step 6
Enter the IP address of your
De-
fault gateway
.
See Fig. 2.2
Fig. 2.2
Step 7
Click
OK
and
OK
again.
Step 8
Go to
Section 3
,
Accessing the
Web Configuration Utility
.
Step 3
Write down your current network
settings including
IP address
,
subnet
mask
, and
default gateway
on a piece of
paper. You will need these information after
you have set up the print server in Section
3.


