


40
8210–00009 R1
3. Start the power source and idle at low rpm. Engage hydraulic lever to power winch. Test the direction of
rotation of winch to ensure drum is moving in the direction required. Increase tractor rpm until desired rate
of lift or descent is reached.
Do not touch, grab, or guide cable while equipment is being raised or lowered.
Do not continue to supply power to winch when the conveyor has reached full up position
as this can cause damage.
4. When lowering, if the cable becomes slack before the conveyor is in the full down position, this indicates
that the track shoe is stuck. To correct the problem, reverse the winch and raise the conveyor until the cable
is taut and track slides normally.
5. After lowering, adjust the hydraulic winch until cable has light tension.
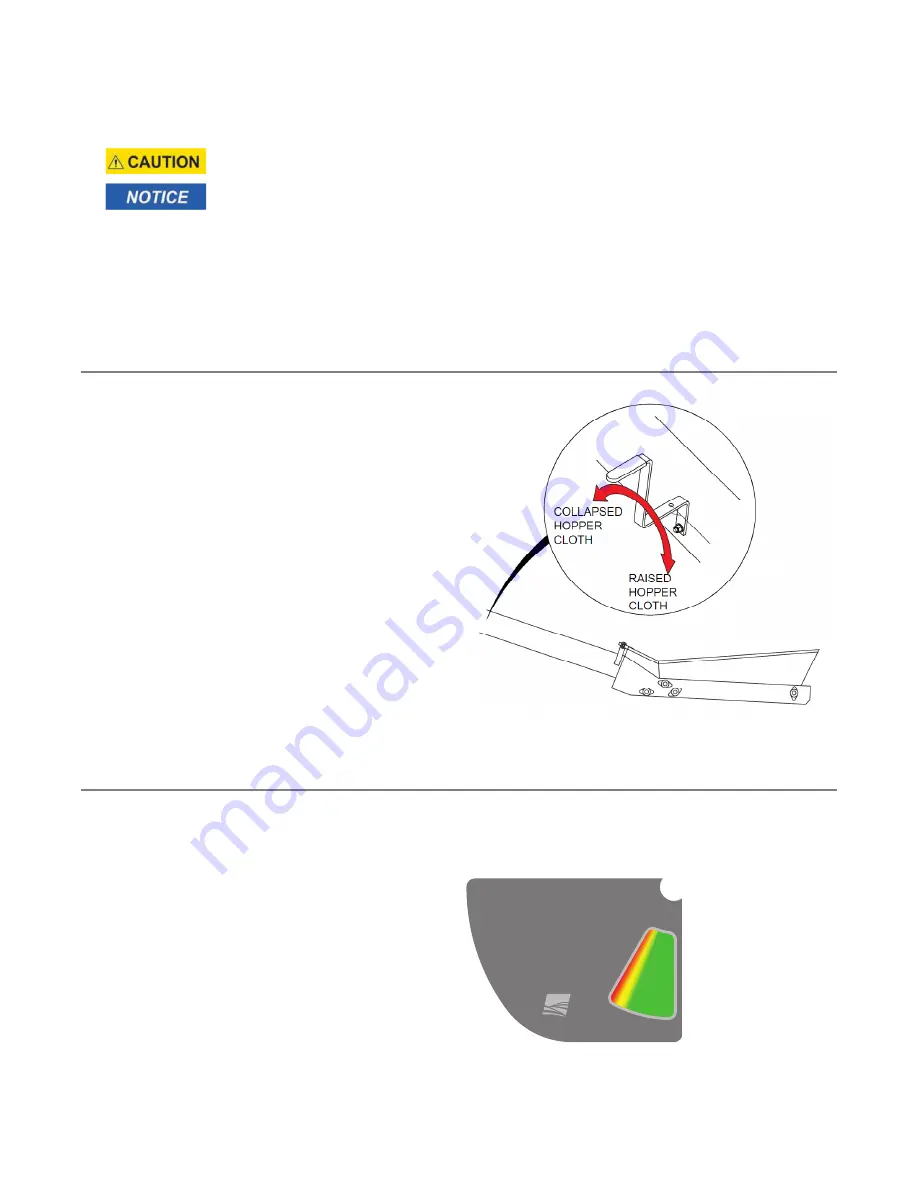
5.6. Collapsible Hopper Cloth Control
The conveyor is designed with a collapsible hopper
cloth to allow it to go under low discharge units.
Move the control handle toward the hopper or intake
to raise the hopper cloth, and move the handle
toward the outlet or spout end to collapse the
hopper cloth.
5.7. Conveyor Operating Angles
Some grains can be moved at steeper angles than others. Grain will roll back if the conveyor is positioned at an
angle greater than the grains natural moving/piling angle (angle of repose). The following table indicates the
maximum angle that different grain types can be moved.
To determine conveyor angle, use the angle guide
decal on your conveyor.
Note
The lower the angle, the greater the capacity
of the conveyor.
If the conveyor is operating
in the yellow or red region,
capacity may be reduced.
Refer to Operator’s Manual.
CONVEYOR ANGLE
S-DRIVE FIELD LOADER – PORTABLE GRAIN BELT CONVEYOR