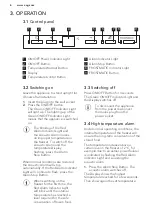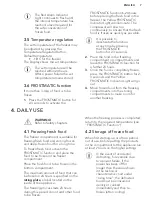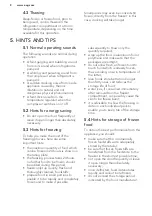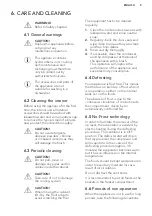
8.3
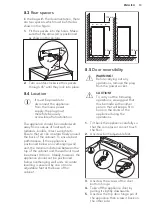
Rear spacers
In the bag with the documentation, there
are two spacers which must be fitted as
shown in the figure.
1.
Fit the spacers into the holes. Make
sure that the arrow (A) is positioned
as shown in the picture.
45°
45°
A
1
2
2
2.
Turn counter-clockwise the spacers
through 45° until they lock into place.
8.4
Location
It must be possible to
disconnect the appliance
from the mains power
supply; the plug must
therefore be easily
accessible after installation.
The appliance should be installed well
away from sources of heat such as
radiators, boilers, direct sunlight etc.
Ensure that air can circulate freely around
the back of the cabinet. To ensure best
performance, if the appliance is
positioned below an overhanging wall
unit, the minimum distance between the
top of the cabinet and the wall unit must
be at least 100 mm . Ideally, however, the
appliance should not be positioned
below overhanging wall units. Accurate
levelling is ensured by one or more
adjustable feet at the base of the
cabinet.
100 mm
15 mm
15 mm
8.5
Door reversibility
WARNING!
Before carrying out any
operations, remove the plug
from the power socket.
CAUTION!
To carry out the following
operations, we suggest that
this be made with another
person that will keep a firm
hold on the doors of the
appliance during the
operations.
1.
Tilt back the appliance carefully so
that the compressor cannot touch
the floor.
2.
Unscrew both adjustable feet.
3.
Unscrew the screws of the door
bottom hinge.
4.
Take off the appliance door by
pulling it slightly downwards.
5.
Unscrew the top door hinge pin of
the appliance then screw it back on
the other side.
ENGLISH
13

