Chapter 1 Hardware Configuration
11
1.5
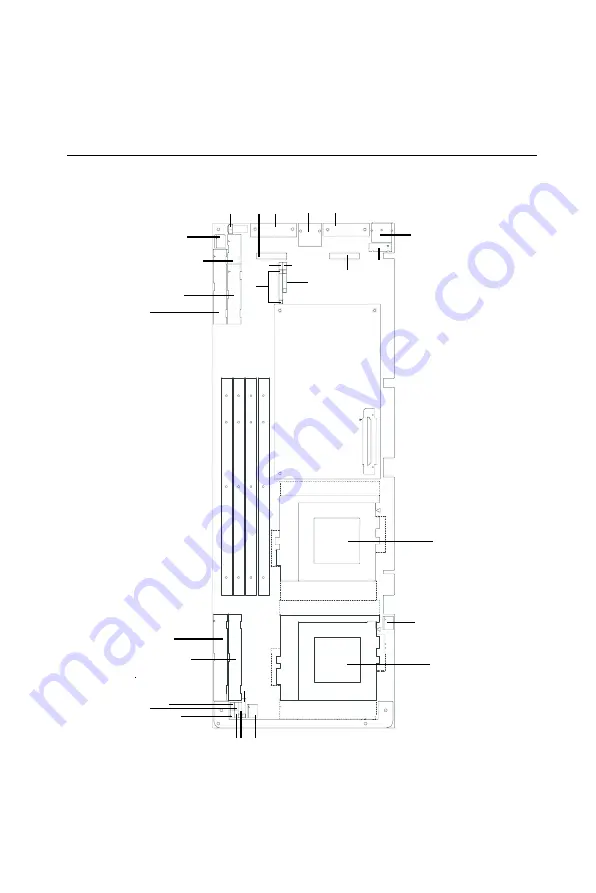
Board Layout: Jumper and Connector
Locations
Figure 1-1: Board layout: jumper and connecter locations
CN7
CN15
CN14
CN17
CN19
CN21
CN1
1
CN12
CN28
CN8
CN9
CN13
J2
J1
J10
CN27
CN10
CN6
CN20
CN4
CN3
DIMM1 DIMM2 DIMM3 DIMM4
CN30
CN1
CN2
CPU_A
CPU_B
CN29
CN18
CN16
Summary of Contents for PCA-6277-B
Page 1: ...PCA 6277 B Full size dual socket 370 Intel Pentium III proces sor based PCI ISA bus CPU card ...
Page 27: ...12 PCA 6277 B User s Manual Figure 1 2 SCSI daughter board layout CN52 CN51 CN50 ...
Page 28: ...Chapter 1 Hardware Configuration 13 Figure 1 3 Extension I O daughter board ...
Page 37: ...22 PCA 6277 B User s Manual ...
Page 44: ...Chapter 2 Connecting Peripherals 29 2 9 Serial Ports CN9 COM1 CN10 COM2 CN10 ...
Page 51: ...36 PCA 6277 B User s Manual ...
Page 82: ...Chapter 4 PCI SVGA Setup 67 1 In the Setup click on next ...
Page 95: ...80 PCA 6277 B User s Manual 2 In the System Properties window select the Device Manag er ...
Page 99: ...84 PCA 6277 B User s Manual 9 To highlight the following item and click Next 10 Click Next ...
Page 100: ...Chapter 5 LAN Configuration 85 11 Click Finish to complete the installation ...
Page 101: ...86 PCA 6277 B User s Manual ...
Page 128: ...Chapter 7 SCSI Setup and Configurations 113 ...
Page 129: ...114 PCA 6277 B User s Manual ...
Page 132: ...Chapter 8 IDE Driver Setup 117 1 Click on Next ...
Page 133: ...118 PCA 6277 B User s Manual 2 Choose install and then click on Next ...
Page 134: ...Chapter 8 IDE Driver Setup 119 3 Click on Finish to complete the installation ...
Page 135: ...120 PCA 6277 B User s Manual ...
Page 139: ...124 PCA 6277 B User s Manual ...
Page 157: ...142 PCA 6277 B User s Manual ...


