


14
15
Displaying thumbnail images across the duration of the clip gives you a sense of the
progression of the clip. However, do not confuse the boundary between thumbnails as the
actual boundary between frames. Think of the thumbnails as a storyboard or sketch of the
clip’s content.
To select a track’s display style:
Click the Set Display Style
(video) or
(audio) button at the left corner of the
track. Each time you click, the track’s display style toggles to a different view.
Resizing tracks
Tracks have three preset sizes, Small, Medium, and Large. The Large view is helpful for
viewing the clip thumbnails and adjusting effects such as the opacity or volume of a clip.
You can also resize tracks manually and resize the width of the track header area to
accommodate long track names. In addition, if your movie contains more tracks than can
fit on screen at one time, you can adjust the relative proportion of visible video and audio
tracks to favor the tracks you need to see.
To resize the height of a track:
Do one of the following:
• Click the More button in the Timeline window and choose Track Size, and then choose
either Small, Medium, or Large.
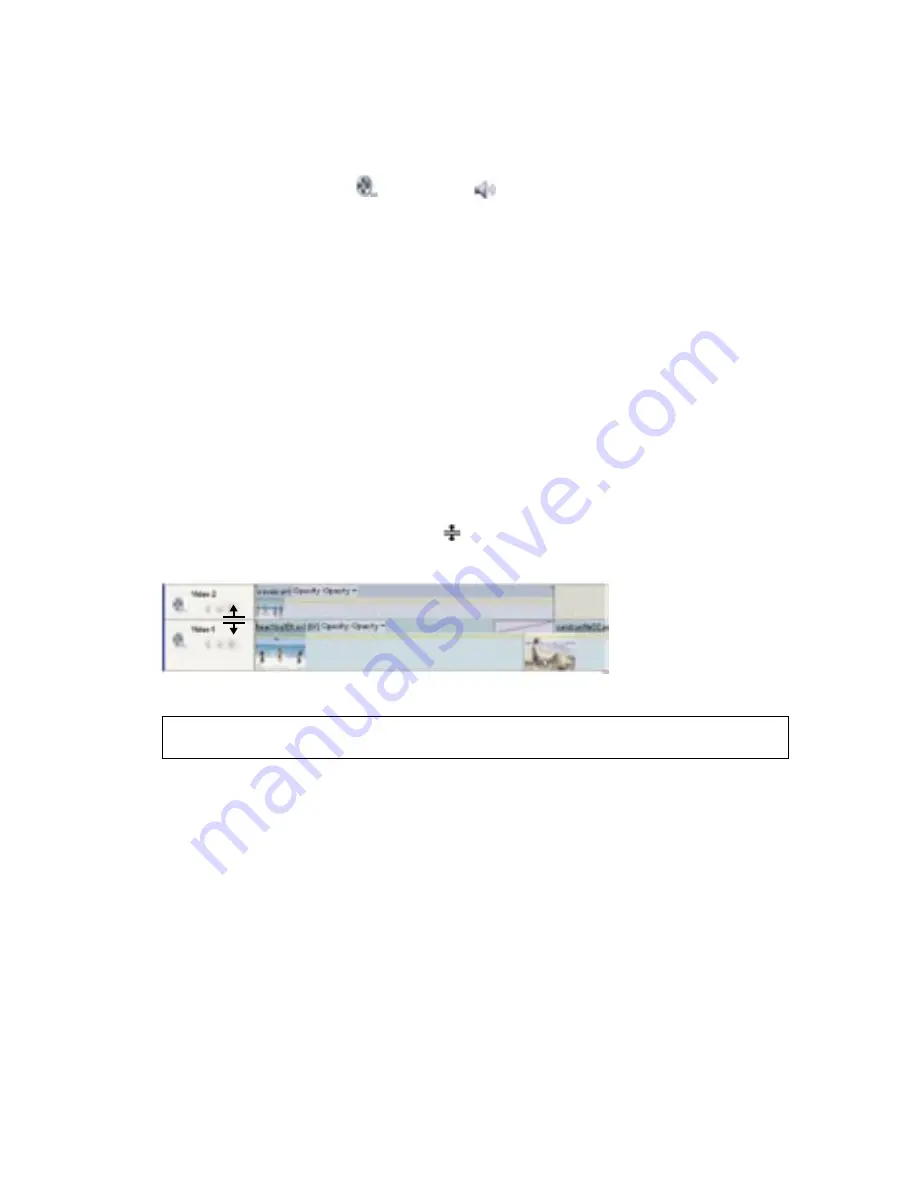
• In the track header area of the Timeline window, position the pointer between two
tracks so that the Height Adjustment
icon appears; then drag up or down to resize
the track below (for video) or the track above (for audio).
Changing track height in Timeline window
Note: To resize either all video or all audio tracks at the same time, hold Shift while resizing a
video or audio track.
To resize the track header section of the Timeline window:
Position the pointer over the right edge of the track header (where track names are listed)
so that the Resize icon appears, and then drag the right edge. (The icons at the top of
the track header limit its minimum width. The maximum width is about double the
minimum width.)
To change the proportion of video and audio tracks visible in the Timeline window:
1
Either in the track header area on the left or between the scroll bars on the right, position
the pointer between the Video 1 and Audio 1 tracks.
2
When the Split Track icon , appears, drag up or down.


