155
USING PHOTOSHOP ELEMENTS 10
Crop an image Cropping, resizing, retouching, and transforming photos
Last updated 1/2/2012
4
In Pixel Dimensions, enter values for Width and Height. To enter values as percentages of the current dimensions,
choose Percent as the unit of measurement.
The new file size of the image appears next to Pixel Dimensions, with the old file size in parentheses.
5
Click OK to change the pixel dimensions and resample the image.
For best results in producing a smaller image, downsample and apply the Unsharp Mask filter. To produce a larger
image, rescan the image at a higher resolution.
Retouching
Precisely remove red eye
For a video about this process, see
www.adobe.com/go/lrvid906_pse_en
The Red Eye Removal tool removes red eye in flash photos of people. Red eye is caused by the illumination of the
subject’s retina by the camera’s flash. You’ll see it more often when taking pictures in a darkened room because the
subject’s iris is wide open. To avoid red eye, use the camera’s red-eye reduction feature, if available.
To automatically fix red eye when you import photos into the Elements Organizer, select Automatically Fix Red Eyes
in the Get Photos dialog box. You can also remove red eye from selected photos in the Photo Browser.
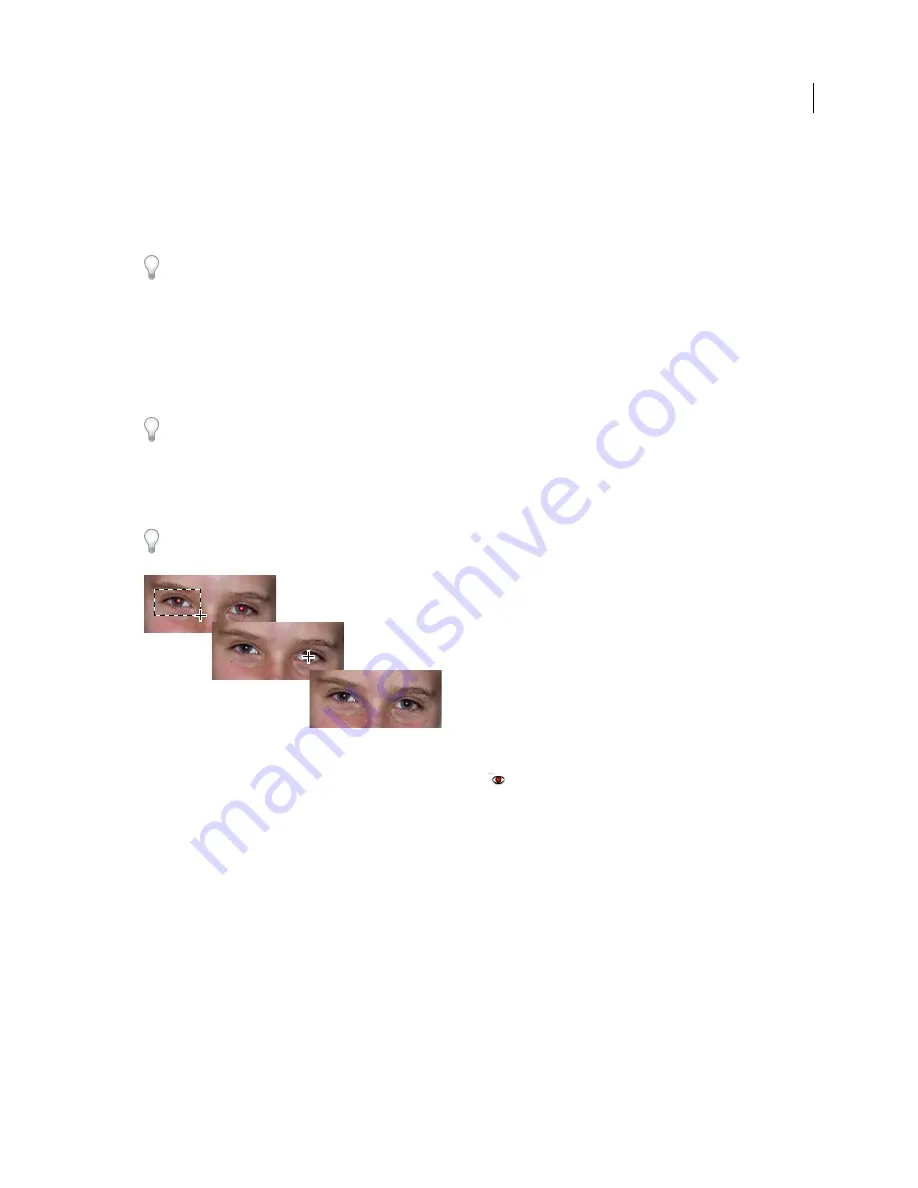
Correct red eye by selecting an eye (top) or clicking an eye (center).
1
To manually fix red eye, select the Red Eye Removal tool
in the Full Edit toolbox or in the Touchup panel of
Quick Fix.
2
In the options bar, set the Pupil Size and Darken Amount.
3
In the image, do one of the following:
•
Click a red area of an eye.
•
Draw a selection over the eye area.
When you release the mouse button, the red is removed from the eyes.
Note:
You can also automatically fix red eye by clicking Auto in the Red Eye Removal tool options bar.
More Help topics
“
Automatically correct lighting and color
” on page 118
“
Adjust the color of skin tone
” on page 136
“
Fix photos with Touch Up buttons in the Quick Fix Tools panel
” on page 115


