22
Blood FlowMeter
Owner’s Guide
Using the Blood FlowMeter with
LabChart
Th
e Blood FlowMeter has been designed to be used with either directly
(USB connection) with LabChart soft ware and/or with the ADInstruments
PowerLab system, or any analog recording device such as a paper chart
recorder (BNC Connection).
Th
e units and recording settings (i.e. range, sampling rate) are set
automatically when interfacing directly to LabChart soft ware via the Blood
FlowMeter Device Enabler soft ware.
Th
e following sections describe how to use the Blood FlowMeter with a
PowerLab data acquisition unit (BNC connection) and LabChart soft ware.
It is assumed that you know how to connect the Blood FlowMeter to your
PowerLab system and that you are familiar with the LabChart soft ware.
LDF Output Calibration
Both the LDF and BSC outputs have been factory calibrated to give a certain
voltage output per calibrated unit. Th
e LDF output produces 1 mV for each
blood perfusion unit. As the maximum output of the Blood FlowMeter is 5000
perfusion units or 5 V, you should set the range of the corresponding input
in LabChart to 5 V, or more sensitively depending on your requirements. As
LDF output only produces an output in the range 0 – 5 V, you can also set the
Amplitude axis scale to single-sided for the LabChart channel.
To calibrate the system, open the Input Amplifi er dialog for the LDF channel.
Click the
Units…
button to open the Units Conversion dialog.
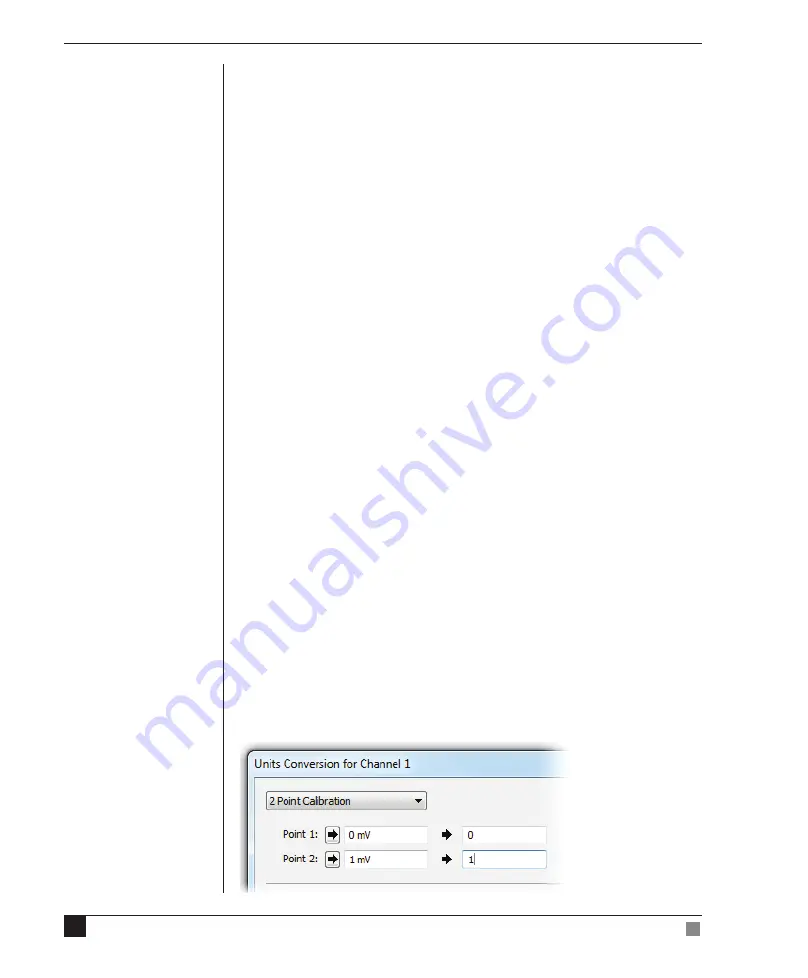
At the top of the dialog type in the values shown in Figure 2–2. Note that you
must enter the numbers on the left as mV in order to get the correct scaling.
You can defi ne a suitable unit name, for example ‘Perf Unit’, by selecting
Defi ne Unit…
in the Units drop-down list. Click
OK
to make sure that the
units conversion is applied to that channel. Check to see if it has been applied
by looking at the scale of the Input Amplifi er dialog.
Figure 2–2
Entering units conversion
information for the LDF
channel


