Motherboard
I.
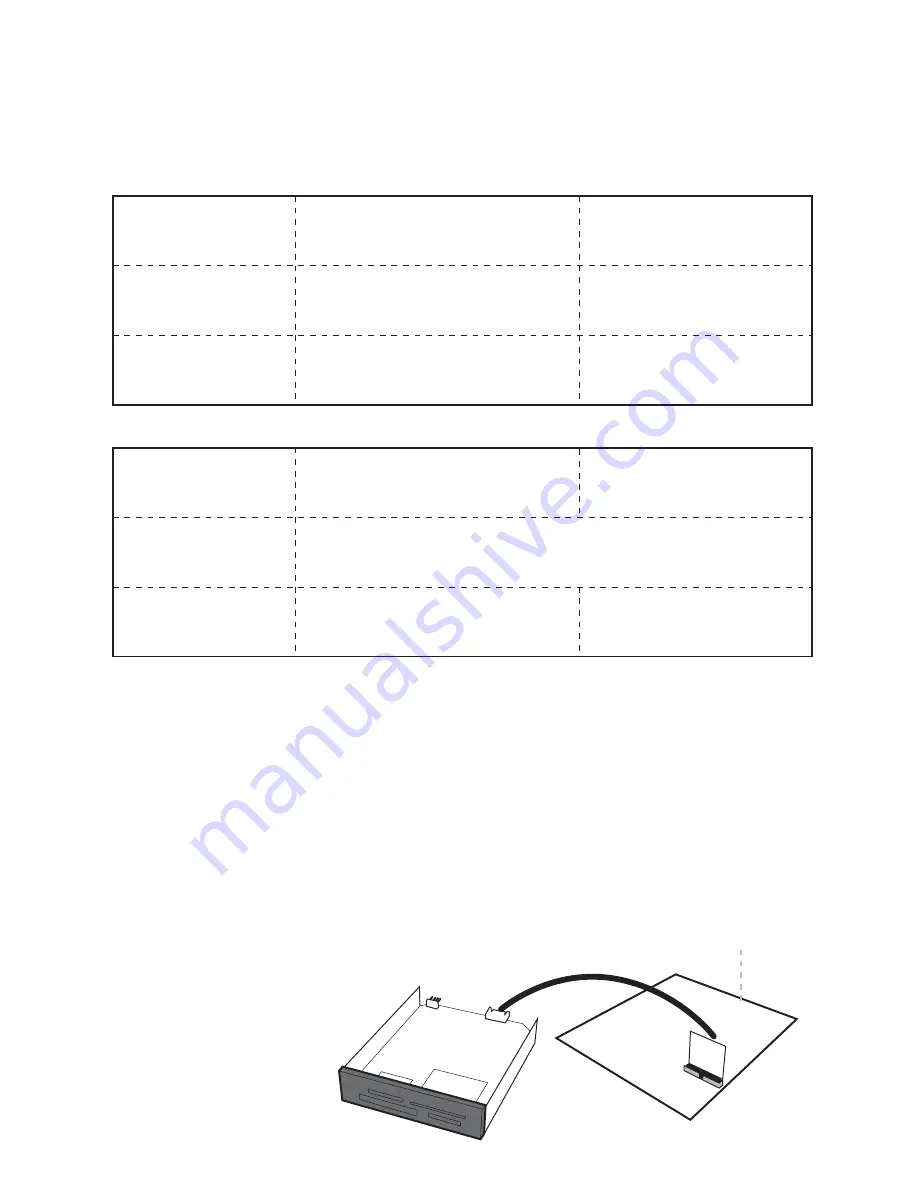
Setting up the device in SATA mode
a.
Connect a 4-pin floppy power cable from PC to the internal SATA / USB DigiDrive.
b.
Attach SATA cable from internal SATA / USB DigiDrive to the PC SATA port.
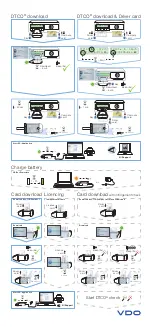
The tables show drive icon and media detection behavior basing on the mode switch setting and the
type of SATA port the internal SATA / USB DigiDrive is connected to.
Open mode – force flash media to become Fixed disk type
Close mode – force flash media to become
II.
Setting up the device in USB Mode
a.
Connect a 4-pin floppy power cable to the internal SATA / USB DigiDrive.
b.
Attach USB 5-pin header from internal SATA / USB DigiDrive to USB header on
PC.
c.
The drive icon appears only when flash media is inside the internal SATA / USB
DigiDrive.The drive icon will disappear and reappear during media change.
Note for AEIDDSAUWP: If an unformatted flash media is use, no drive icon will show up in My
Computer.
Media Priority
When more than one media is inside the internal SATA / USB DigiDrive during bootup, the media that
gets detected first is according to the priority shown below
1.
Compact Flash
2.
Smart Media / xD Picture card
3.
MMC / SD
4.
Memory Stick
Drive Icon
Not Recommended
Icon always there with or without
flash media inside the DigiDrive
Media Detection
Flash media is automatically
refresh and detected when
added or removed
Flash media automatically
detected when added or
remove
Hot Swap SATA port
Non hot swap SATA port
Drive Icon
Icon appears only when flash media
is inside
Icon appears only when flash media
is inside
Media Detection
Flash media is automatically
refresh and detected when
added or removed
Flash media detection requires
manual refresh in Device
Manager
Hot Swap SATA port
Non hot swap SATA port
SATA Connection