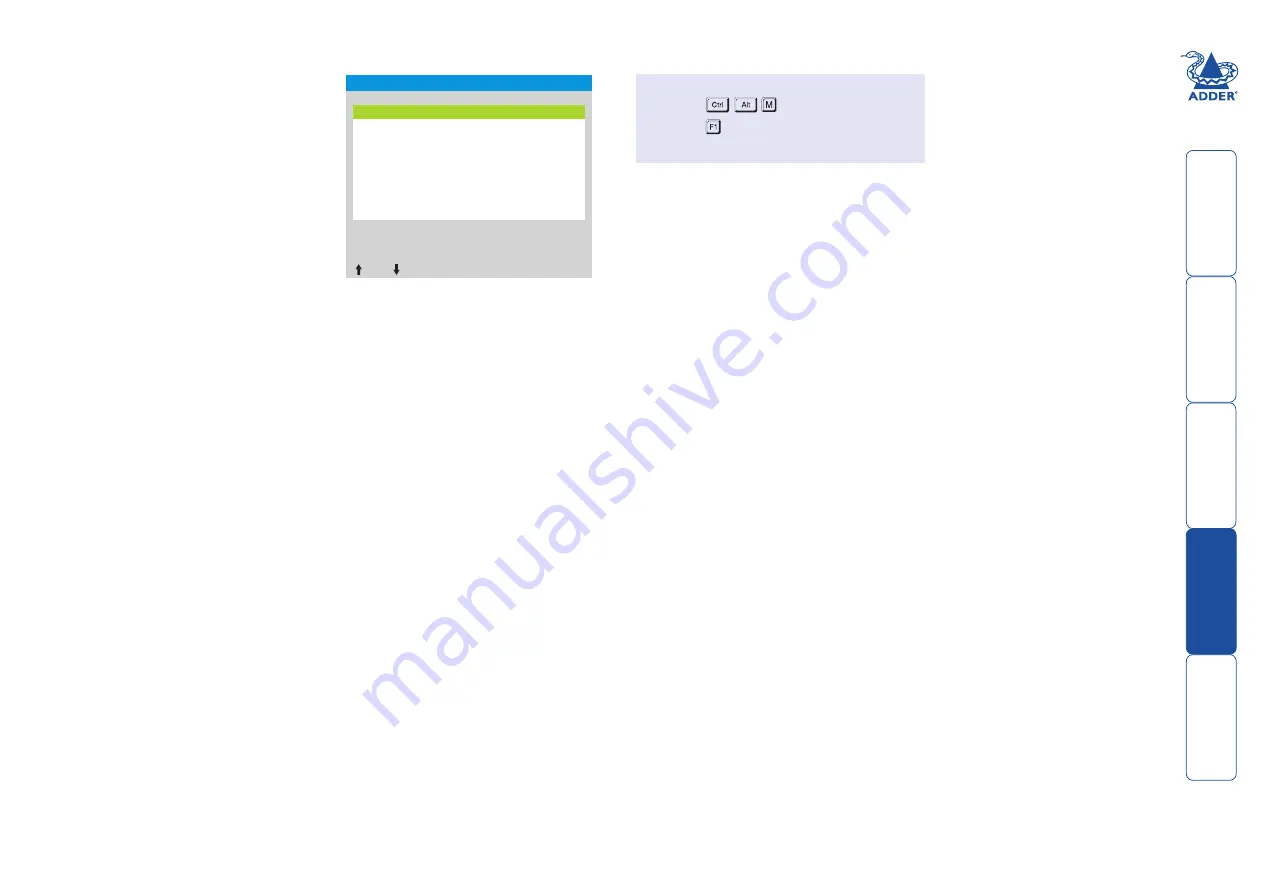
Global Preferences
The Global Preferences menu contains
a collection of settings that affect
various aspects of operation.
Reminder Banner
Settings: ALWAYS, AFTER OSD, NEVER
Determines whether a banner should be displayed (momentarily showing the
name of the currently selected computer) following either a change to the
selected channel or after exiting the on-screen menu. Use the ‘OSD Dwell Time’
setting to determine how long the banner should be displayed.
Autoscan Mode
Settings: SCAN LIST, ALL PCs, ACTIVE PCs
Determines which computers will be visited when the autoscan mode is invoked
(CTRL + ALT + X). SCAN LIST will visit only those that are marked with an ‘X’
within the Edit Computer List; ALL PCs will switch between all computers and
ACTIVE PCs will visit only those computers that are switched on.
Additionally, when ‘SCAN LIST’ is selected, whenever you use either the mouse
buttons or hot keys + tab to change channels, only computers that are active
will be visited. No other preparation is required to achieve this, apart from
setting this mode to ‘ACTIVE PCs’.
Autoscan Period
Settings: 2, 5, 7, 15, 30 SECONDS, 1, 5 MINUTES, DISABLED
Determines the period of time that will be spent viewing each computer during
an autoscan session.
OSD Dwell Time
Settings: 1, 2, 3, 5 SECONDS
After a successful computer channel change, the unit will display a confirmation
message for a few seconds (subject to the setting of the ‘Reminder Banner’
option). The length of time that this confirmation message dwells on the screen
may be changed using this option.
Mouse Switching
Settings: ENABLED, DISABLED
The computer channel can be switched using a three button mouse or
IntelliMouse. Pressing the central button or wheel button together with the left
hand mouse button will cause the unit to switch to the next available computer.
When mouse switching is enabled the central mouse button or wheel mouse
button is allocated to control the AdderView Pro 8 DVI and is not therefore
available for use by computer applications. If you want to use the central mouse
button within your applications you will need to disable mouse switching. The
rotation action of an IntelliMouse wheel is not affected and is always available to
the computer application.
OSD Colour
Settings: SCHEME 1, SCHEME 2, SCHEME 3, SCHEME 4
As you toggle between these options you will see the colour of the menu
change to show the selected scheme. The menu schemes have been specially
chosen to provide a high contrast with the colours that you would normally
see on a computer screen. This setting also affects the colour of the reminder
banner.
Default Mode
Settings: ALL, KVM + SPK, KVM ONLY, SPK ONLY, USB1 ONLY, USB2 ONLY
Determines which peripheral switching mode should be offered as standard.
Regardless of the default mode that is set, during use you can always change
the switching mode using either the TAB key (in the on-screen menu) or the
MODE button (on the front panel).
Note: The Default Mode setting affects
switching controlled by the on-screen menu and front panel only. If you use the
mouse or hotkeys to effect switching then both the KVM and Speakers will be
switched as usual.
To get here
1 Press
(hotkeys can change).
2 Press to select ‘More menus’.
3 Select ‘Global Preferences’.
ADDERVIEW PRO
Global Preferences
Mouse Switching:
ENABLED
OSD Colour:
SCHEME 1
Default Mode:
ALL
Reminder Banner:
Autoscan Period:
AFTER OSD
5 SECONDS
Autoscan Mode:
OSD Dwell Time:
SCAN LIST
2 SECONDS
Space–Toggle
–Up –Down
Esc–Quit


