actiLib Autoloader 1U – Quick Start Guide
Page 8 of 17
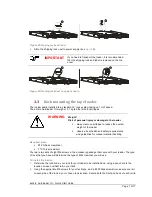
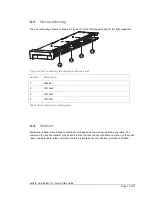
the rack. The rails extend to fit a variety of rack depths. The correct orientation of the left and right
rails is shown in Figure 4.
Figure 4 Installing the rails into the rack
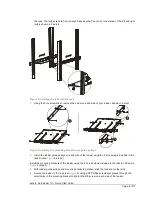
1.
Using the Torx screwdriver, remove the screw on each side of your loader. Shown in 5 step1.
Figure 5 Installing the mounting brackets and guide pulleys
2.
Install the loader guide pulleys on each side of the loader using the 2 Torx screws included in the
rack kit (see
Figure
5 step 2).
Install the mounting brackets of the loader using the 4 Torxs screws included in the rack kit. Shown in
Figure
5 (step 3).
3.
With loader guide pulleys and mounting brackets installed, slide the loader onto the rails.
4.
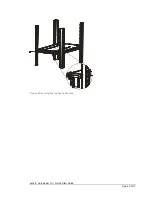
Secure the loader to the rack (see
Figure
6) using a 3# Phillips screwdriver placed through the
small holes in the mounting bracket to tighten the M5 screw on each side of the loader.


