


Using Acronis True Image Management Console
manually (type in the DNS-name of the computer with Acronis License Server
installed, or its IP-address)
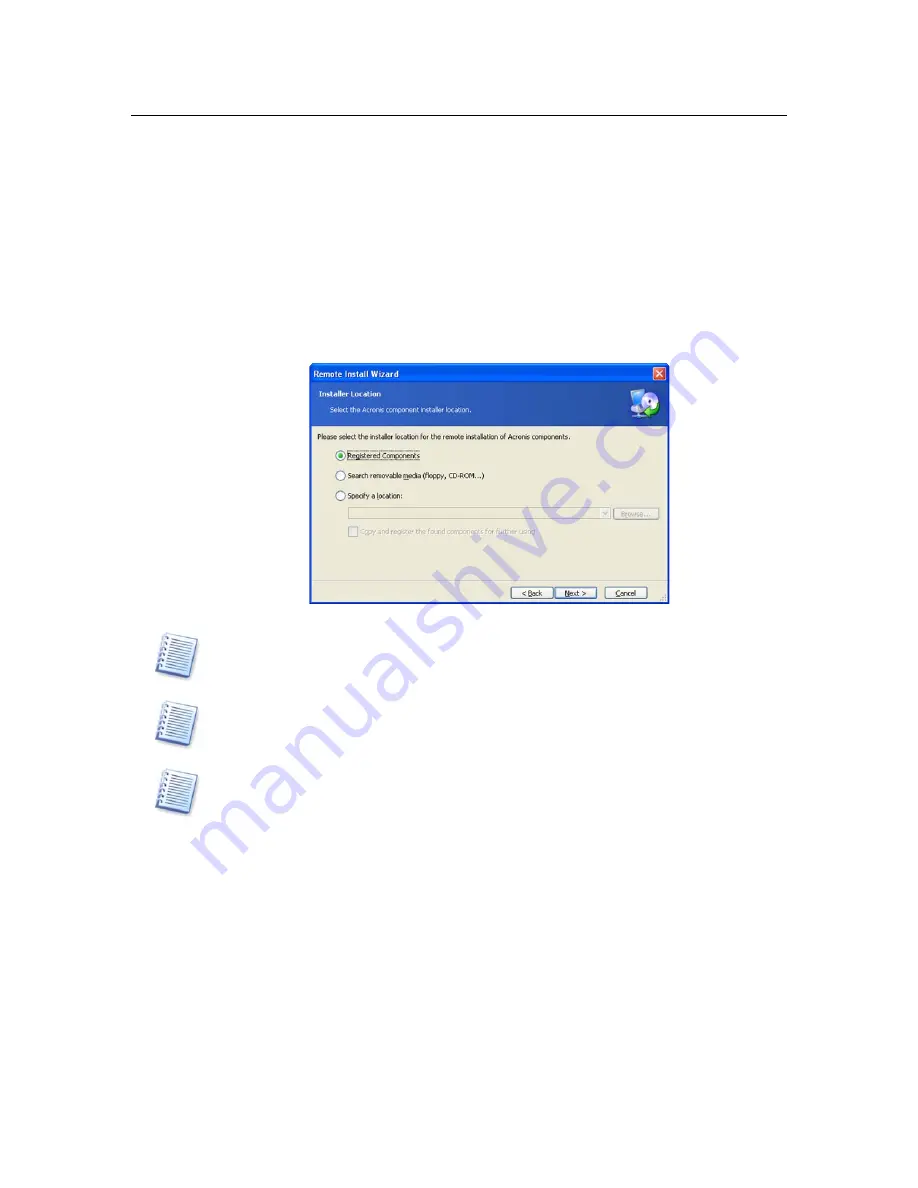
Specify network name or IP address of the machine on which Acronis
component is to be installed. You can also select a PC from the list of available
using Browse… button. At that point you will have to provide administrator
username and password
The Acronis component then will be installed to the remote PC you specified
If you checked Reboot the remote computer box during the Acronis True
Image Agent and Acronis True Image installation, the remote machine will
reboot. Otherwise you will see the corresponding message.
Remote installation of Acronis True Image Agent
You can remotely install Acronis components only onto machines working under Windows
NT SP6/2000/XP. Windows 98/Me machines will require local installation of Acronis True
Image Agent.
If the remote PC runs under Windows XP, make sure the option Use simple file sharing in
the Control panel
→
Folder options
→
View is disabled before the remote installation
starts.
If the remote PC runs under Windows XP with Service Pack 2 installed, make sure that the
option File and Printer Sharing in the Control panel
→
Windows Firewall
→
Exceptions is enabled before the remote installation starts.
3.3
Connecting to a remote PC
After you install Acronis True Image Agent on a remote PC, you will see it in the
list of machines to which you can connect from the Acronis True Image
Management Console. Use View
→
Computers to access this list.
To establish a remote connection, you will need to:
Select New connection in the Remote management sidebar section of
Acronis True Image Management Console main window or the associated
menu or toolbar items. You can also establish a connection using context menu
invoked by right-clicking the desired machine name in the View
→
Computers
list


