background image

8

4.  The Set Timezone screen is displayed and UK timezone of UTC +00:00: Dublin, London 

is the first option highlighted at the top of the display.  Use the Tune/Select control to 
highlight your preferred option and press to select. 

5.  The Daylight savings screen is displayed and the OFF option is highlighted.  Use the 

Tune/Select control to highlight your preferred option and press to select.

6.  The Network settings screen is displayed  Please select ‘YES’ if you would like to keep your 

HiFi connected to the Network all of the time.  This is the recommended option.  If you 
prefer to turn off the network connection when you are using DAB or FM Radio or Aux in 
mode, you will need to remember to reconnect to your network manually each time you 
wish to use the Internet radio or My Music features. 

7.  Use the Tune/Select control to highlight your preferred option and press to select.
8.  The Wlan region screen is displayed.  There is only 1 option of ‘Europe’.  Press the Tune/

Select control to select. 

9.  The Network settings screen is displayed whilst your HiFi scans for available WiFi 

networks. 

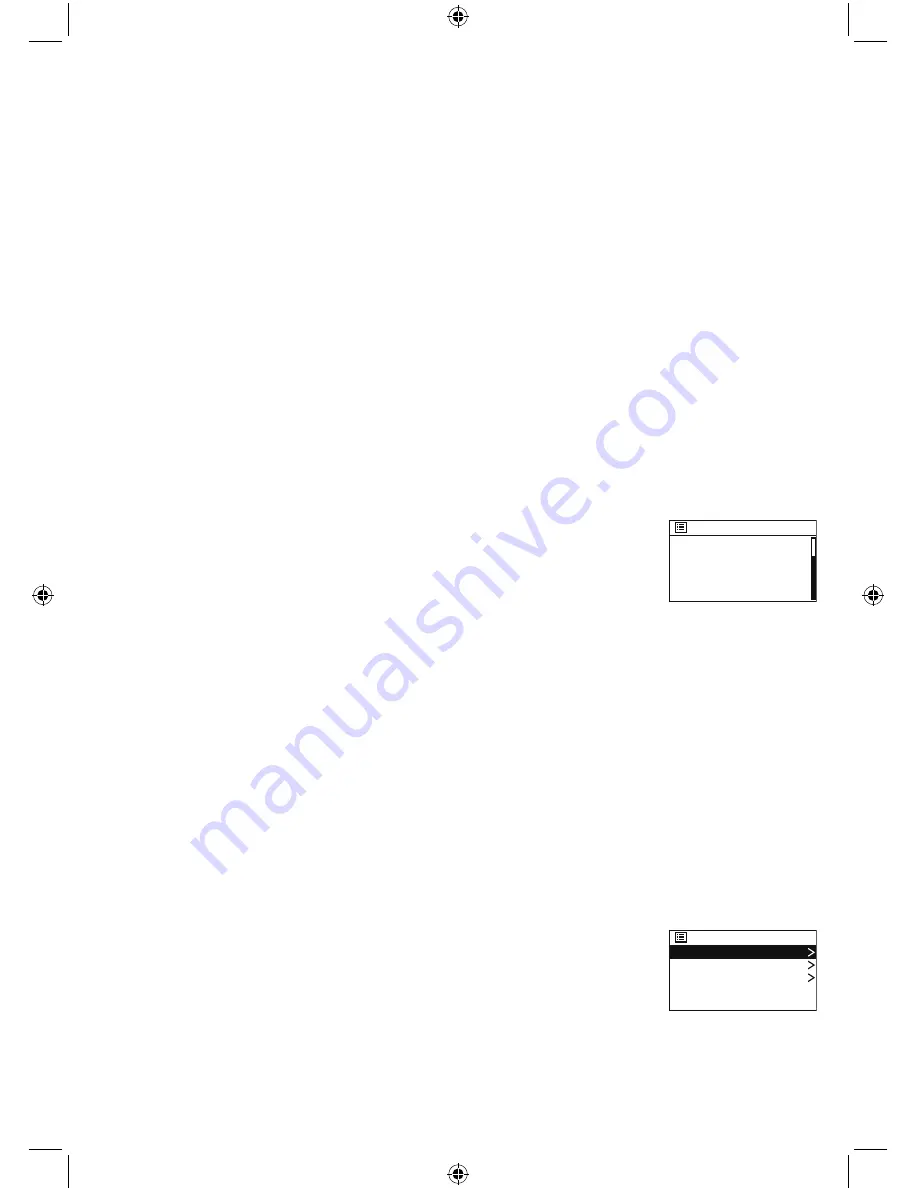
10.  After a few seconds a list the Network Names or (also know as 

SSIDs), for the WiFi networks found during the scan will be 
displayed.  If your router supports WiFi Protected Setup, then 
[WPS] will be shown just before the Network name or SSID.

Use the Tune/Select control to highlight the WiFi Network that the HiFi should connect to 
and press to select. 

Note:

 If your WiFi network is not listed, if may be because your router has been set not to 

broadcast its Network Name or SSID.  Please check your router settings; you can opt to 
change your router to broadcast its network name, or you can enter the Network settings 
into the HiFi manually. Long press Menu/Info, then select Network, then Manual settings 
from within the Internet radio menu.

Note:

 If your router is set to broadcast its Network name or SSID, but it has not been 

found, please first try to scan again for WiFi networks.  Short press the Menu/Info button 
to go back and then proceed through the previous two screens to scan for WiFi networks 
again.  If your network is still not found, please try moving your HiFi closer to your router 
and then scan for WiFi networks again. 

11.  If your router supports WiFi Protected Setup (WPS), the WPS Menu 

screen will be displayed at this point.  If your router does not 
support WPS, then please go to step 12. 

SSID

Airport Extreme_Soaks

[WPS]Another IR2.5 so...

[WPS]DLNA_3586

HomeRouter-582

Skip WPS

PIN

Push Button

WPS Menu

Using your HiFi

Summary of Contents for BD-1738

Page 1: ...Instruction Manual BD 1738 ...

Page 2: ...yer 19 Using the DAB Radio 21 Changing DAB stations 21 Scanning for DAB stations 21 Prune DAB stations 22 Storing DAB station presets 22 Recalling DAB station presets 22 DAB display information 23 Dynamic range control DRC 23 Using the FM Radio 25 Tuning to an FM station 25 Changing the scan setting 25 Audio mode 26 Storing FM station presets 26 Recalling FM station presets 27 FM display informati...

Page 3: ...its Caution This is a CLASS 1 laser product Use of controls or adjustments other than those specified herein may result in hazardous laser light beam exposure Do NOT open the cover and do NOT attempt to repair it yourself Refer servicing to qualified personnel This product does not contain any user serviceable parts Unauthorised handling of the device may damage it and will void your warranty Powe...

Page 4: ... place your HiFi directly onto antique or polished surfaces Moisture and water Keep it dry Avoid exposure to precipitation humidity and liquids which could all affect the product circuitry Do not leave it in low temperatures as moisture can form inside the product which may damage the circuit board Ventilation Do not block or cover slots holes or openings on the product by placing on soft furnishi...

Page 5: ...FC Touch point 6 CD tray 7 Rotary Volume control 8 Preset 9 Eject CD mode 10 Skip back 11 Stop 12 Skip forward 13 Play Pause 14 Menu Info 15 Headphone socket 1 2 3 4 6 7 8 9 10 11 12 13 14 15 16 17 18 19 20 5 16 Power lead 17 Telescopic antenna 18 Aux in 19 Right speaker socket 20 Left speaker socket ...

Page 6: ... the left of the HiFi display may affect the performance of the remote control Your HiFi with WiFi Remote control 1 Power on off 2 Mode 3 Skip back 4 Play Pause 5 Clock 6 Select 7 Scan 8 Prog Preset 9 Menu 10 Pair 11 Alarm 12 Info 13 Snooze 14 Mute 15 Eject CD mode 16 Skip forward 17 Stop 18 Repeat 19 EQ 20 Volume 21 Volume 1 2 3 4 5 6 7 8 9 10 11 12 13 14 15 16 17 18 19 20 21 ...

Page 7: ...to check if you would like to run the Setup wizard the next time you power on your HiFi Use the Tune Select control to highlight YES or NO as appropriate and short press the Tune Select control The main menu screen for your HiFi will then be displayed Note If at any point during the Setup wizard process you wish to go back to change a setting just short press the Menu Info button which is under th...

Page 8: ...s for the WiFi networks found during the scan will be displayed If your router supports WiFi Protected Setup then WPS will be shown just before the Network name or SSID Use the Tune Select control to highlight the WiFi Network that the HiFi should connect to and press to select Note If your WiFi network is not listed if may be because your router has been set not to broadcast its Network Name or S...

Page 9: ...an encryption key Connecting followed by Connected then Setup wizard completed will be displayed Short press the Tune Select control to SELECT and display the Main Menu Your HiFi is now connected via your router to the internet 13 If your router requires an encryption key the Key screen will be displayed You will need to enter the correct wireless password or encryption key either Wired Equivalent...

Page 10: ... Power button on the HiFi or on the remote control Power off Short press the Power button on the HiFi or on the remote control The Standby screen will be displayed with the current date and time Change the mode 1 Short press the Mode button on the HiFi or on the remote control The 7 mode options of Internet Radio My Music DAB Radio FM Radio Bluetooth CD and Aux are displayed 2 Use the rotary Tune ...

Page 11: ...tereo headphone socket can be found on the front of the HiFi underneath and to the right of the large rotary volume control When you have headphones connected the HiFi speakers are switched off and all sound is via the headphones Note Always keep the volume within reasonable limits Using your HiFi ...

Page 12: ...to Network and press to select 4 Network wizard will be highlighted Press the rotary Tune Select control to select 5 Follow the steps from page 7 to connect your HiFi with your home router for Internet radio access Selecting an Internet radio station There are several different ways of selecting Internet Radio stations to listen to on your HiFi Such as Location find a radio station by its location...

Page 13: ...fo button on the HiFi or the Menu button on the remote control to enter the menu options 2 Use the Tune Select control on the HiFi or the and buttons on the remote control to highlight Station list Press the Tune Select control on the HiFi or the Select button on the remote control to select 3 Use the Tune Select control on the HiFi or the and buttons on the remote control to highlight Search stat...

Page 14: ...ol on the HiFi or the Select button on the remote control to select Podcasts Some radio stations enable you to listen to programmes that have already been broadcast There are also programmes available that have been created for download onto a computer or portable device such as a tablet or mobile phone These are commonly known as Podcasts You can search for Podcasts to listen to on your HiFi In i...

Page 15: ...here is a very quick and easy way to access these stations In internet radio mode 1 Long press the Menu Info button on the HiFi or the Menu button on the remote control to enter the Internet radio menu Last listened is highlighted at the top of the list 2 Short press the Tune Select control on the HiFi or the Select button on the remote control to display up to 10 of the most recent Internet radio...

Page 16: ... mode 1 Short press the Preset button Use the rotary Tune Select control on the HiFi or the and buttons on the remote control to move to the Preset location and station that you would like to listen to 1 40 2 Short press the Tune Select control on the HiFi or the Select button on the remote control The HiFi will tune to that station and begin to play Note If no Internet station has been stored und...

Page 17: ...trol on the HiFi or the Select button on the remote control until Favourite added is displayed Select a station in the My Favourites list In internet radio mode 1 Long press the Menu Info button on the HiFi or the Menu button on the remote control to enter the menu options Use the rotary Tune Select control on the HiFi or the and buttons on the remote control to highlight the Station list and pres...

Page 18: ...trol to highlight Station list Press the Tune Select on the HiFi or the Select button on the remote control to select 2 Use the rotary Tune Select control on the HiFi or the and buttons on the remote control to scroll and highlight Help Press the Tune Select on the HiFi or the Select button on the remote control to select 3 Get access code will be highlighted Short press the rotary Tune Select con...

Page 19: ...work Connected option turned on See page 8 point 6 Your computer is connected to the same router and network as your HiFi The audio files are stored in the correct location on your computer The audio files are not protected Your computer has the correct type of audio files and playlists stored on a networked computer Your computer has file sharing turned on The audio files can be shared on the net...

Page 20: ...ghlight and then select the computer which has the audio files that you would like to play 3 The menus presented to you on your HiFi are now generated by the media server such as the Windows Media Player Your HiFi can play Music and Playlists and there is also a search option available 4 Use the rotary Tune Select control on the HiFi or the and buttons on the remote control to highlight and then p...

Page 21: ...ed When the scan is complete your HiFi will display the DAB station list Stations are listed in numerical and then alphabetical order by default Changing DAB stations In DAB mode 1 Use the rotary Tune Select control on the HiFi or the and buttons on the remote control to move through the available stations 2 When the station that you would like to listen to is displayed press the rotary Tune Selec...

Page 22: ...access to your favourite stations Note When you store DAB radio station presets these do not overwrite your Internet or FM station presets Storing DAB station presets 1 Tune your HiFi to the DAB station that you wish to preset 2 Long press the Preset button on the HiFi or the Prog button on the remote control Use the rotary Tune Select control on the HiFi or the and buttons on the remote control t...

Page 23: ...justing the aerial or relocating your HiFi to improve reception Signal information The data rate at which the signal is being transmitted Today s date supplied by the broadcaster 1 Repeatedly short press the Menu Info button on the HiFi or the Info button on the remote control to cycle through the different information options Dynamic range control DRC In DAB mode The dynamic range for each radio ...

Page 24: ...une Select control on the HiFi or the and buttons on the remote control to move to DRC Press the rotary Tune Select control on the HiFi or the Select button on the remote control Note The current DRC setting will have an in the display 3 Use the rotary Tune Select control on the HiFi or the and buttons on the remote control to scroll through the options Press the rotary Tune Select control on the ...

Page 25: ...tion name detail about the programme and the current time If you were listening to an FM station when you switched the HiFi to standby then this station will be automatically selected when you switch the HiFi back on Tuning to an FM station In FM mode 1 Use the rotary Tune Select control on the HiFi to scroll through the FM frequency band or you can Short press the scan button on the remote contro...

Page 26: ...tary Tune Select control on the HiFi or the and buttons on the remote control to move to Audio setting Press the rotary Tune Select control on the HiFi or the Select button on the remote control 3 Listen in Mono only YES NO will be displayed 4 Use the rotary Tune Select control on the HiFi or the and buttons on the remote control to choose from the two options available Press the rotary Tune Selec...

Page 27: ... play Note If no FM station has been stored under the preset button Preset empty will be displayed then the HiFi will revert to the previously selected radio station FM display information When listening to an FM station you can change the information that will appear on the display Radiotext RT This is text information supplied by the broadcaster Information could be the name of an artist or musi...

Page 28: ...shing in the display and will be continuously on Note The Bluetooth name of your HiFi is AS micro wifi 2 To disconnect an NFC bluetooth connection just touch your other NFC enabled device to the NFC touch point logo again After disconnection will flash in the HiFi display again Connecting or Pairing with your HiFi In Bluetooth BT Mode 1 will flash in the display 2 On the device that you would like...

Page 29: ...e connected device and or your HiFi Note If your previously paired device is within range but does not automatically connect go to the Bluetooth connectivity settings on your device and select AS micro wifi to reconnect Alternatively you can press and release the Pair button on the remote control to restart the Bluetooth pairing process 2 You can use the controls on your paired Bluetooth device as...

Page 30: ...hat it sits flat 3 Short press the button on the front of the HiFi or on the remote control to close the CD drawer Once the drawer has closed Reading followed by Stop will be displayed Note If there is no CD in the compartment No disc will be displayed CD controls You can use the following controls on your HiFi or remote control in CD mode Play Short press the button on the HiFi or on the remote c...

Page 31: ... that you would like to programme Continue to select each track as in Step 2 above up to a total of 20 tracks Short press the Preset button on the HiFi or the Prog button on the remote control again to confirm the last track in the programmed play mode list Note If you try to store more than 20 tracks the CD track programming will begin again at P01 T00 4 Short press the button on the HiFi or on t...

Page 32: ...c will cause sound deterioration Wipe the disc from the centre outwards with a soft cloth Always keep the disc clean If dust or marks cannot be removed with a soft cloth wipe the disc lightly with a slightly damp soft cloth and then wipe with a soft dry cloth Do NOT use any type of solvent commercially available cleaners or antistatic spray for vinyl as it may damage the disc Do NOT store discs in...

Page 33: ...uded Aux in allows for a quick and easy connection to an external sound source 1 Connect one end of the 3 5mm audio connection cable to the headphone or auxiliary out socket of your secondary device connect the other end to the Aux in socket on the back of your HiFi 2 Press the Play button on your external device to start playback through the HiFi speakers 3 To gain optimal volume levels adjust th...

Page 34: ...tep 4 Available features and options in the Menu System settings list are Sleep You can set your HiFi to turn off automatically using the sleep timer You can choose from Sleep OFF 15 30 45 60 and 90 minutes Equaliser The sound on your HiFi can be adjusted to suit the type of music or programme you are listening to using the Equaliser settings If you prefer you can also choose to set the bass and t...

Page 35: ...t the display brightness of the On Level and Dim Level Standby High Medium and Low settings are available Factory reset Restores the original factory default settings Note All of the HiFi settings including your internet radio router settings the DAB station list and all of the Internet DAB and FM radio station presets will be deleted when you Factory reset your HiFi Info The software version indi...

Page 36: ...S WiFi 802 11 b g n Supports WEP and WPA WPA2 encryption Frequency range DAB Band III 174 MHz to 240 MHz FM 87 5 MHz to 108 MHz Bluetooth 2 4GHz 2 480GHz Version 2 1 Profiles A2DPv1 2 AVRCPv1 0 HFPv1 5 Pairing name AS micro wifi Headphone socket 3 5mm stereo AUX in socket 3 5mm stereo Technical specification ...

Page 37: ...other electrical or WiFi products too close to your HiFi which could interfere with the WiFi signal Check that you have entered the encryption key or pass phrase for your router exactly as it appears including upper and lower case characters Check that your router has not been set up to restrict access to specific MAC addresses The person who set up your network will be able to advise if you need ...

Page 38: ... intermittent or keeps stopping Check your internet broadband connection and speed If you are experiencing an intermittent service or high error rate on your broadband connection your HiFi will not be able to continuously connect and play in internet radio mode No sound power Adjust the volume using the rotary control on the HiFi or the Vol and Vol buttons on the remote control Check that the spea...

Page 39: ... are trying to use the function buttons for the mode that you are in CD does not play Check that you are in CD mode Take out the CD and check that it is not marked or scratched Damaged CDs cannot be played in the HiFi or may skip or not rotate correctly Please check that you are using an original audio CD and not a copy Often copied CDs will not play Unable to pair with a Bluetooth device Check th...

Page 40: ...number Date of purchase Local call rates applies Lines open 8am 7pm Monday to Saturday and 10am 4pm Sunday Calls to Argos enquiry lines may attract a charge and set up fee from residential lines depending on your call plan tariff Mobile and other providers costs may vary see www bt com pricing for details For security and training purposes telephone calls to and from customer service centres may b...

Page 41: ...ain substances that may be harmful to the environment and human health Keep out of the reach of children and seek immediate medical help if swallowed Batteries should not be disposed of in the normal household waste but taken to appropriate local recycling facilities where and when these are available Never throw batteries in a fire or attempt to open the outer casing This product is intended for ...

Page 42: ...arantee does not cover accidental damage misuse cabinet parts knobs or consumable items The product must be correctly installed and operated in accordance with the instructions contained in this manual It must be solely for domestic purpose The guarantee will be rendered invalid if the product is re sold or has been damaged by inexpert repair Specifications are subject to change without notice The...

Page 43: ...This page is intentionally blank ...

Page 44: ......

Reviews: