Chapter 3
43
This chapter contains step-by-step procedures on how to disassemble the notebook computer for
maintenance and troubleshooting.
To disassemble the computer, you need the following tools:
T
Wrist grounding strap and conductive mat for preventing electrostatic discharge
T
Plastic flat head screw driver
T
Plastic tweezers
T
Philips screw driver
T
Any plastic tool can take off the middle cover
NOTE:
The screws for the different components vary in size. During the disassembly process, group the
screws with the corresponding components to avoid mismatch when putting back the components.
When you remove the stripe cover, please be careful not to scrape the cover.
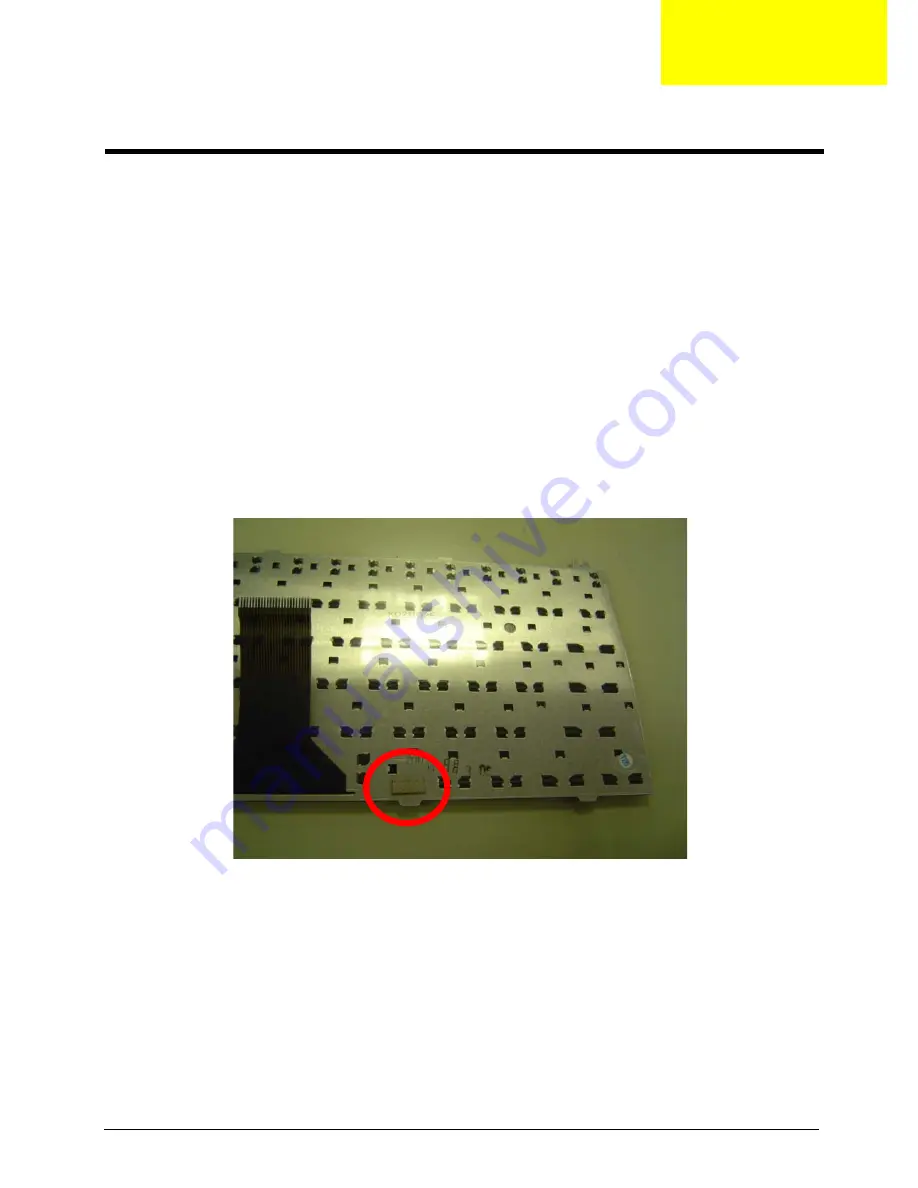
NOTE:
Please pay special attention to TravelMate 290 (system part number will be LX.T44...) keyboard. This
model is with VGA board, the keyboard needs to have the gasket on its back. Please do NOT use
TravelMate 290/TravelMate 290E (system part mumber will be LX.T35.../LX.T40...) keyboard as
substitute. The image below is keyboard with gasket on its back employed for this model.
Chapter 3
Machine Disassembly and Replacement
Summary of Contents for TravelMate 290 Series
Page 6: ...VI ...
Page 44: ...36 Chapter 2 ...
Page 50: ...42 Chapter 2 ...
Page 55: ...Chapter 3 47 Removing the Battery Pack 1 Slide the battery latch 2 Then remove the battery ...
Page 58: ...50 Chapter 3 ...
Page 68: ...60 Chapter 3 ...
Page 82: ...74 Chapter 4 ...
Page 86: ...78 Chapter 5 ...
Page 88: ...80 Chapter 6 Exploded Diagram THE SYSTEM ...
Page 89: ...Chapter 6 81 LOGIC UPPER ASSY ...
Page 90: ...82 Chapter 6 LCD 14 1 ...
Page 91: ...Chapter 6 83 LCD 15 ...
Page 92: ...84 Chapter 6 OPTICAL DISC DRIVE MODULE AND COMBO DRIVE MODULE HDD ASSY ...
Page 102: ...94 Chapter 6 ...
Page 104: ...Appendix A 96 ...
Page 112: ...104 Appendix B ...
Page 114: ...106 Appendix C ...


