


149
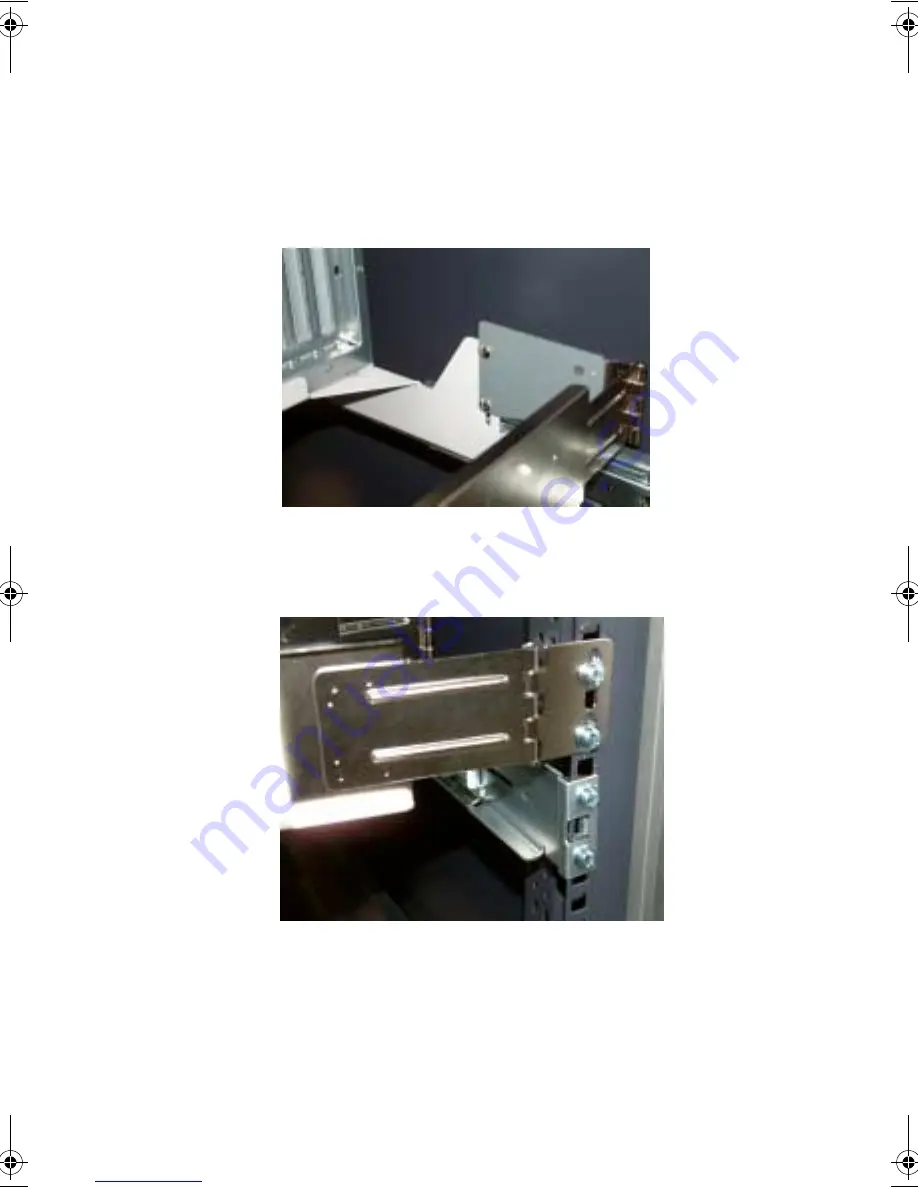
13 Attach the Cable Arm
The optional Cable Arm keeps peripheral and power cables from
becoming tangled or severed when the system slides in or out.
(1)
Attach the cable arm to the back of the
server
with
two
screws.
(2)
Install two cage nuts in the rail to which the cable arm is to
be attached. Extend the cable arm enough to attach it to
the rail using two M6 x L10 screws.
(3)
Insert the power, peripheral and networking cables into the
appropriate ports. Refer to Chapter 2 for detailed
instructions.
aa300.book Page 149 Tuesday, December 17, 2002 5:27 PM
Summary of Contents for G301
Page 1: ...Acer Altos G300 Series User s guide ...
Page 8: ...viii ...
Page 13: ...1 Getting started ...
Page 21: ...9 Connecting the mouse ...
Page 22: ...1 Getting started 10 Connecting the VGA monitor Connecting to the network ...
Page 23: ...11 Connecting the power cable ...
Page 29: ...2 System tour ...
Page 30: ...This chapter discusses the features and components of your computer ...
Page 40: ...2 System tour 28 ...
Page 41: ...3 Upgrading your system ...
Page 42: ...This chapter contains instructions on how to upgrade your computer ...
Page 47: ...35 5 Detach the side panel 6 Repeat steps 4 to 5 to remove the other side panel ...
Page 59: ...4 Setup utility ...
Page 90: ...4 Setup utility 78 ...
Page 91: ...5 Configuring IDE Software RAID ...
Page 129: ...117 ...
Page 130: ...5 Configuring IDE Software RAID 118 ...
Page 131: ...Appendix A AMIBIOS POST Checkpoint Codes ...
Page 132: ......
Page 145: ...Appendix B ASM quick installation guide ...
Page 146: ...This appendix shows you how to install the ASM software package ...


