10
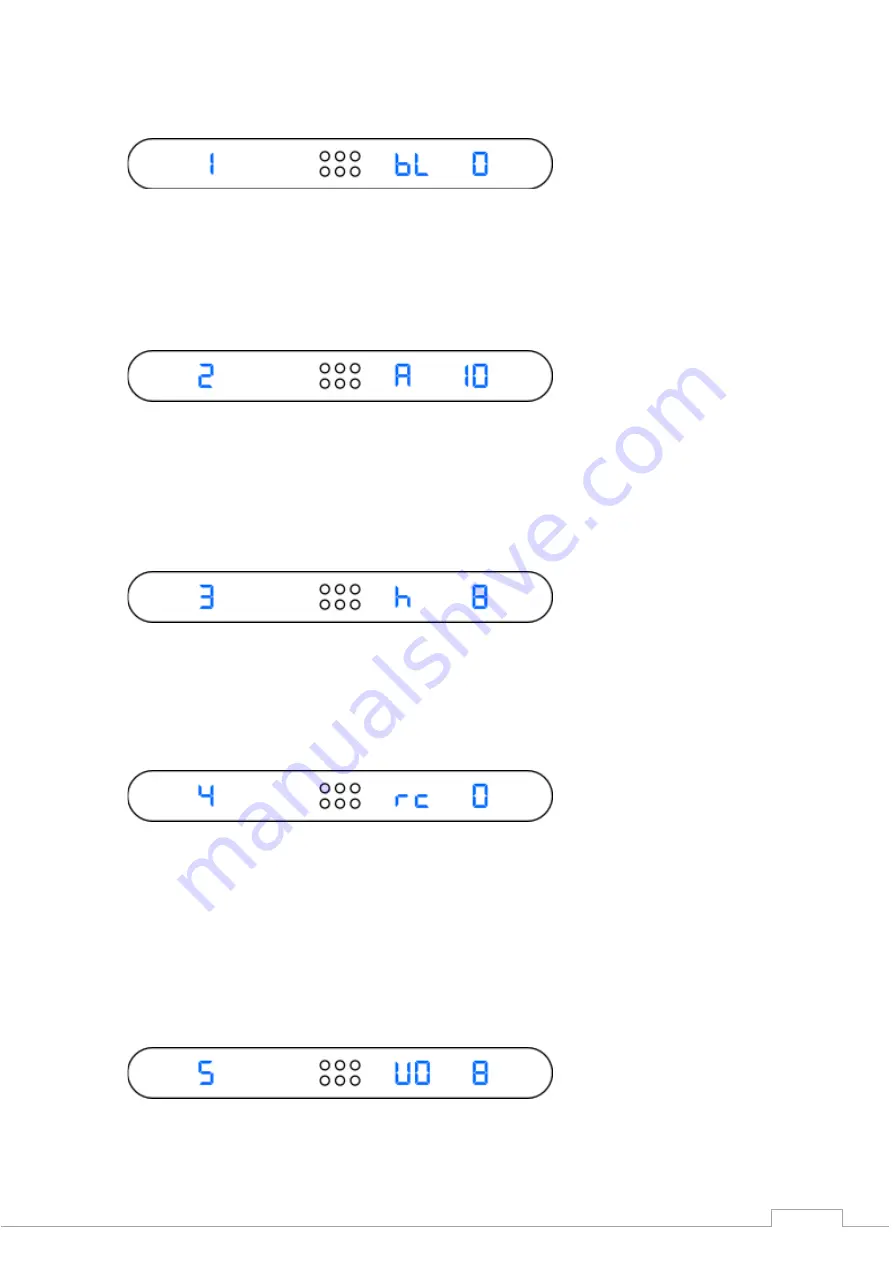
1. Balance:
The stereo balance can now be adjusted with the right-hand rotary knob.
Turning the left rotary knob to the right, will take you to the next setting menu.
2. Initial volume:
Here you can adjust the volume. This
should be set immediately after the amplifier is turned on. Also, this volume level is adjusted when the
previously turned off speaker output (e.g. , to be heard only with the headphones) is turned on again.
By turning the left knob to the right you will reach the next setting menu, by turning to the left in front of
the menu.
3. Display brightness:
The display brightness can be adjusted in eight steps by turning the right-hand rotary knob.
Turning the left knob to the right will take you to the next setting menu, while turning it to the left will
bring you back to the previous menu.
4. Adjust the preamp output
Here, the preamp output can be configured. By pressing the right rotary knob, the preamplifier signal is
switched to the Pre-Out sockets before (0) or behind the volume control (1). If you e.g. If you want to
connect a recording device or a separate headphone amplifier here, the preamplifier signal should be
applied without any volume influence, so position (0). If you want to connect another power amplifier or
active subwoofer, the setting (1) should be selected, i.e. with volume adjustment.
By turning the left knob to the right you will reach the next setting menu, by turning to the left in front of
the menu.
5. Unity Gain (bridging the volume control)
If the integrated amplifier is to be integrated as a power amplifier in a multi-channel system (surround),
where the volume is set on the surround decoder, then the volume control can be bridged here for the
input that was selected before the setup menu was called up.


