Live view
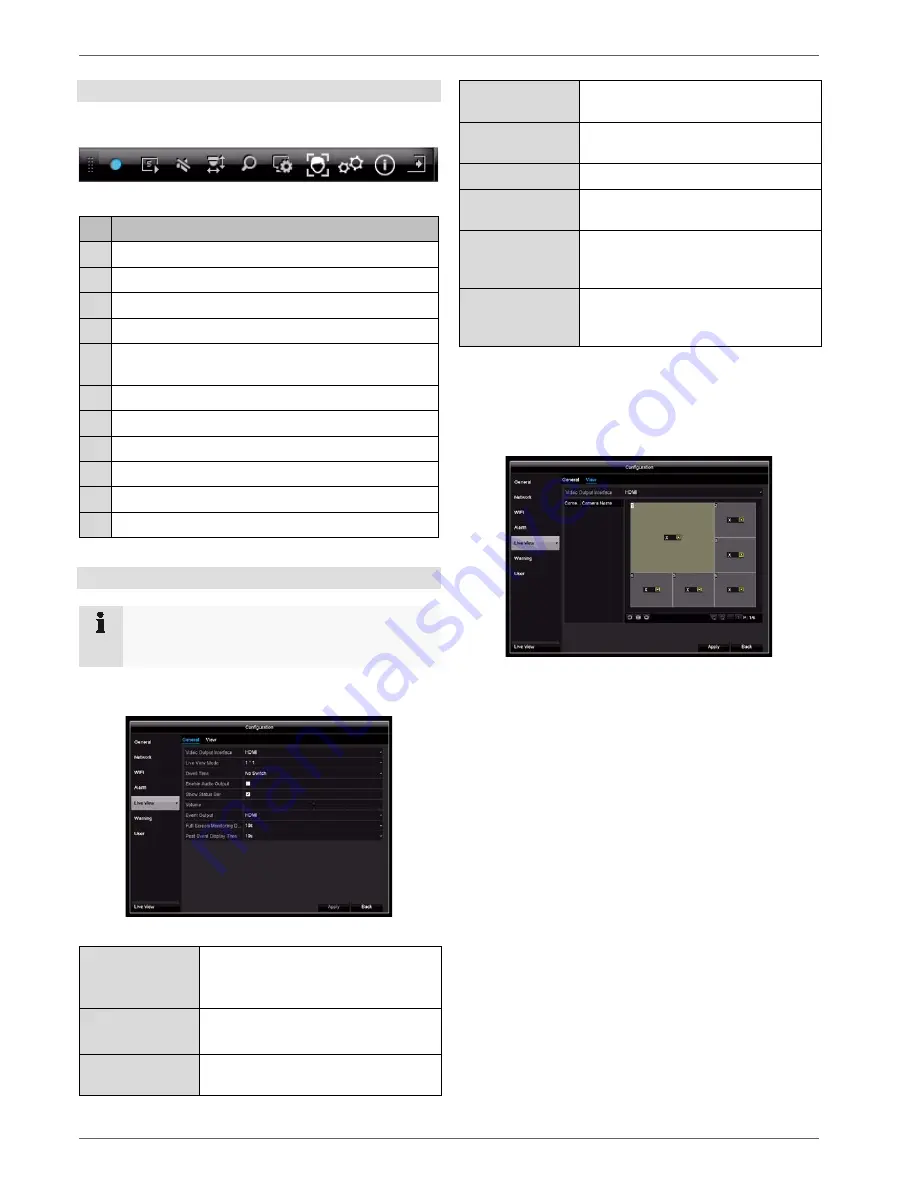
Selection bar in the camera image
In single or multi-screen, click on a camera image. A se-
lection bar will appear:
(1) (2) (3) (4) (5) (6) (7) (8) (9) (10) (11)
No. Meaning of the symbol
(1) Area for moving the miniature bar
(2) Activate/deactivate manual recording
(3) Instant playback of the last five minutes
(4) Activate/deactivate the audio function
(5)
Open the PTZ control menu (for PTZ cameras
only)
(6) Enable digital zoom
(7) Image display settings
(8) More image settings
(9) Live-image stream settings
(10) Display of the current streaming information.
(11) Close the selection bar
Settings
Note
The following settings are available for the live
view.
Open the main menu and click on Configuration. Then
click on Live View:
The following settings are available in the General tab:
Video Output In-
terface
HDMI
Select the connection where the set-
tings are changed.
Live View
Mode
Various camera layouts
1x1, 2x2, 1+5.
Dwell Time
Switching time between the individual
cameras during auto-switch.
Enable Audio
Output
Activates the audio output (HDMI) for
the live view.
Display status
bar
Activate/deactivate the status bar.
Volume
Control volume
Event Output
Allocate monitor for the output of
events.
Full Screen Moni-
toring Dwell Time
The number of seconds for which the
event will be displayed on the allo-
cated monitor.
Post-Event Dis-
play Time
The number of seconds for which the
pop-up window should be displayed
in the event of an alarm.
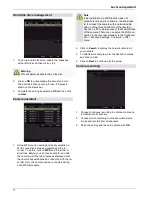
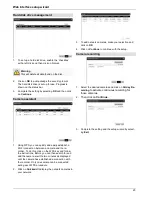
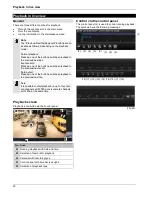
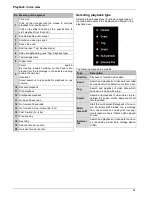
Setting the camera output
You can display a maximum of six cameras simultane-
ously in live view.
1. Click on the View tab:
2. Select the display mode.
1 x 1
2 x 2
1 + 5
3. Use the navigation keys to allocate the required
camera signal to the corresponding screen section.
•
The
X
setting means that this particular camera is
not being displayed.
4. Click on
Apply
to apply the setting.
22


