


13
English
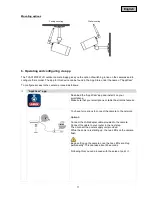
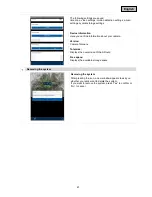
Entering system information
1. Enter
a name for your camera at “System Name” which
should then be displayed on your mobile phone.
2. To enter
the DID automatically, click on “Search” to
display all the cameras which are connected to your
network or directly to your mobile end device. Select the
required camera and click on “Add”. You can also enter
the 20-digit DID number manually. You can find this on
the product sticker on the product. .
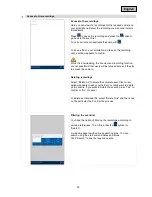
3. Then enter your password.
The standard security code is: 123456. When you logon
successfully, you receive a warning to inform you that
you are using the standard security code and that you
should change it for your own security.
4.
Save the settings by pressing “Save”.
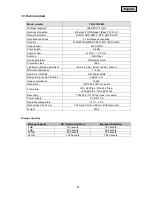
5.
To
change the camera settings, press the settings button.
Menu options then appear for every camera. Select the
settings icon to edit the system settings.
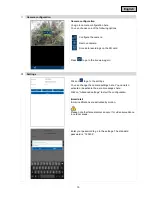
6.
To
obtain the live view, click on the required camera.
The camera can now be reached locally in your network. To
connect the camera to the internet, go to menu item 8.
“Advanced Settings” at “Wi-Fi” settings.
Once you have changed the camera password, it must also
be changed in the app. To do so, open the camera settings.
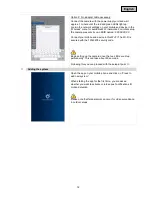
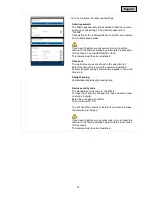
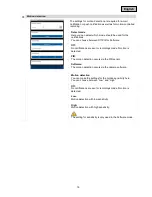
Connection status
If you have added you system successfully, the name of your
system and the current connection status appear. The picture
shown is the last video image of the previous session.
You can add up to 8 cameras in the app.
Press the required camera to go to the live view.
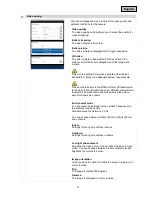
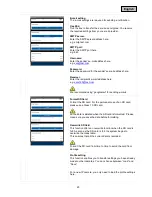
System name
e.g. Test
Connection status
Connected
= you are connected with your system
Disconnected
= there is no connection to the system
Press to add new system
Here you can add an additional system
System configuration
Go to the system configuration here.
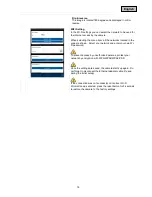
Press
to go to the live view again.
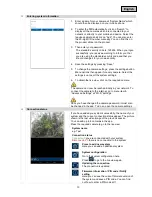
Updating the connection
The connection is updated.
Firmware information / PIN code / Notify
setting
Here you can see the current firmware version of
the system and save a PIN code. You can find
out how to enter a PIN code at
.
Summary of Contents for TVAC19100B
Page 122: ...TVAC19100B www abus com plug and play Version 10 2014...
Page 124: ...124 1 100 240 50 60 5 2 3 4 5 6 10 50 C...
Page 125: ...125 7 150 1 2 3...
Page 127: ...127 1 PnP IP 5 IP66 3 2 WLAN EU AU UK 5 1 5 LAN 3 IP66 720 3 6 SD 4 4 1 TVAC19100B 720 ICR 5...
Page 128: ...128 4 2 PIR SD...
Page 129: ...129 5 5 1 90...
Page 130: ...130 6 WLAN TVAC19100 App Store Google Playstore App2Cam App2Cam App2Cam 1 LAN 60...
Page 131: ...131 2 1 W LAN WiFi SSID XXXXXXXXX Wifi WiFi 12345678 60...
Page 132: ...132 1 2 DID 20 DID 3 123456 4 5 6 8 W Lan...
Page 133: ...133 8 push 1 PIN 2 4 3...
Page 134: ...134 4 3 16 9 90 SD 1...
Page 135: ...135 SD 123456...
Page 136: ...136 123456 5 12345678 8 5...
Page 137: ...137 1 50 50 60 5 5 180...
Page 138: ...138 180 Wi Fi Wi Fi WPA WPA2 WPA2 PSK WiFi 5...
Page 139: ...139 PIR PIR PIR...
Page 141: ...141 IP SD...
Page 142: ...142...
Page 143: ...143 7 7 1 7 2 8 2002 96...


