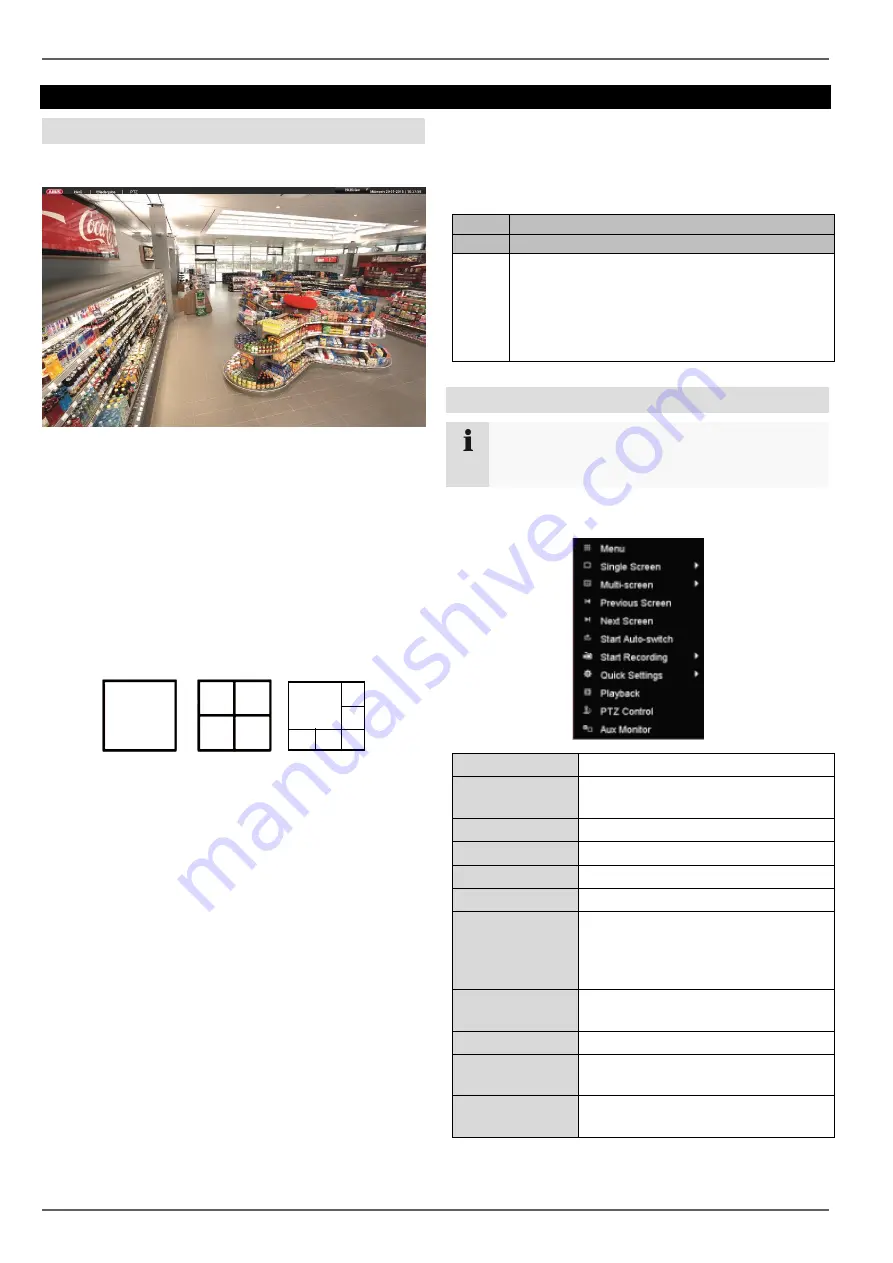
Live view
21
Live view
Overview
Live view starts automatically when the device is
switched on.
The following menus are found in the header:
Menu and
Playback
The device date and time are displayed on the right-hand
side of the header. To the left, you will find multi view.
Click on the icon to open the pop-up menu of the
multi view.
Click on one of the icons in the pop-up bar that
appears in order to switch between the different
views.
The signals of the connected cameras are displayed on
the main screen.
By double clicking with the left mouse button, you can
display the selected camera image in full screen or
switch back to the original view.
Status symbols
The following symbols are displayed depending on
the operating status of the device:
Symbol Meaning
R
R
Yellow: motion recording
recording only upon motion detection
Blue: recording
continuous recording
Pop-up menu with mouse operation
Note
Right click when the mouse pointer is positioned
on a live image.
The following settings can be made. The arrow pointing
to the right indicates that a sub-menu opens for selection:
Menu
Opens the main menu
Single Screen
Full-screen view of the selected
camera.
Multi-screen
Various camera layouts
Previous Screen
Displays the previous camera
Next Screen
Displays the next camera(s)
Start Auto-switch Starts the camera sequence display
Start Recording
Overwrites the record schedule of all
cameras connected for continuous
or movement recording and initiates
this.
Quick Settings
Sets the output mode for the screen
display
playback
Switch to playback view
PTZ
Enables the PTZ mode of the
selected camera.
Aux Monitor
Switches the mouse control to the
AUX monitor


