Hardware Setup
2-5
•
[Dual Channel Asymmetric]:
both channels are populated, but each channel has a different
amount of total memory. (Channel A
≠
Channel B)
Channel A
Channel B
Method
DIMM1
DIMM2
DIMM3
DIMM4
1
512MB - 256MB -
2
-
256MB
-
512MB
3
512MB -
- 256MB
4
-
256MB
512MB
-
5 256MB 256MB 256MB
-
6
256MB
256MB
-
256MB
7 256MB
-
256MB 256MB
8
-
256MB
256MB
256MB
9 256MB 256MB 512MB 512MB
10
256MB
256MB
256MB
512MB
•
[Dual Channel Symmetric]:
both channels are populated where each channel has the same amount
of total memory. (Channel A
=
Channel B)
Channel A
Channel B
Method
DIMM1
DIMM2
DIMM3
DIMM4
1
512MB - 512MB -
2
-
512MB
-
512MB
3
512MB -
- 512MB
4
-
512MB
512MB
-
5 256MB 256MB 512MB
-
6
256MB
256MB
-
512MB
7 512MB
-
256MB 256MB
8
-
512MB
256MB
256MB
9 512MB 256MB 512MB 256MB
10
256MB
512MB
256MB
512MB
Power off the computer and unplug the AC power cord before installing or removing memory modules.
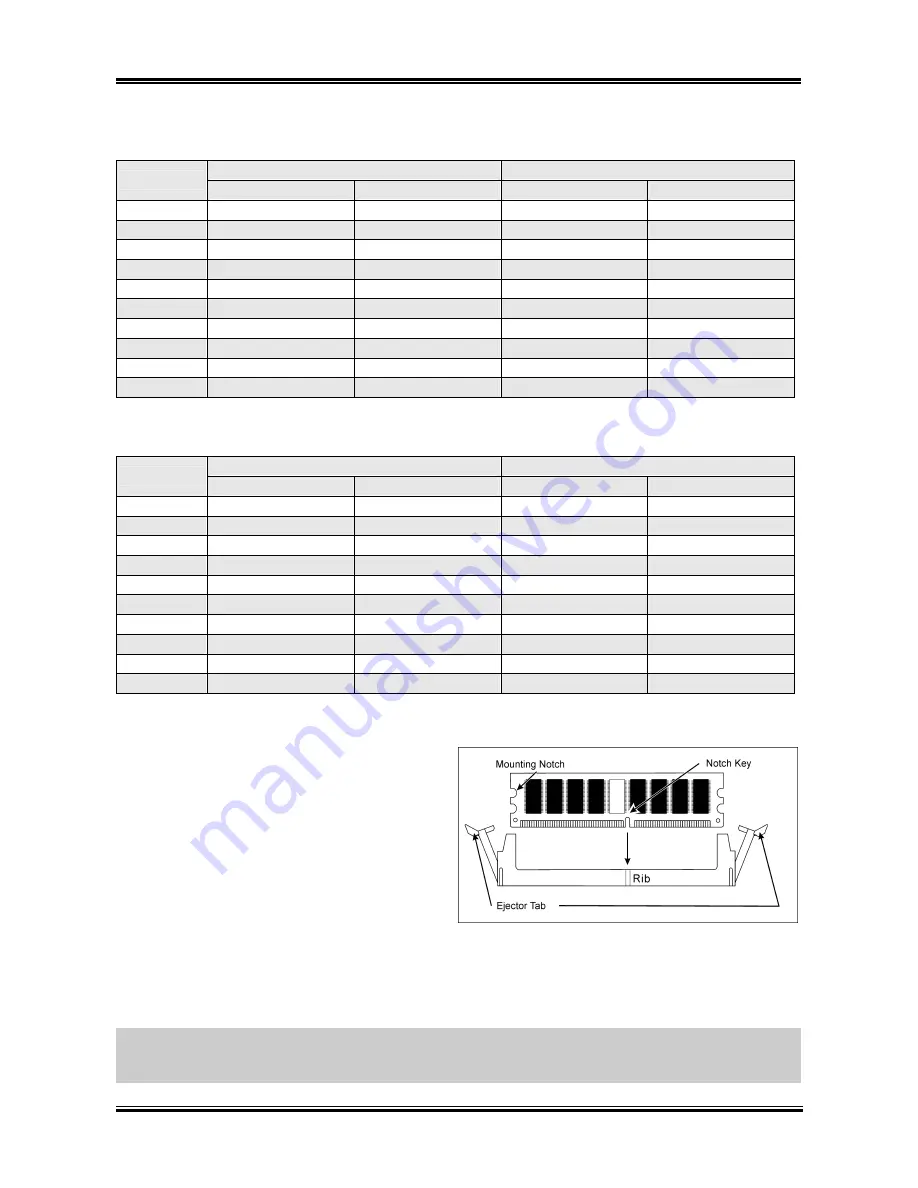
1. Locate the DIMM slot on the board.
2. Hold two edges of the DIMM module
carefully, keep away of touching its
connectors.
3. Align the notch key on the module with the
rib on the slot.
4. Firmly press the module into the slots until
the ejector tabs at both sides of the slot
automatically snaps into the mounting notch. Do not force the DIMM module in with extra force as
the DIMM module only fit in one direction.
5. To remove the DIMM modules, push the two ejector tabs on the slot outward simultaneously, and
then pull out the DIMM module.
ATTENTION:
Static electricity can damage the electronic components of the computer or optional
boards. Before starting these procedures, ensure that you are discharged of static electricity by touching a
grounded metal object briefly.
User’s Manual
Summary of Contents for AL8
Page 7: ...Introduction 1 3 1 2 Layout Diagram User s Manual ...
Page 8: ...1 4 Chapter 1 1 4 Chapter 1 AL8 Series AL8 Series ...
Page 28: ...2 20 Chapter 2 AL8 Series ...
Page 56: ...3 28 Chapter 3 AL8 Series ...
Page 58: ...A 2 Appendix A A 2 Appendix A AL8 Series AL8 Series ...
Page 60: ...B 2 Appendix B 5 Click Next 6 Click Finish to complete setup AL8 Series ...
Page 64: ...C 2 Appendix C C 2 Appendix C AL8 Series AL8 Series ...
Page 66: ...D 2 Appendix D AL8 Series ...
Page 72: ...F 2 Appendix F F 2 Appendix F AL8 Series AL8 Series ...
Page 74: ...G 2 Appendix G AL8 Series ...
Page 80: ...H 6 Appendix H AL8 Series ...


