Installation Guide
TruFit
®
Power Distribution Unit
│
94-1100-00002873 A0 EN 21/34
4.8.4
Kick Plate Installation Instructions
Kick plates are added to properly channel air flow through the unit, depending on the application. Solid kick
plates are available when the unit is installed on a raised floor and forced ventilation from the unit’s bottom is
present. Vented kick plates are typically used on units installed on solid floors, where no ventilation is available
from beneath the floor.
The kick plates are typically installed last so that the bottom of the unit is accessible for moving the unit and
routing cable. Be sure to identify the kick plate kit during unpackaging and store it safely until the unit is in
position and ready for installation of the kick plates.
Kick plate kit parts list:
(16) ¼-20 screws
(2) Front/back kick plates
(2) Side kick plates
(16) Cosmetic screw caps and washers
Assembly procedure:
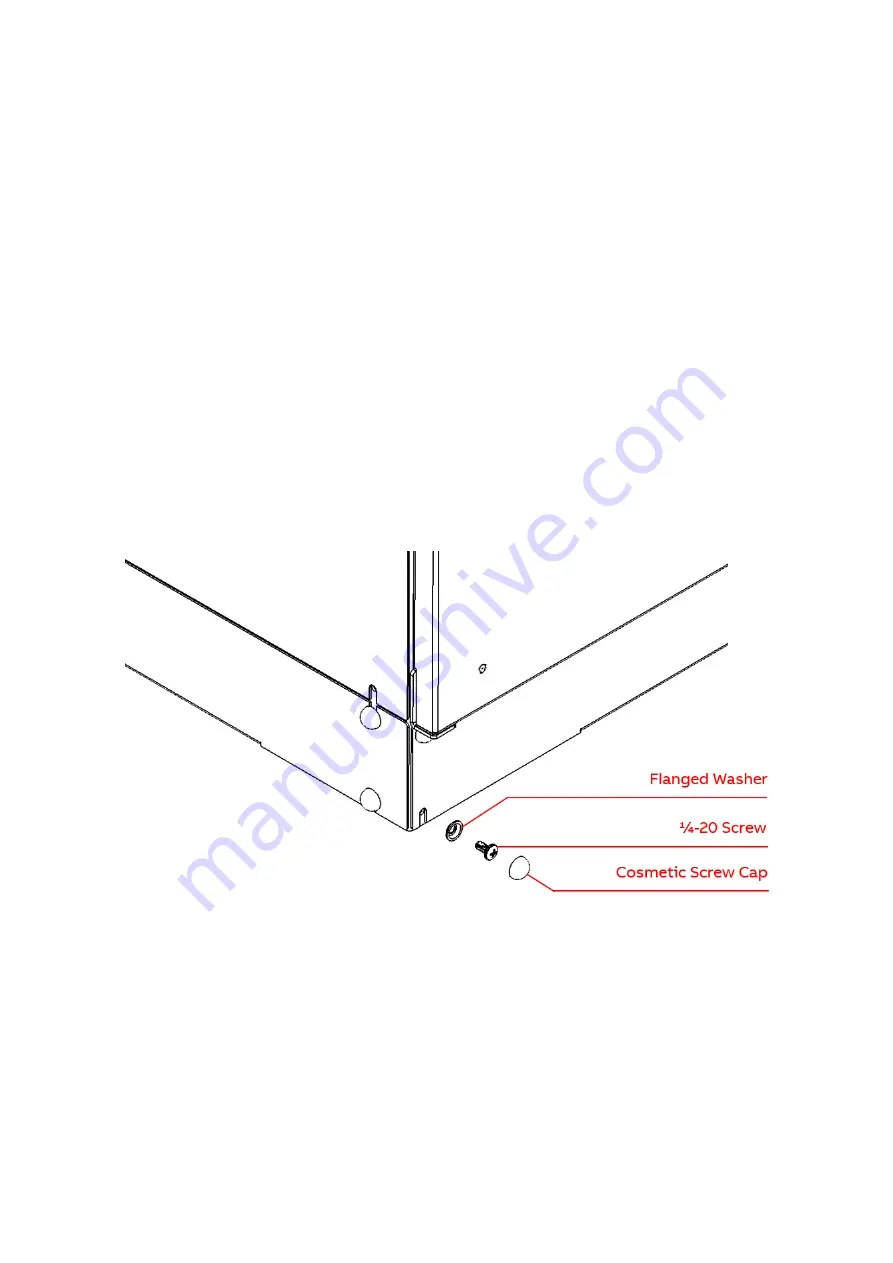
Attach each side, front, and back kick plate to the frame using (4) ¼-20 screws. To apply the cosmetic caps, insert
each screw through one of the flanged washers and press the cap onto the washer until it snaps into place. The
screws in this kit are thread forming so a high amount of torque may be required to start threading them into the
frame. Over tightening the screws may cause damage to the kick plate.
Figure 4.8.3 - Kick plate cosmetic cap installation


