49
...4.4.1 Setup
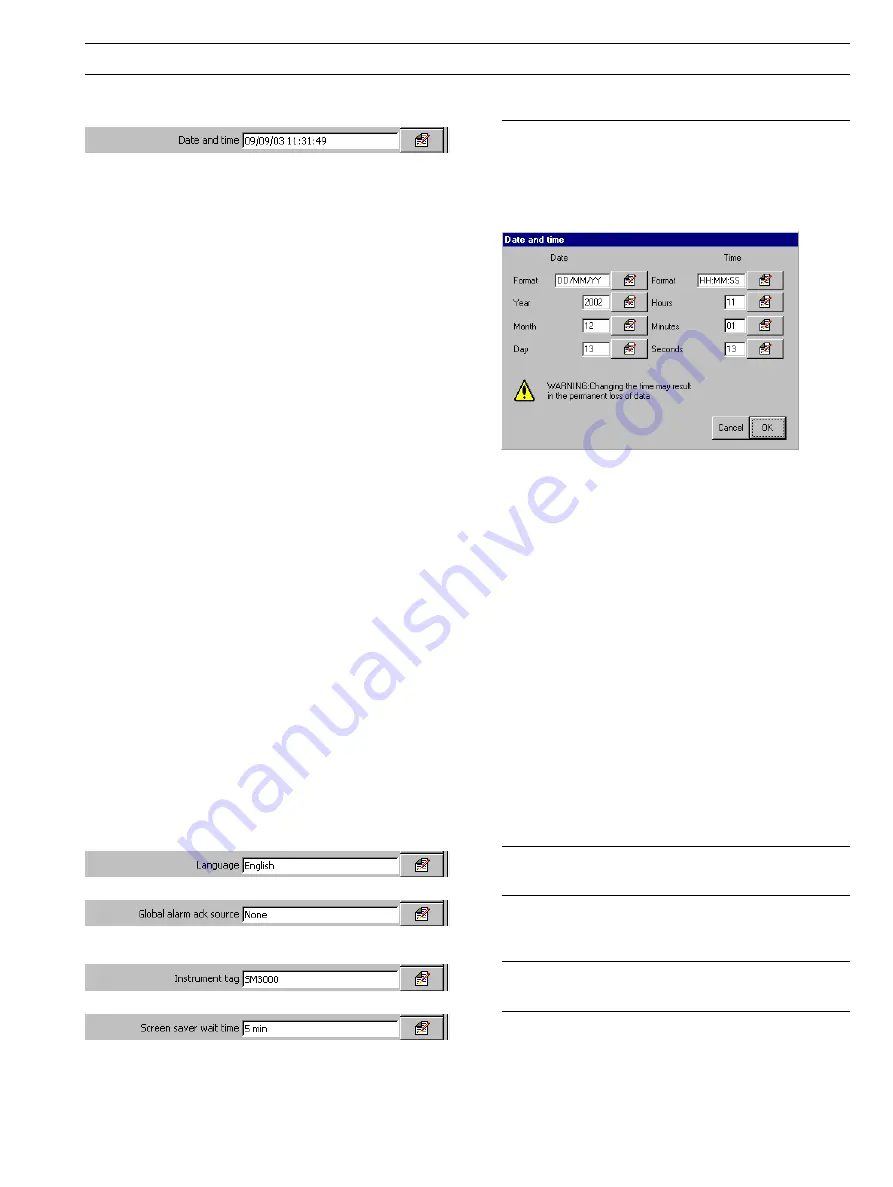
Set the current date and time.
Note.
If daylight saving is required, enter the settings (see
next page)
before
setting the time and date as the operation
of the internal clock is affected by the daylight saving
settings.
Notes.
• The date and time cannot be adjusted if recording is
enabled during configuration, i.e the 'Disable recording in
configuration' check box is
not
ticked on entry to the
Configuration level – see Fig. 4.1, page 39.
• Changes to the date and time are effective immediately
upon selecting 'OK' in the dialog box above. Selecting
'Cancel' upon exiting Configuration Mode (see Fig. 4.7,
page 47)
does not
reset the clock to its previous setting.
Select 'Cancel' in the dialog box above to exit date and
time setup without saving changes.
• Setting an earlier date or time results in the loss of all data
currently in the internal buffer memory past that date. Data
archived to external media is unaffected. If an earlier time
must be set, change the Instrument Tag (see below). This
causes new archive files to be created and the duplicated
hour of data is then saved to the new files.
• Time changes due to automatic daylight saving do not
affect the recorded data.
• Archive files created during the daylight saving period (see
Section 4.5.6) are compatible with the database feature of
Version 5.8 (or later) only of the Company's DataManager
data analysis software package.
Select the language to be used to display standard user
prompts and menu items.
A digital signal source can be used to acknowledge active
alarms in
all
Process Groups simultaneously. Refer to
APPENDIX 1 for a full list of sources available.
Enter the tag to be used to identify the instrument on
configuration and audit log files.
Select the waiting time between the last key press and
activation of the screen saver.
4
CONFIGURATION…


