ABB ACS850 series User Manual Download Page 16

Operation

16

Initially, the panel is in the Output mode, where you can 
start, stop, change the direction, switch between local and 
remote control, modify the reference value and monitor up 
to three actual values. To do other tasks, go first to the 
Main menu and select the appropriate option on the 
menu. The status line (see section 

Status line

 on page 

11

shows the name of the current menu, mode, item or state.

List of tasks

The table below lists common tasks, the mode in which you can perform them, 
abbreviations of the options in the Main menu and the page number where the steps 
to do the task are described in detail.

Task

Mode / Main menu 
option

Abbreviations of the 
Main menu options *

Page

How to get help

Any

-

17

How to find out the panel version

Any

-

17

How to start and stop the drive

Output

-

18

How to switch between local and remote control

Any

-

18

How to change the direction of the motor rotation

Any

-

19

How to set the speed, frequency, torque or position reference in 
the Output mode

Output

-

20

How to adjust the display contrast

Output

-

20

How to change the value of a parameter

Parameters

PARAMETERS

21

How to change the value of value pointer parameters

Parameters

PARAMETERS

23

How to change the value of bit pointer parameter to point to the 
value of a bit in another signal

Parameters

PARAMETERS

24

How to change the value of bit pointer parameter to fixed 
0 (FALSE)  or  1 (TRUE)

Parameters

PARAMETERS

26

How to select the monitored signals

Parameters

PARAMETERS

27

How to do guided tasks (specification of related parameter sets) 
with assistants

Assistants

ASSISTANTS

28

How to view and edit changed parameters

Changed Parameters

CHANGED PAR

29

How to view faults

Fault Logger

FAULT LOGGER

30

How to reset faults and alarms

Fault Logger

FAULT LOGGER

31

How to show/hide the clock, change date and time formats, set 
the clock and enable/disable automatic clock transitions 
according to the daylight saving changes

Time & Date

TIME & DATE

32

How to copy parameters from the drive to the control panel

Parameter Backup

PAR BACKUP

35

How to restore parameters from the control panel to the drive

Parameter Backup

PAR BACKUP

35

How to view backup information

Parameter Backup

PAR BACKUP

41

How to edit and change parameter settings related to I/O 
terminals

I/O Settings

I/O SETTINGS

42

How to edit reference value

Reference Edit

REF EDIT

44

How to view drive info

Drive Info

DRIVE INFO

45

How to view and edit recently changed parameters

Parameter Change Log PAR CHG LOG

46

* Main menu options actually shown in the control panel.
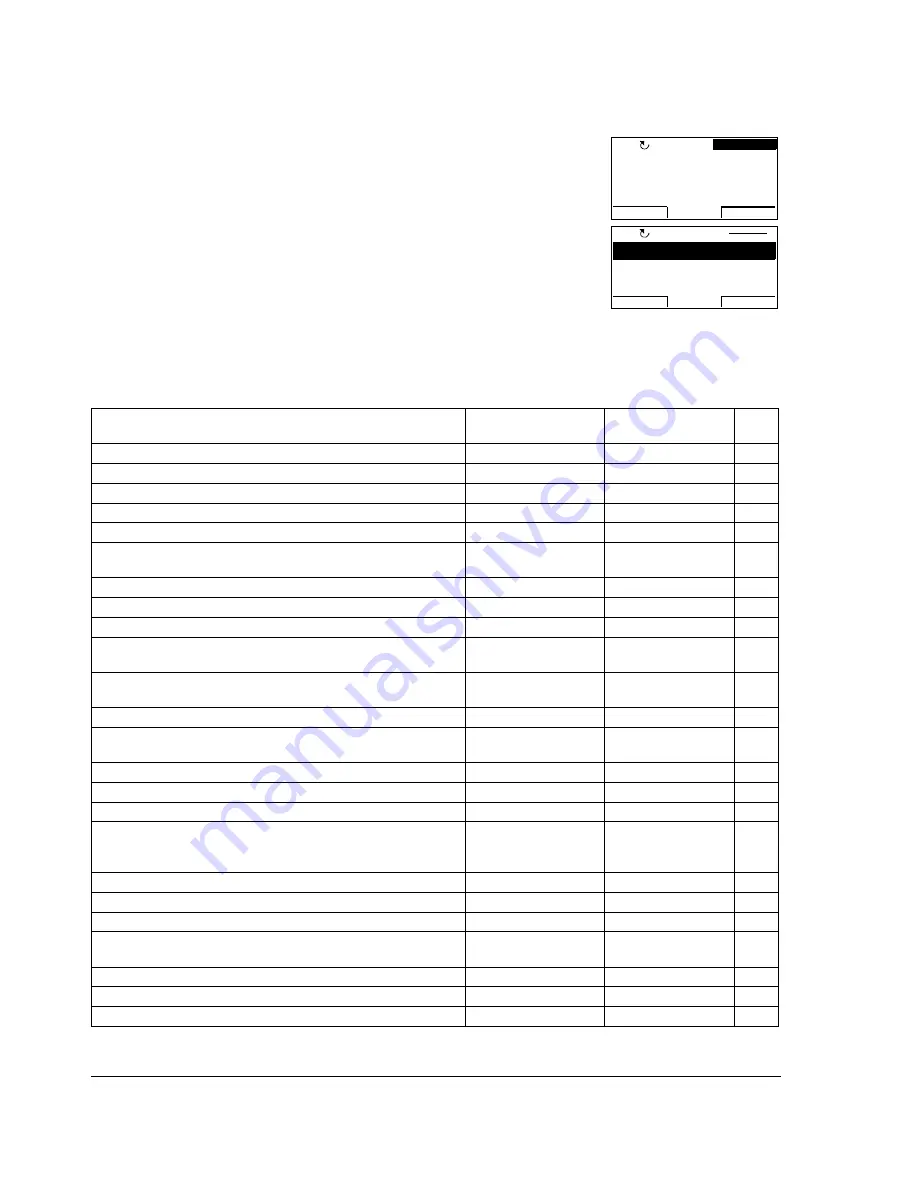
                     

PARAMETERS 

ASSISTANTS

CHANGED PAR

EXIT

ENTER

00:00

MAIN MENU

1

LOC


50

 A

10

 Hz

7

 %

10.

0.

49.

LOC

DIR

MENU

00:00

30.00rpm

Summary of Contents for ACS850 series

Page 1: ...ACS850 User s Guide ACS850 Control Panel...

Page 2: ......

Page 3: ...ACS850 Control Panel User s Guide 3AUA0000050277 Rev A EN EFFECTIVE 02 01 2009 2009 ABB Oy All Rights Reserved...

Page 4: ......

Page 5: ...What this chapter contains 13 Connecting the panel to the drive 13 Mounting the control panel on the cabinet door 14 The cable 14 Operation What this chapter contains 15 Basics of operation 15 List o...

Page 6: ...w and edit changed parameters 29 Fault Logger 30 How to view faults 30 How to reset faults 31 Time Date 32 How to show or hide the clock change display formats set the date and time and enable or disa...

Page 7: ...ging the default settings of the function For warnings and notes see appropriate Firmware Manual Intended audience This manual is intended for persons who install and use the panel Product and service...

Page 8: ...About the manual 8...

Page 9: ...using the panel in control monitoring and changing the settings About control panels Use a control panel to control the ACS850 read status data and adjust parameters Compatibility The manual is compa...

Page 10: ...e context The text in the lower left corner of the LCD display indicates the function 4 Soft key 2 Function depends on the context The text in the lower right corner of the LCD display indicates the f...

Page 11: ...arrow Drive is running at setpoint Dotted rotating arrow Drive is running but not at setpoint Stationary arrow Drive is stopped Dotted stationary arrow Start command is present but the motor is not r...

Page 12: ...Hardware description 12...

Page 13: ...ins The chapter describes connecting and mounting of the control panel Connecting the panel to the drive The control panel connection to ACS850 drive is shown in the figure below See also hardware man...

Page 14: ...e ACS CP U Control Panel IP54 Mounting Platform Kit Installation Guide 3AUA0000049072 English The cable CAT5 straight through network cable max 3 m can be used The cable is available from ABB but othe...

Page 15: ...the relevant soft key With the right soft key you usually enter a mode accept an option or save the changes The left soft key is used to cancel the made changes and return to the previous operation l...

Page 16: ...parameter to point to the value of a bit in another signal Parameters PARAMETERS 24 How to change the value of bit pointer parameter to fixed 0 FALSE or 1 TRUE Parameters PARAMETERS 26 How to select t...

Page 17: ...r the drive 2 Keep key pressed down while you switch on the power and read the information The display shows the following panel information Panel SW panel firmware version ROM CRC panel ROM check sum...

Page 18: ...To switch to local control LOC and control the drive using the control panel press The result depends on how long you press the key If you release the key immediately the display flashes Switching to...

Page 19: ...7 for instructions on selecting and modifying the monitored signals How to change the direction of the motor rotation Step Action Display 1 If you are not in the Output mode press repeatedly until you...

Page 20: ...nce value shown in the top right corner of the display press The value changes immediately It is stored in the permanent memory of the drive and restored automatically after power switch off To decrea...

Page 21: ...ess 5 Specify a new value for the parameter with keys and Pressing the key once increments or decrements the value Holding the key down changes the value faster Pressing the keys simultaneously replac...

Page 22: ...e the new value press To cancel the new value and keep the original press Step Action Display SAVE CANCEL 9906 Mot nom current 3 5 A 9907 Mot nom voltage 9908 Mot nom freq 9909 Mot nom speed PARAMETER...

Page 23: ...of each parameter is shown below it 5 Press Current value of the value pointer parameter is shown as well as the parameter it points to 6 Specify a new value with keys and The parameter the value poin...

Page 24: ...u are in the Output mode otherwise by pressing repeatedly until you get to the Main menu 2 Go to the Parameters option by selecting PARAMETERS on the menu with keys and and pressing 3 Select the appro...

Page 25: ...r the bit pointer parameter press To cancel the new value and keep the original press The new value is shown in the parameters list Step Action Display 1002 Ext1 start in1 DI6 PAR EDIT CANCEL SEL 00 0...

Page 26: ...lect the appropriate parameter group Select the appropriate parameter with keys and Current value of each parameter is shown below its name 4 Press Select CONST with keys and 5 Press 6 Specify a new c...

Page 27: ...ructions on changing parameter values Note If you set one of the parameters 56 01 56 03 to zero in the output mode you can see names for two remaining signals The names are also shown if you set one o...

Page 28: ...to the Main menu 2 Go to the Assistants mode by selecting ASSISTANTS on the menu with keys and and pressing 3 Motor Set up assistant under Firmware assistants is used as an example Select Firmware as...

Page 29: ...parameter is shown below it 3 Press to modify the value 4 Specify a new value for the parameter with keys and Pressing the key once increments or decrements the value Holding the key down changes the...

Page 30: ...rrective actions are listed in appropriate firmware manual 3 To see the details of a fault select it with keys and and press Scroll the text with keys and To return to the previous display press 4 If...

Page 31: ...to reset faults Step Action Display 1 When a fault occurs text identifying the fault is shown To reset the fault press To return to the previous display press RESET EXIT FAULT 36 LOCAL CTRL LOSS FAUL...

Page 32: ...ISIBILITY on the menu press select Show clock Hide clock with keys and and press or if you want to return to the previous display without making changes press To specify the time format select TIME FO...

Page 33: ...saving time is used in each country or area whose daylight saving changes you can select to be followed Scroll the text with keys and To return to the previous display press To disable automatic clock...

Page 34: ...kup stored in the control panel with SHOW BACKUP INFO This includes e g version information etc of the current backup file in the panel It is useful to check this information when you are going to res...

Page 35: ...the Par Backup with keys and Press Restoring starts Backup interface version is checked Scroll the text with keys and If you want to continue press Press if you want to stop the operation If the down...

Page 36: ...by pressing 3 The panel shows details about the version check For details of the information fields shown on the control panel see section How to view information about the backup on page 41 You can...

Page 37: ...ows a message about it Downloading continues drive is being restarted The display shows the transfer status as a percentage of completion Downloading continues Downloading finishes Initializing param...

Page 38: ...me Press when you have edited parameters Step Action Display 1 Restore operation starts normally 2 Version check is also OK You can see on the panel that the firmware versions are not the same You can...

Page 39: ...is being restarted 8 Downloading finishes 9 Panel shows a text identifying the alarm and returns to the Par Backup Step Action Display Initializing param restore operation PAR BACKUP LOC 00 00 Restar...

Page 40: ...he parameter group 16 Select parameter 16 09 USER SET SEL with keys and Current value of each parameter is shown below its name 3 Press Select the user set you want to load with keys and Press 4 Panel...

Page 41: ...rmware version e g 1 330 0 Firmware patch version PRODUCT VARIANT 1 ACSM1 Speed 2 ACSM1 Motion 3 ACS850 Standard Control Program 4 ACS850 FA Variant for factory applications You can scroll the informa...

Page 42: ...nd 4 Press The panel shows information related to I O selected in this case DI1 You can scroll information with keys and Press to return to the digital inputs 5 Select the setting line with a paramete...

Page 43: ...faster Pressing the keys simultaneously replaces the displayed value with the default value 8 To save the new value press To cancel the new value and keep the original press Step Action Display 1002...

Page 44: ...he Output mode otherwise by pressing repeatedly until you get to the Main menu 3 Go to the Reference Edit option by selecting REF EDIT on the menu with keys and and pressing 4 Select the correct sign...

Page 45: ...mmissioning and maintenance tool DRIVE TYPE e g ACS850 DRIVE MODEL Type code of the drive FW VERSION See page 41 SOLUTION PROGRAM Version information of the active solution program BASE SOLUTION PROGR...

Page 46: ...parameter has been changed twice it is shown as one change in the list The current value of the parameter and the parameter change date and time are also shown below the selected parameter You can scr...

Page 47: ......

Page 48: ...3AUA0000050277 Rev A EN EFFECTIVE 02 01 2009 ABB Oy AC Drives P O Box 184 FI 00381 HELSINKI FINLAND Telephone 358 10 22 11 Fax 358 10 22 22681 Internet www abb com...

Reviews: