background image

15

Callers List information is sorted 
from oldest to newest. When the list 
is full, the oldest items are deleted 
to make room for the new callers.

When new calls come in, the Callers 
light on the base flashes and the 
handset’s multipurpose light flashes.

When you enter the Callers List, the 
display may show the following: 

XX New Callers

XX Callers bumped

Callers = XX items

Note:

For an example and explana-

tion of what might appear on your 
display, see (page 22).

You can set up your Callers List to 
log all calls, no calls, or only those 
calls which you do not answer (see 
(page 15)).

To exit the Callers List at any time, 
press 

e

 or 

c

.

If you are not sure what to do when 
you get into the Callers List, press 

HELP 

for some hints.

Setting up the Callers List

You may set up the Callers List to:

1. Log all calls 

(Call Log=All)

2. Log only those calls you didn’t 

answer 

(Call Log=Unanswered)

3. Log no calls 

(Call Log=None)


1. Press 

c

.

2. Press 

LOG

.

3. Press 

CHNGE

 until the second line 

of the display shows the set up 
you want: 

all, none

, or 

unanswered

.

3. Press 

e

.

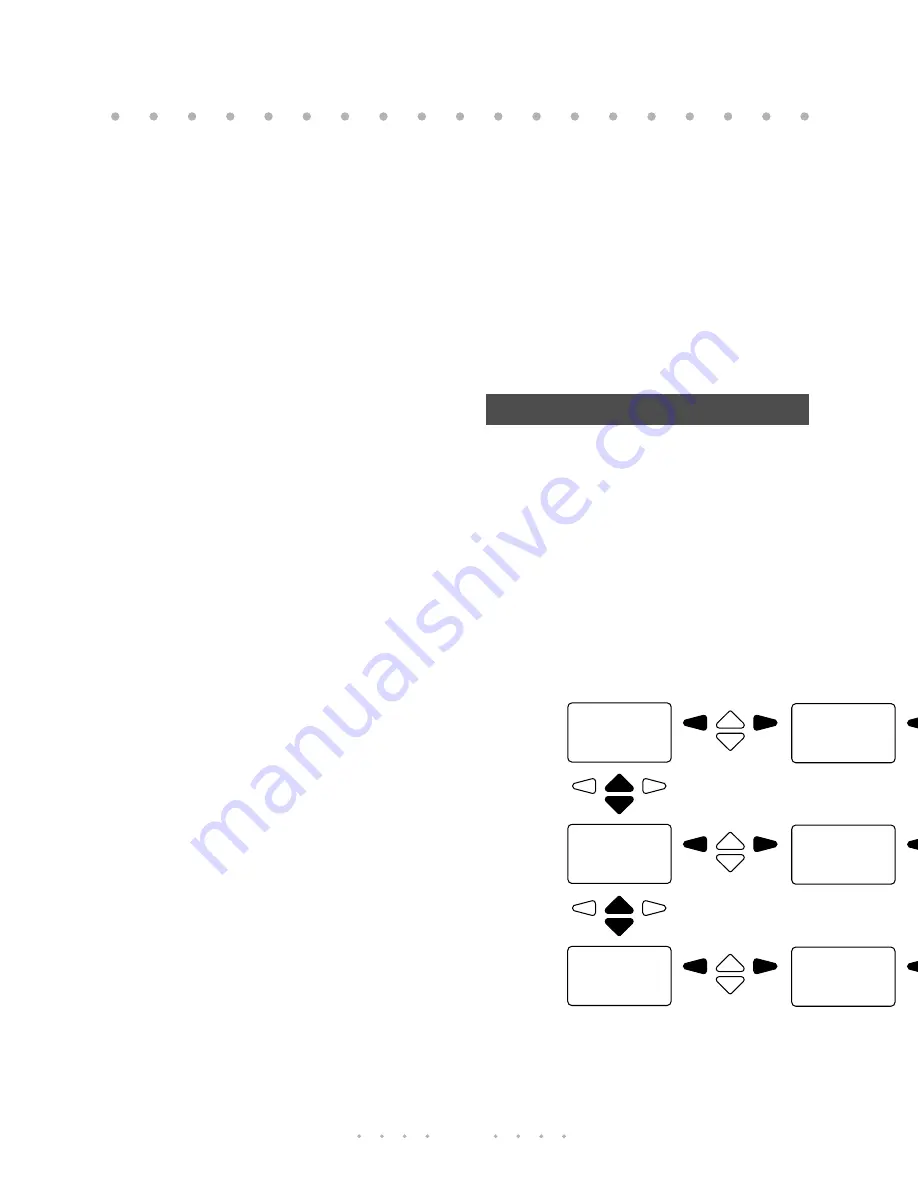
Setting up the Callers List

555-1376

DIAL     EDIT

Dec 5   
  4:34 

DIAL

555-2160

DIAL     EDIT

Dec 5   
  3:17   
DIAL 

Dec 4  1x
  9:02  am
DIAL

Unknow 
name
DIAL 

R
Zimmer
DIAL

Sarah
Pool-Alexa
DIAL 

555-1152

DIAL     EDIT

Summary of Contents for Maestro 4525 Owner's

Page 1: ...Owner s Manual BLANCHARD JOHN DIAL CHNGE Mæstro4525 ...

Page 2: ...et battery 8 Quick charge 9 Battery level indicator 9 Battery saver mode 9 Changing the battery 10 Range of operation 10 Making basic calls 11 Using the handset 11 Putting a call on hold 11 Using display keys to access features 11 Personalizing your telephone 12 Improving call reception 12 Changing the security code 12 Alternate language 12 Handset ringer volume 13 Handset receiver volume 13 Base ...

Page 3: ...17 Other dialing methods 17 Redial List 17 Using the Call Timer 17 Making an intercom call 18 Call Waiting and Three Way Calling 18 Using the Directory 19 Dialing in the Directory 19 Viewing the Directory 19 Saving numbers 20 Entering names 20 Editing the Directory 21 Display and indicators 22 Display prompts 22 Handset lights 24 Base lights 24 Helpful hints 25 Regulatory information 27 Warranty i...

Page 4: ......

Page 5: ...service to keep track of everyone who called up to 30 entries and allows you to easily return their call Intercom allows you to call the base from outside a room or ring the handset so that you can find it Redial key remembers the last 3 numbers you dialed Backlit display and lighted dial pad lets you know who s calling even in the dark Any key answer makes answering calls quick and easy 25 Channe...

Page 6: ...s are included in the box Keep the box for future use If any part is missing contact the location where you obtained the phone Handset Power adaptor Quick Reference Card Base Stand Line cord Battery pack factory installed Number card and lens factory installed ...

Page 7: ...terference page 12 Handset volume control changes the loudness of the caller s voice page 13 s lets you store numbers and names in the Directory d lets you delete list items or individual characters page 17 22 r lets you call back the last 3 numbers you dialed on the handset page 17 e lets you hang up a call page 11 or exit a list page 14 I lets you talk to the person at the base page 18 t lets yo...

Page 8: ...ase page 8 25 The Base light lets you know the handset is in use there is an incoming call or someone is on hold page 25 Callers light lets you know that you have new callers in the Callers List page 25 i lets you make or answer an intercom call The light turns on at the same time page 18 Message light shows you have messages from your telephone company s Voice Messaging service page 25 Microphone...

Page 9: ...temperature as possible Connecting the telephone Caution For eye safety do not extend the antenna until installation is complete 1 Plug the AC adaptor into a 120 V AC outlet and insert the small plug into the DC 12 V jack on the back of the base see page 30 Note The AC outlet should not be controlled by a switch or connected to a power bar 2 Plug one end of the telephone cord into a telephone wall...

Page 10: ...s on the base as shown below 3 Slide the stand into the locked position 4 Continue routing the cords in the channels on the stand 5 Place the phone on a desk 6 Pull the base antenna vertical and extend it all the way up 7 Plug the AC adaptor into a 120 V AC outlet which is not controlled by a switch or power bar ...

Page 11: ...ws in the wall 3 Plug the line cord into the wall jack Line up the screws on the wall mount plate with the openings in the stand and slide the phone down until the mounting screws hold firmly 4 Continue routing the cords in the channels on the stand 5 Remove the tab from the base and reinsert it with the point up Make sure the tab is in all the way Hang the handset on the tab If the charge light d...

Page 12: ...uage you want on the display by pressing the key under ENG for English or the key under ESPÑL for Spanish Once you ve selected your preferred language the display will show Ready for use NEXT This idle display message will appear from now on unless other messages take priority you re using the handset or the handset is sleeping see Battery saver mode page 10 You can press the key under NEXT to vie...

Page 13: ...n the base and Quick charge is activated the display message battery charging will be displayed A completely empty battery will only take 4 5 hours to fully recharge The handset may be left on the base even after Quick charge is finished A trickle charge will keep the battery fully charged During trickle charge you may view the Battery level indicator by pressing the NEXT display key We recommend ...

Page 14: ...attery If you ve charged the battery and the display still says Battery low or the handset will not wake up it s time to replace the battery New batteries are available from your phone retailer Use either the GES PCH01 or the 3N 270AA Sanyo battery 1 Move the handset power switch to OFF 2 Slide the cover off the battery compartment 3 To remove a dead battery pull firmly on the battery cords 4 To i...

Page 15: ...temperature Using the handset When you receive a call the display shows caller information Note You must subscribe to Caller ID service from your local telephone company The handset power switch must be ON in order to receive or make calls When you hear the phone ring and see the multipurpose light flash 1 Press t or any key on the dial pad The and MORE display key will not answer a call 2 Press e...

Page 16: ...ss the display key below to activate that command Improving call reception The handset communicates with the base using one of a combination of 25 channels Your Mæstro 4525 automatically scans for a clear channel each time you use the handset If you hear interference static or the message Sorry Try again press S and the Mæstro 4525 will automatically find a new clear channel The S key is on the le...

Page 17: ... High the factory setting 1 If the Handset Ring prompt is not on the display press the NEXT display key until the prompt appears 2 Press the CHNGE display key Each time you press it you hear the next ring setting 3 Press e Handset receiver volume The sliding volume control on the left side of the handset adjusts the volume level for what you hear on the handset There are three settings low volume ...

Page 18: ...t home just scroll through your list of callers to see who called You can find and respond to the important calls quickly see page 16 If you want to call one of the numbers as it appears on your display you can save time just by pressing t or pressing the key under DIAL on the display see page 16 A will appear on the Time and Date screen for all entries you have called from the Callers List You ll...

Page 19: ...ist to log all calls no calls or only those calls which you do not answer see page 15 To exit the Callers List at any time press e or c If you are not sure what to do when you get into the Callers List press HELP for some hints Setting up the Callers List You may set up the Callers List to 1 Log all calls Call Log All 2 Log only those calls you didn t answer Call Log Unanswered 3 Log no calls Call...

Page 20: ...nd Date screen for all entries you ve called from the Callers List 1 Press c 2 Use the and keys to find the caller 3 Press the DIAL display key or t Sometimes you must edit a number before it can be dialed for example you may have to add 1 to dial long distance Changes are not saved in the Callers List You may only edit numbers in the Callers List 1 Press c 2 Use the or keys to find the caller Pre...

Page 21: ... Predial lets you view the number first before you dial it It helps prevent dialing errors 1 Enter the number using the dial pad 2 If required use or to move to a specific digit Use d to erase digits 3 Press the DIAL display key or t If you want to redial someone you last spoke with on the handset you can use the Redial key Redial List The Redial List lets you view the last 3 outgoing numbers The ...

Page 22: ...e and the handset You cannot make any other type of call with the intercom feature It also functions as a handset beeper to help you locate the handset no matter where it may be hiding If you are on a regular call you can make an intercom call to the base Your regular call will automatically be placed on hold 1 Press i on the base or I on the handset 1 When you hear the handset or base ring and yo...

Page 23: ... Note You must subscribe to Caller ID service available from your local telephone company All Directory items are sorted alphabetically by the first word If you want your Directory sorted by last name enter the last name first You can enter a name if you want If you don t enter a name the item is sorted by number All number items are sorted numerically at the beginning of the Directory listing Whe...

Page 24: ...r using the dial pad Numbers can have up to 16 digits If you require a pause for example between a telephone number and an access code press h where you want the pause Note Each pause is 2 seconds Enter as many pauses as you need A P indicates a pause has been entered 3 Press the DONE display key 4 If you don t want to enter a name press DONE To enter a name use the dial pad See Rules for entering...

Page 25: ...e Ruth press Chart for special characters The following symbols are not shown on your dial pad keys Editing the Directory 1 Press D 2 Use the and keys to find the number you wish to change 3 Press to view the number 4 While the number is on the display press the CHNGE display key The cursor appears under the first digit 5 To insert digits use the dial pad The existing digits will move to the right...

Page 26: ...tions and information If you want to know what to do about a particular display prompt look it up in the following table The prompts are listed in alphabetical order For other helpful hints see page 25 To change a name To delete a Directory item Prompt Meaning Battery Low WARNING You must recharge the handset Indicates battery is fully charged Indicates battery is 2 3 full Indicates battery is 1 3...

Page 27: ...re you lose the call If you were making changesintheDirectory or Callers List when you went out of range those changesarelostafter30 seconds Paging Base You on the handset are calling the base Paging You The base is calling the handset Press I to answer the call Prompt Meaning Private name number Caller information The incoming caller has requestedthatthename or number not be shown Ready to use NE...

Page 28: ...e been added to the Callers List since you last checked it Press c to access the list 555 1440 DIAL EDIT Callers List information Press the DIAL display key to call or press the EDIT display key to edit 555 1234 DIAL CHNGE Directory information This is the number display of someone in the Directory Press the DIAL display key to call or press the CHNGE display key to edit Multipurpose light top rig...

Page 29: ...e battery is charged Test the AC outlet make sure it isn t a switched outlet Make sure the base is the only item plugged into the power outlet Do not use a power bar Reset the phone by changing the security code see page 11 You cannot get a call through You must subscribe to tone service from your local telephone company Base light Flash quickly You have an incoming call Flash You have a call on h...

Page 30: ...ut of range but you haven t moved The base may have lost power Check that the power adaptor is plugged in If it s a power failure you will lose your call after 30 seconds There may be radio interference caused by fluorescent lights electric motors or computers Turn these devices off or move away from them The handset display is blank The handset may be in battery saver mode Press any key to turn t...

Page 31: ...to radio and television reception These telephones have been tested and found to comply with the limits for a Class B digital device in accordance with the specifications in Part 15 of the FCC rules While these rules are designed to provide reasonable protection there is no guarantee that interference will not occur in a particular installation You can determine whether interference occurs by moni...

Page 32: ...lephone Your connection to the telephone line must comply with these FCC rules Use only an FCC standard RJ11W RJ14W or RJ11C RJ14C network interface jack and FCC compliant line cord and plug to connect this telephone to the telephone line To connect the telephone press the small plastic tab on the plug at the end of the telephone s line cord Insert into a wall or baseboard jack until it clicks To ...

Page 33: ...I or SPRINT MCI is a trademark of MCI SPRINT is a trademark of United Telecommunications Ringer Equivalence Number The FCC Registration label on bottom of telephone includes a Ringer Equivalence Number REN which is used to determine the number of devices you may connect to your telephone line A high total REN may prevent telephones from ringing in response to an incoming call and may make placing ...

Page 34: ...tion when installing or modifying telephone lines The exclamation point within an equilateral triangle is intended to alert the user to the presence of important operating and maintenance servicing instructions in the literature accompanying the product This symbol on the product is used to identify the following important information Use only with Aastra Telecom model SPA 3545A 82 Salom Electric ...

Page 35: ... this product Have it sent to a qualified service person when some service or repair work is required 11 Unplug the base from the wall outlet and refer servicing to qualified service personnel under the following conditions a when the power supply cord or plug is damaged or frayed b if the product has been exposed to rain or water or other liquid has been spilled on the product disconnect and allo...

Page 36: ...pment of any particular telephone company This warranty does not extend to damage to the product resulting from improper installation or operation alteration accident neglect abuse misuse fire or natural causes such as storms and floods after the product is in your possession Aastra Telecom shall not be liable for any incidental or consequential damages including but not limited to loss damage or ...

Page 37: ...enance Agreement you may return the terminal to the manufacturer for repair or refurbishment You will be billed for any repairs Repair to this equipment may only be made by Aastra Telecom Inc and its authorized agents and by others who may be authorized by the FCC Questions about the warranty or repairs or the manufacturer s policy on repair and refurbishment should be directed to by calling toll ...

Page 38: ...15 Callers light 4 24 Callers List Copying to Directory 16 Deleting items 16 Description 14 16 22 23 Dialing 16 Logging 15 Setting up 15 Calls Answering 11 Holding 11 Making 11 Channel changing 12 Charge light 4 24 Problems 26 Charging 9 CHNGE display key 11 12 13 15 21 23 D Delete key 3 16 17 20 Desk mount 6 DIAL display key 16 17 19 22 23 26 Dialing 11 Callers List 16 Directory 19 Handset 11 Pro...

Page 39: ...tab 4 7 Hearing aid compatibility 28 Hints 25 Hold key 3 11 Holding calls 11 26 I Idle display message 8 Installation 5 9 29 Batteries 10 Intcm key 3 18 Intercom call 18 22 Intercom key 1 4 18 Intercom light 4 18 24 K Key description Base 4 Handset 3 L Language 8 12 26 Lights Base 4 24 Handset 3 24 Line cord 2 5 6 Link see Flash key Locating the base 5 8 9 10 Long distance 13 16 22 M Message light...

Page 40: ...in 8 12 23 Spanish language 8 12 26 Special characters 20 Stand 2 Attaching 6 7 Subscribed services 18 T Talk key 3 11 14 16 17 18 19 Telephone cords 5 Telephone setup 12 Three Way Calling 18 Troubleshooting 25 Battery Low 25 Dialing problems 25 Display language 26 Handset beeps 26 Holding calls 26 Out of range 26 Phone doesn t work 25 Ringer volume 26 Scan key 25 Static on line 25 U Unknown name ...

Reviews: