39
OPERATING SEQUENCE
1. The EMC modulation controller has four modes of operation:
Initialization, Standby, Running/Modulation, and Service. The
internal MCB micros control these modes through a sequence
of steps (or States) which are further described in the “UIM
Operating Procedures” section.
2. When power is applied to the system, it enters the initialization
mode and the following automatic functions are performed:
• A. O. Smith opening screen is displayed.
• The system goes through a calibration indicated by the
green running LED blinking and then staying on; next the
red service LED and yellow standby LEDs come on, next
the service and runnings LEDs blink ON and OFF.
• Stored values are recalled from memory.
• Configuration dipswitches are read.
• Pending faults are recalled
• Micros on all boards start running (indicated by a flashing
Yellow LED near each micro)
• Input sensors are read
3. After initialization is complete (approximately 10 seconds)
system turns green LED off and goes to standby mode (yellow
“Standby” LED on), unless a previously stored fault has been
recalled, which will send system into service model (red
“Service” LED on). In standby mode display shows temperature
screen and in fault mode current error screen is displayed.
4. The system then compares the temperature read from the
controlling probe (inlet or tank) to the setpoint temperature. If
the temperature is less than the operating setpoint minus the
setpoint differential temperature and the enable/disable input
is closed then a call for heat is established and the system
shifts to the run mode (green “Running” LED turns on).
5. The heating sequence begins by applying power to the pump.
6. After a few seconds the blower is turned on for 30-second
pre-purge period of combustion chamber.
7. The igniter is turned on.
8. After the igniter has reached a minimum of 2.8 amps, the gas
valve is energized to allow gas flow to burner.
9. After an additional one second, the system checks status of the
flame through the flame rod (sensor). If the flame is not verified
within 4 seconds, the gas valve is immediately shut off followed
by 15-second inter-purge period, then the system returns to
step 7, if the “Trial for Ignition” dipswitch is set for three (3) tries.
If the dipswitch is set for one (1) trial, the system will declare
an error and boiler will require resetting the control.
10. Boiler will remain running until set point is satisfied. Once
satisfied, blower will continue for 15-second post purge period.
11. Once set point has have been satisfied, the boiler pump will
continue to run for the programmed post-circulate cycle.
12. The control now enters the idle state as displayed by the
“Standby” LED. The control will continue to monitor heat
demand and state of other system devices. Upon a drop of
water temperature below the set parameters, the control will
return to step 5 and repeat the entire operating cycle. Note:
Any fault detection, during standby or running modes, will halt
the heating sequence and shift the system to the service mode
where the detected fault will be displayed.
NOTE: In standby and running modes the system constantly
monitors the signals and the internal operation for faults. Any
detected fault will halt the heating sequence and shift the system
to the service mode, where the detected fault will be displayed.
TEMPERATURE SETPOINTS (SYSTEM CONTROL ALGORITHM)
The boiler has a hysteresis type control, which means that it will
begin heating the water when the temperature sensed by the
control probe (inlet or tank) falls below the operating setpoint
minus the differential setpoint. It will stop heating the water when
the temperature rises to the operating setpoint.
UIM OPERATING PROCEDURES
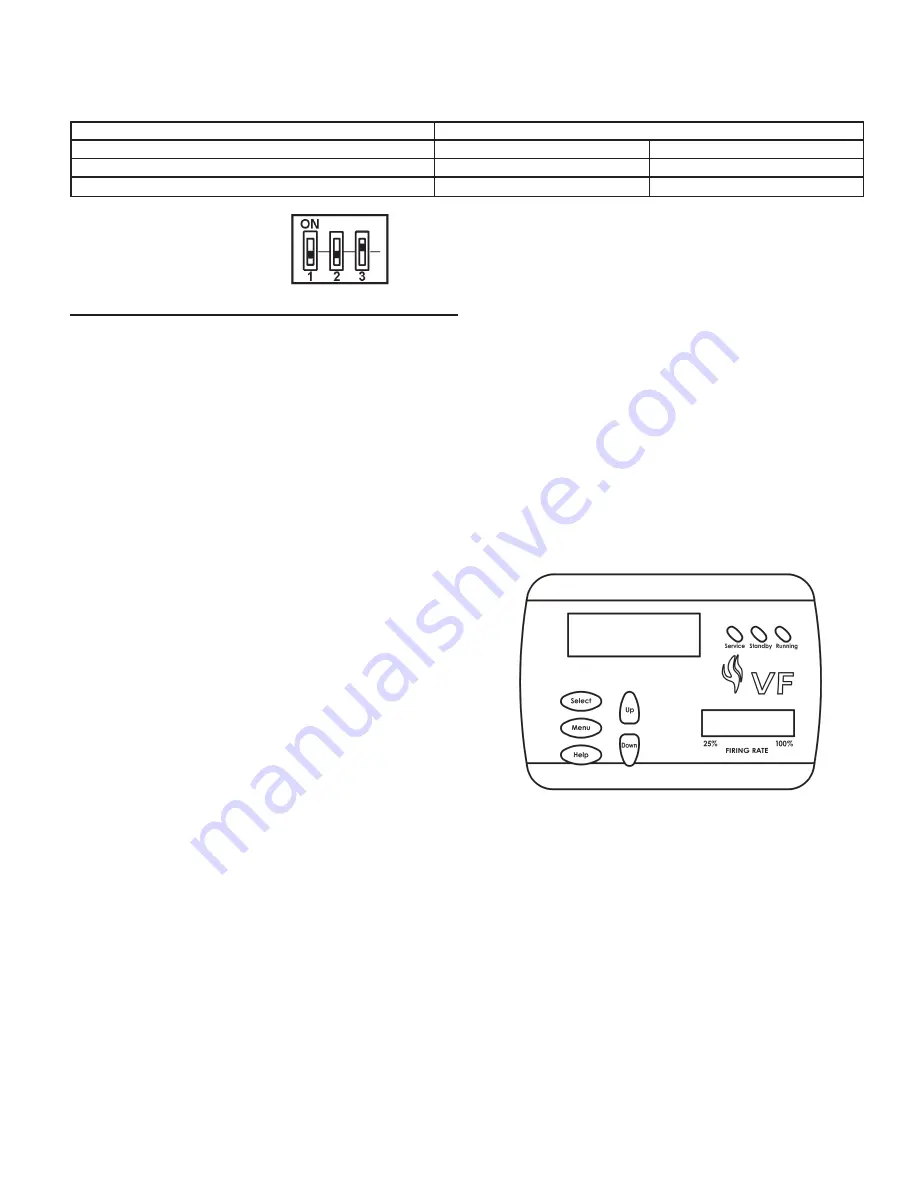
FIGURE 19. UIM, USER INTERFACE MODULE
The UIM receives commands from user and displays operational
information to user via an LCD (liquid crystal display) up to eleven
LED’s, and five touch switches. The LCD provides information
to user by use of 10 menu-activated screens. Within each of the
screens, helpful information can be displayed by pressing “Help”
button. The LED’s visually inform user about the mode the system
is in. The touch switches allow user to control operation of system.
The operation of these parts is described in the following section:
UIM Screens:
On all screens a double vertical bar appears on right side of display
each time a key is touched to indicate that a key has been activated.
On several screens an indicator “>” appears on left side of display
to indicate active line. The “Up/Down” keys are used to move the
indicator to the desired line and the “Select” key is pressed to select
the line. Also, on most of the screens, up/down arrows appear on
the right side of the screen to indicate that there is additional lines
either above or below the displayed four lines.
•
Menu Screen:
Displayed when the user presses the “Menu” key. This screen
is the selection point for the other 9 screens.
MCB - Three position Dipswitch SW2:
This dipswitch is similar to the FCB dipswitches described below, but with only three switches being used: the number of blower speeds
(switch #3), Hi Gas option (switch #2) and a spare (switch #1). Only the blower speed and Hi Gas options are the required selection,
within the MCB, see Figure 17.
Dipswitch Function
Dipswitch Position
SW2 P1: Spare:
NOT USED
NOT USED
SW2 P2: Hi Gas pressure switch:
On = Yes
Off = No
SW2 P3: Number of Blower Speeds:
NOT USED
NOT USED
Example of Dipswitch configuration:
No High Gas, 1 blower speed.


