26 • Condensing Models: On-Demand Water Heater Service Handbook
SER
VICE PR
OCEDURE
S
strong reasons to do so (e.g., high
elevation installations).
Checking the Manifold
Gas Pressure
1. Verify that the gas supply pressure
is within the correct operating
range when the heater fires at
maximum combustion. (Incorrect
gas supply pressure will affect the
gas manifold pressure.)
2. Ensure that the unit is not in operation.
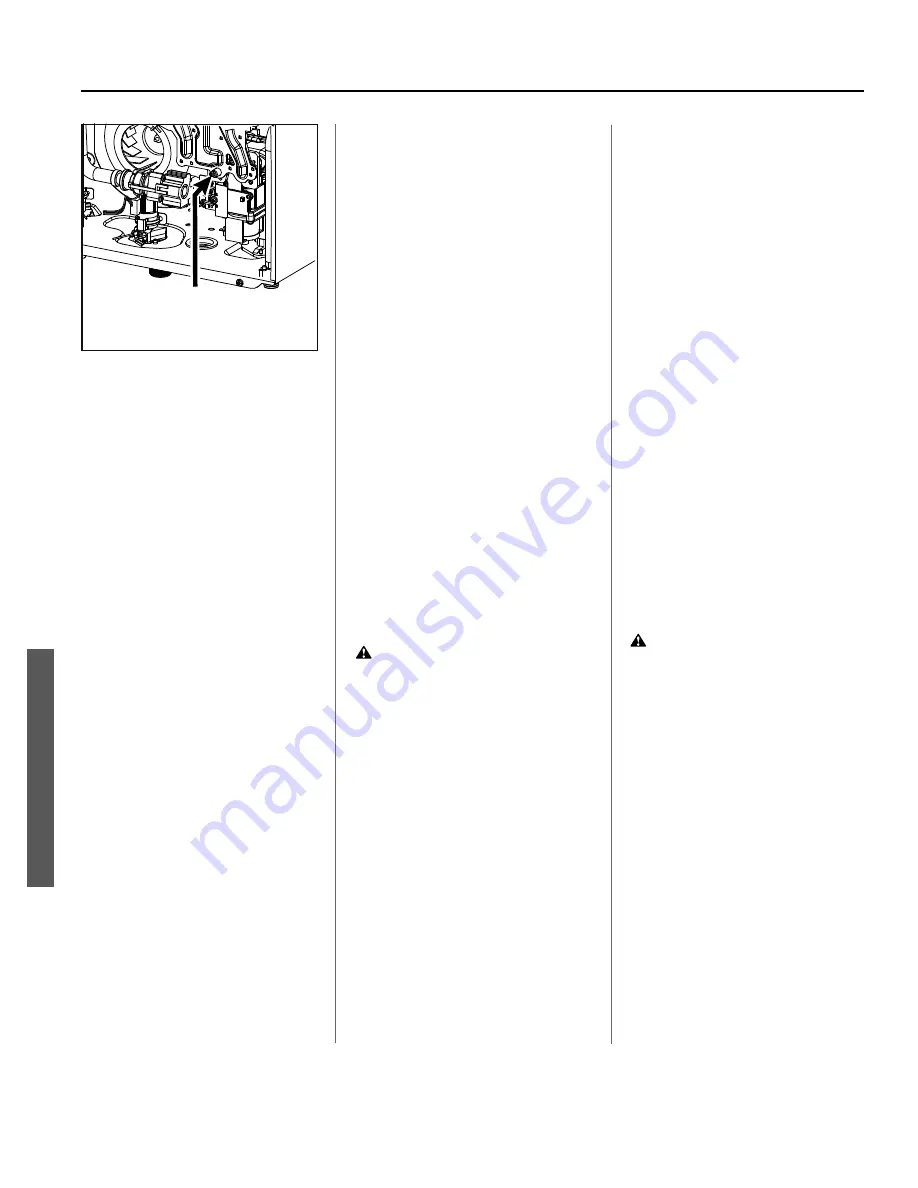
3. Remove the screw from the
manifold port (Figure 14, p. 26).
4. Connect a manometer to the
manifold port using a tube. Ensure
that this connection is secure
enough to prevent a gas leak.
5. Run water (3.5 GPM or more) to
activate operation. It is suggested
that you draw a large amount of
flow to prevent overheating during
maximum burn. If presence of a
gas leak is detected, immediately
shut off the unit and inspect
the tube/manifold connection.
Otherwise, proceed to the next
step.
6. Check the manifold gas pressures:
•
To check the manifold gas
pressure during maximum
combustion, press and hold the
“MAX” button on the computer
board. (See Figure 8, page
18).
•
To check the manifold pressure
during minimum combustion,
press and hold the “MIN” button
on the computer board (Figure 8,
page 18).
•
The desired pressures are listed
on the “Specifications” page
(page 4).
7. When you are finished, deactivate
the water heater, remove the
manometer tube, and replace the
port screw.
However, If the manifold pressures
do not match up with those listed
on the rating plate, adjust the
manifold pressure. To do so, refer
to the following procedures.
Adjus ng Maximum Manifold
Pressure
WARNING! Complete the
following procedure ONLY if you have
been instructed to do so by the
Technical Service Department.
1. Ensure that the water heater is not
in operation.
2. Remove the screw from the
manifold port (Figure 14).
3. Connect a manometer to the
manifold port using a tube. Ensure
that this connection is secure
enough to prevent gas leak.
4. Run water through the water
heater to activate its operation. If
presence of a gas leak is detected,
immediately shut off the water
heater and inspect the tube/
manifold connection. Otherwise,
proceed to the next step.
5.
During this step, DO NOT press the
“Increase” or “Decrease” button for
more than two seconds at a time.
Press and hold down the “MAX”
button on the computer board
(Figure 8, page 18).
While holding down the “MAX”
button, press either the “Increase”
or “Decrease” button to increase
or decrease the manifold gas
pressure, respectively (Figure 8,
page 18). Use the manometer
to verify that pressure has been set
to the desired value.
6. After the gas pressure has been
set, deactivate the water heater,
remove the manometer tube, and
replace the port screw.
7. Verify proper operation.
Adjus ng Minimum Manifold
Pressure
WARNING! Complete the
following procedure ONLY if you have
been instructed to do so by the
Technical Service Department.
1. Ensure that the water heater is not
in operation.
2. Remove the screw from the
manifold port of the water heater
(Figure 14).
3. Connect a manometer to the
manifold port using a tube. Ensure
that this connection is secure
enough to prevent gas leak.
4. Run water through the water
heater to activate its operation. If
presence of a gas leak is detected,
immediately shut off the water
heater and inspect the tube/
manifold connection. Otherwise,
proceed to the next step.
dŚĞƟƉŽĨƚŚĞĂƌƌŽǁŝŶĚŝĐĂƚĞƐ
ƚŚĞůŽĐĂƟŽŶŽĨƚŚĞŵĂŶŝĨŽůĚƉŽƌƚ͘
ZĞŵŽǀĞƐĐƌĞǁ͕ƚŚĞŶĂƩĂĐŚƚƵďĞ͘
Figure 14.


