background image

Listen to your loop, pay attention to what sounds the loop starts with, and what sounds it plays right 

before it repeats. These are your loop start and stop points. Now, we're going to change those start and 

stop points by Windowing: 

1. Turn 

Feedback 

knob all the way up (the sound will not change). 
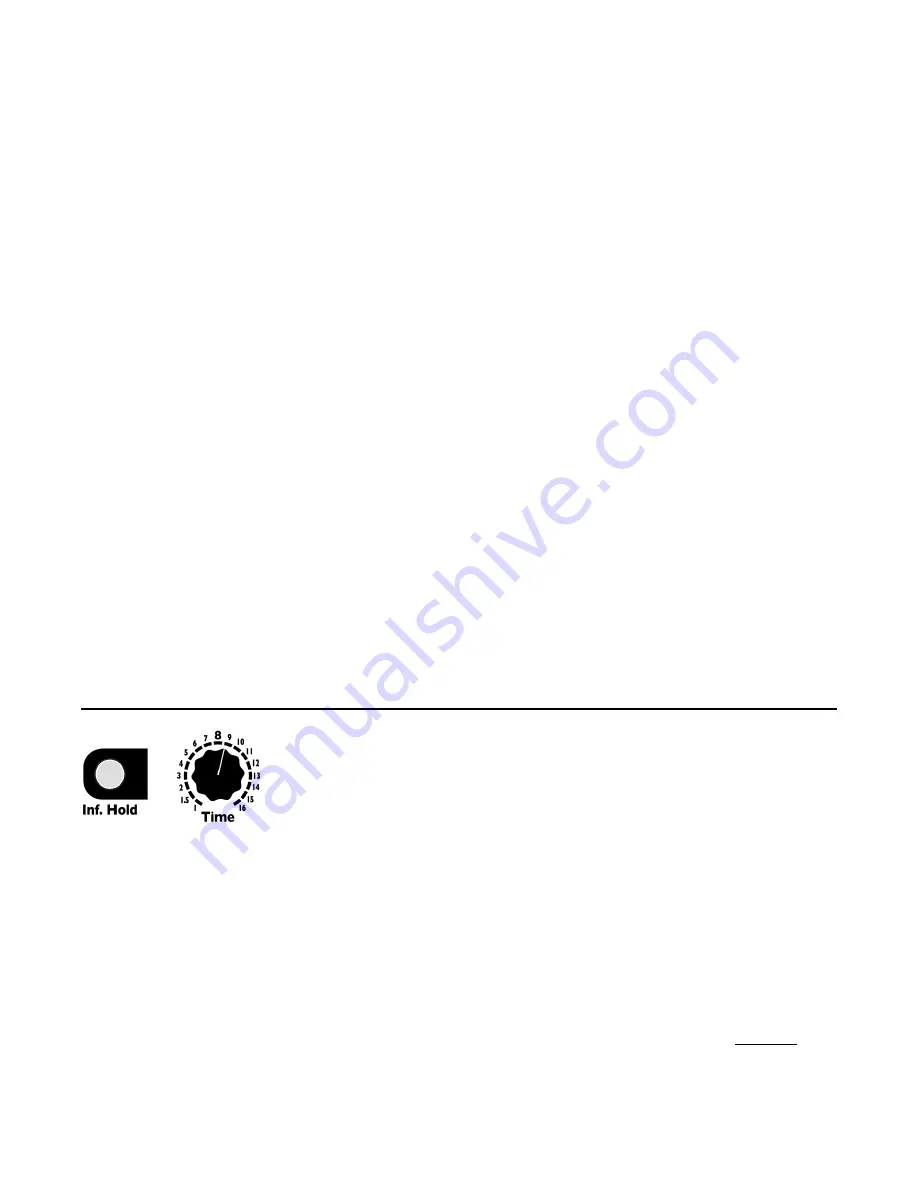
2. Hold down 

Inf. Hold

 while you turn 

Feedback 

to 0%. 

You just shifted the loop backwards by one whole loop length. Let it play for a bit as you listen to the 

new start and stop points. Hear it? The loop is the same length (same timing/tempo), but now it will be 

playing the sounds you recorded a few seconds earlier. Play with this some more: Press and hold 

Inf. 

Hold

 again and turn 

Feedback

 back half a turn. Hear how the loop now starts in the middle? 

Remember that turning 

Feedback

 while in 

Inf. Hold

 mode has no effect unless you're holding down 

Inf. Hold

. This is critical for the next tip: 

Tip #1: 

If you want to scroll more than one loop length, do this maneuver: 

1. Turn 

Feedback

 to 100%. 

2. Depress the 

Inf. Hold

 button while you turn 

Feedback

 to 0%. 

3. Release 

Inf. Hold

 button. 

4. Repeat as needed (turn 

Feedback

 to 100%, then press button and turn 

Feedback

 back to 0, 

release button...) 

Tip #2:

 If you want to scroll back very far even more quickly than Tip #1, change the 

Time

 parameter to 

very long (perhaps flip the time switch up to +16). Since turning 

Feedback

 + 

Inf. Hold

 scrolls by 

one 

loop size

, making the loop size enormous lets you scroll by enormous amounts with just one knob twist! 

You can scroll back a maximum of 87 seconds in mono mode, or 43 seconds in stereo mode. 

Tip #3: 

Set 

Time

 to a very short period and window around a loop with CV for a sort of granular effect. 

Using CV With Windowing


The 

Feedback

 CV jack also allows you to window using external CV control. To enable the CV jack, 

you must first manually hold down 

Inf. Hold 

and turn 

Feedback

, even just a small amount. The 

Feedback

 CV jack will now control the window. 

If you turn the 

Feedback

 knob at any time without holding down 

Inf. Hold

, the 

Feedback

 CV jack will 

no longer control the window. 

Unquantized Time Mode and 1V/Oct CV  

Normally the 

Time

 knob and CV are quantized to integer amounts (1-16), 

and simple fractions (1 – 1/16). This is called 

Quantized Time Mode

, and is 

the default mode. It's possible to change to 

Unquantized Time Mode

, where 

the knob and CV provide continuous control of the 

Time

 parameter (not 

quantized to integers or simple fractions) 

To change to 

Unquantized Time Mode,

 turn the 

Time

 knob while holding 

down the 

Inf. Hold

 button. To change back to


Quantized Mode

, turn the 

Time

 knob without holding down the 

Inf. Hold

 button. 

In 

Unquantized

 mode, the 

Time

 knob behaves as usual, except it does not snap to the whole numbers 

between 1 and 16. So you can sweep a slowly changing tempo, or set an exact tempo in between two 

integer amounts. To adjust the 

Time

 knob in 

Unquantized 

mode, hold down the 

Inf. Hold

 button while 

turning the 

Time

 knob.  

The 

Time


CV

 jack behaves differently in 

Unquantized

 mode: It responds over a 1V/octave curve for 

positive CV (5 octave range). Applying up to +5V will multiply the 

Time

 knob's setting in an exponential 

curve relative to the voltage. That is, for every additional volt on the CV jack, the 

Time

 period will halve. 

This response is opposite to 

Quantized 

mode, where additional voltage makes the period increase. The 

1V/octave response in 

Unquantized 

mode is very useful for resonant delays.  

Note that if the 

Time

 switch is up, the 1V/oct response will be altered by the addition of the extra 16 

beats. For a more accurate 1V/oct response, keep the 

Time

 switch centered or down. 

Page   of 

9

20

+

Summary of Contents for Dual Looping Delay

Page 1: ...ngle channel format Stereo or mono mode Return Send becomes right channel In Out in stereo mode 87 seconds maximum delay loop time in mono or 43 seconds in stereo 48kHz 24 bit sampling rate loop recorded at 16 bit Extremely quiet low noise low jitter design Delay and loop time is sync able to a clock or a division or multiplication of a clock Infinite Hold mode for looping and windowing Reverse fe...

Page 2: ...s 3 Controls and Jacks 3 Infinite Hold vs 100 Feedback 7 Why do I hear something I played a long time ago 7 Signal Routing Using Send and Return 8 Advanced Usage 8 Loop start and stop points Trimming the loop 8 Windowing aka Scrolling or Scrubbing 8 Using CV with Windowing 9 Unquantized Time Mode and 1V Oct CV 9 Stereo and Mono Modes 10 Octave Up Down When changing Modes 10 Memory Clear 10 Quantiz...

Page 3: ...ls and Jacks Ping Button and Jack The Ping button allows you to tap the tempo to set the base clock One tap is equal to one beat The base clock can also be set by an external clock by patching it into the Ping jack The Looping Delay requires a base time which is referred to as a beat in this manual The delay loop time is mathematically related to the length of one beat If you are familiar with oth...

Page 4: ...m memory and the Dry signal is more or less what s being written to memory especially if Delay Feed is up and Feedback is down The diagram on the back of this manual page 20 illustrates the difference in signal flow when Inf Hold is on vs off Reverse Button and Jack Reverse reverses the direction that memory is read and written Pressing the Reverse Button toggles Reverse on off when the button is ...

Page 5: ...itive CV and faster as you apply negative CV Feedback Knob and CV Jack The Feedback knob sets the amount of signal read from memory to be written ahead in the future On the Looping Delay Feedback ranges from 0 to 110 With no feedback knob at 0 you will hear one echo As you turn the Feedback knob up you will gradually hear more and more echoes the amount of time before the echoes go to silence will...

Page 6: ...ltage is ignored The knob and jack are added together to produce the amount of dry wet signal Input Jacks In and Return The In jack is the main audio input The Return jack has a different function in mono mode versus stereo mode See Stereo and Mono Modes page 10 In mono mode it s the audio input from the external feedback loop Typically you will patch the Send jack or a copy of the main audio inpu...

Page 7: ...ce is that when Inf Hold is on the Feedback knob has a special function windowing Hold down Inf Hold while turning Feedback to change the start and stop points of the loop see Windowing section on page 9 There is no windowing with Feedback at 100 and Delay Feed at 0 The final difference is that with Feedback at 100 and Delay Feed at 0 there is the ability to fade in new sounds layers by fading up ...

Page 8: ...op start point in order to make the loop the new length If you hold down the Reverse button while changing Time you will change the loop end point Therefore you can change a loop that s 4 beats long into one that s 5 beats long in two different ways adding a beat to the end or to the beginning There are many creative possibilities to be explored with adding and subtracting from the beginning and o...

Page 9: ... CV jack also allows you to window using external CV control To enable the CV jack you must first manually hold down Inf Hold and turn Feedback even just a small amount The Feedback CV jack will now control the window If you turn the Feedback knob at any time without holding down Inf Hold the Feedback CV jack will no longer control the window Unquantized Time Mode and 1V Oct CV Normally the Time k...

Page 10: ...ave any sound already recorded into memory for example if you re looping or if you have Feedback set above zero and played something recently the pitch of that sound will jump up or down by an octave When changing to Stereo Mode the pitch will jump up and when changing to Mono Mode it will jump down This can be used as a special effect but if you don t want to hear this effect clear the memory bef...

Page 11: ...ly clear themselves out Using the Looping Delay with External Clocks Whenever possible use the Looping Delay as a the clock source by patching out of the Clock Out jack to your other clock modules However sometimes you have to clock the Looping Delay with another source in which case you would patch the external clock into the Ping jack There are many issues with clock sync that arise from using d...

Page 12: ...ange smoothly not stepping through quantized pitches Now plug a 1V octave keyboard or sequencer output into the Time CV jack Plug the velocity output or an envelope output that s triggered by each step of the sequencer into the Feedback jack Turn down the Feedback knob so that the velocity pressure or the envelope make the Looping Delay create individual notes You can also patch into Delay Feed to...

Page 13: ...n pull out parts of a loop by turning Feedback less than a full turn For example if you turn Feedback from fully up to center only the previous four seconds will be removed Another technique is to turn the Time knob The amount Inf Hold Feedback shifts the loop is relative to the Time parameter If you turn the Time knob down to 1 then a full turn of Feedback will only shift the loop by 1 bar Sound ...

Page 14: ...me audio perhaps a drum loop a vocal sample or a melody line Let the audio play through make sure Mix is set at least 50 50 and then press Inf Hold to lock in the loop Listen to the loop play once or twice to get a feel for what it sounds like normally Now the trick Patch a pulse wave with variable pulse width sometimes called PWM from your favorite LFO or clock module to the Reverse jack The 4ms ...

Page 15: ...ort This is the factory default It s safe to connect the jumper to only one pin System Settings Mode System Settings Mode allows you to change the way some features of the Looping Delay behave For novice users these are not necessary to modify but advanced users may wish to explore It s recommended that new users get familiar with the Looping Delay operation using default system settings before ma...

Page 16: ...h clipping Crossfade Time Hold down Reverse while turning Time to 1 4 6 8 10 12 or 16 to set the Crossfade Time CFT Time at 1 CFT will be 0ms cross fading disabled Reverse will periodically flash once Time at 4 CFT will be 2ms Reverse will periodically flash twice Time at 6 CFT will be 4ms Reverse will periodically flash three times Time at 8 CFT will be 8ms Reverse will periodically flash four ti...

Page 17: ...riodically flash twice Time at 8 Accept all clock pulses ECD Disabled Ping will periodically flash three times Time at 11 Moving average of the past 2 clock periods Ping will periodically flash four times Time at 16 Linear average of the past 4 clocks Ping time only updates every 4 clocks Ping will periodically flash five times The Looping Delay has a very precise and jitter free internal clock le...

Page 18: ... blinks erratically then the audio is too loud or too quiet If it blinks regularly with equal times on and off then the audio level is ideal A good way to set the level is to start with the volume all the way down and notice the the light is off Then slowly bring it up until it flashes regularly about four times per second with equal times on and off 7 If there s an error the Reverse light will st...

Page 19: ...ndicate the firmware version The Ping light will then flash repeatedly Hold down the Ping button for five seconds until it turns on solid Release Ping The Looping Delay has now been reset to its factory default settings Power off Technical Specifications 16 HP Eurorack format module 0 98 25mm maximum depth with power cable Power consumption 12V rail 125mA max 12V rail 45mA max 5V rail not used Aud...

Page 20: ...Variable size tape loop moving at constant speed Reverses direction of tape Time makes loop longer or shorter by changing start point of loop Hold down Reverse while turning Time to change end point Holding down Inf Hold while turning Feedback knob changes start and end point of loop simultaneously Windowing or Scrubbing OFF ON Inf Hold Loop Mode Delay Mode Inf Hold Inf Hold Inf Hold Time Time Fee...

Reviews: