


VISIX SOLUTIONS | VX-2S-OP-30X QUICK START GUIDE | p.22
4
Operating the Camera – Quick Start
4.1
Accessing the Camera via Web Browser
System Requirements:
n
Operating System:
Microsoft Windows XP SP1 and above version/Vista/Win7/Server 2003/Server 2008
32bits
n
CPU:
Intel Pentium IV 3.0 GHz or higher
n
RAM:
1G or higher
n
Display:
1024 × 768 resolution or higher
n
Web Browser:
Internet Explorer 7.0 and above version, Apple Safari 5.02 and above version, Mozilla Firefox
5 and above version and Google Chrome8 and above version
Steps:
1.
Open a web browser.
2.
Input the IP address of the network camera in the URL address bar, e.g., 192.0.0.64 and press the
Enter
key to
enter the login interface. Alternatively, if the camera is interfaced with VIGIL Server, the web UI can be instantly
deployed by opening the camera’s
Network Settings
form in VIGIL Server Settings > Cameras Tab and clicking the
Web Settings
button.
3.
Input the user name and password and click
Login
.
NOTE:
The username/password for the camera will have been configured during camera activation If the camera
has already been configured using one of 3xLOGIC’s setup tools (VIGIL Easy Setup Wizard, 3xLOGIc Camera Setup
Utility) then default credentials will have been changed by the installer (this is a standard security precaution
enforced by the setup tools). Contact your security network administrator for credentials.
NOTE:
English is the only supported language.
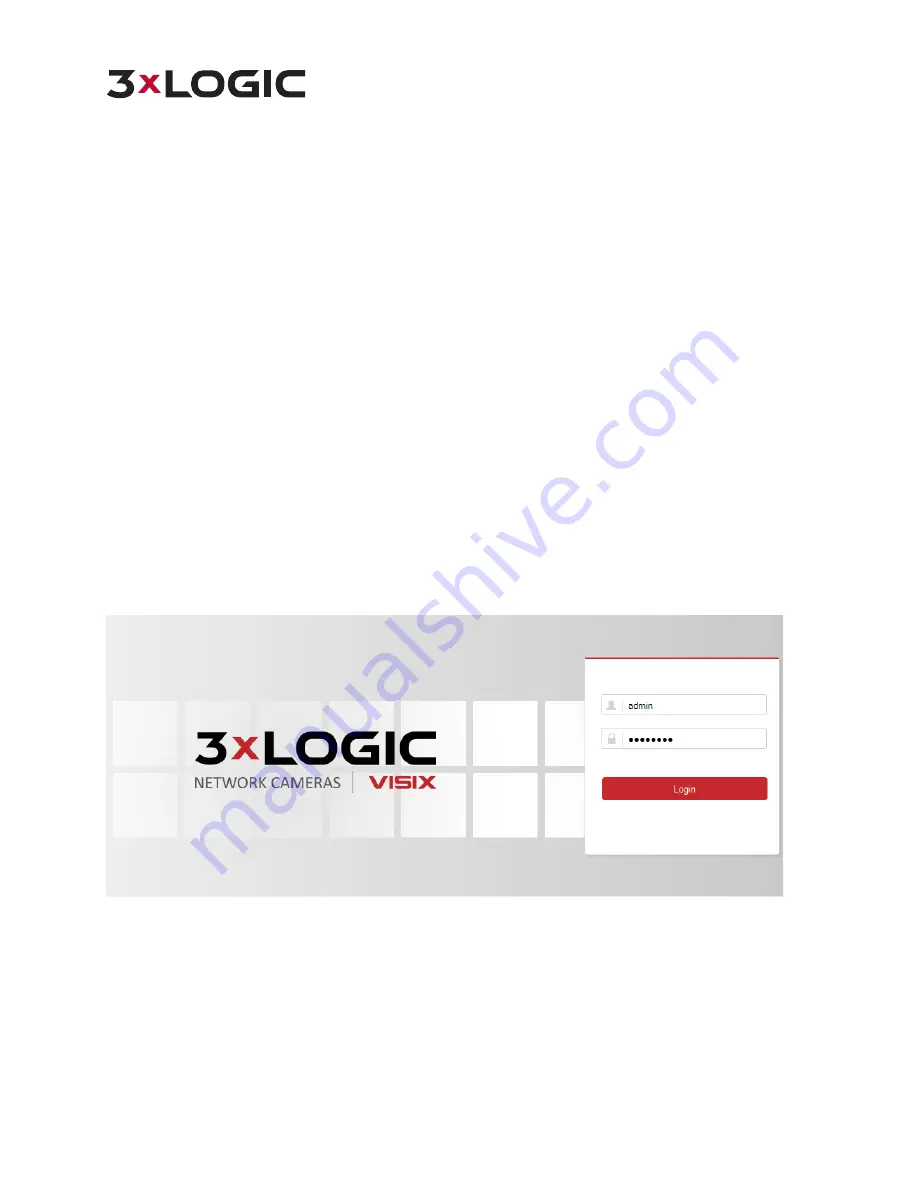
Figure 4-1
Login Interface
4.
To view video and have full access to the camera’s configuration settings, you will need to install the Web
Components plug-in.
Click Activate Web Components
to start the plug-in installation. Follow the on-screen
instructions to finish the installation.
NOTE:
Depending on your web browser, you may be required to authorize the installer to run.
NOTE:
You may have to close the web browser to install the plug-in. Reopen the web browser and log in again
after installing the plug-in.